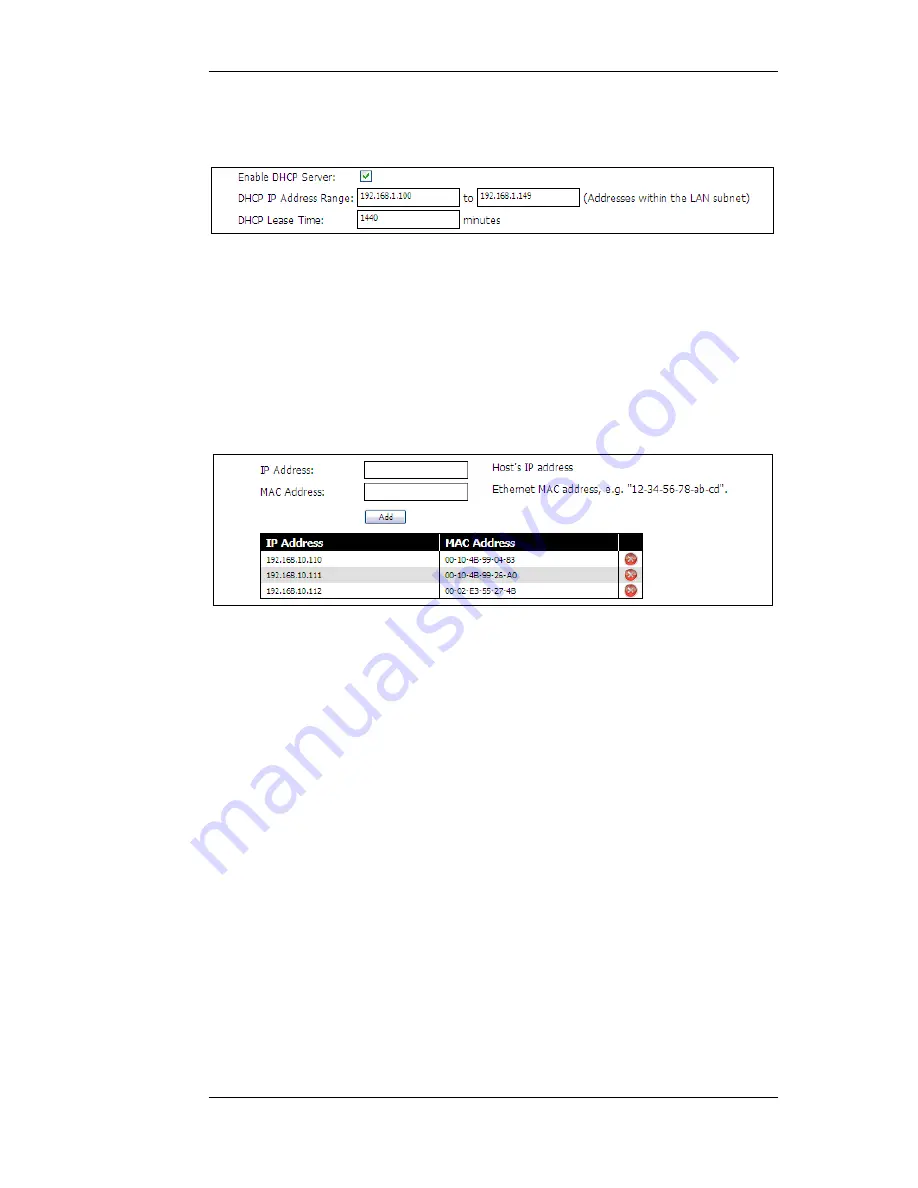
With this option enabled, a range of IP addresses can be allocated which can then be allocated out to
hosts on the network that need them. The presentation of the DHCP server options in the web
interface is shown below.
In most scenarios, the LAN network will be an "internal" network that does not require public IP
addresses. However, if a range of public IP addresses are allocated by the ISP these could also be
allocated using this feature.
NetDefendOS also allows a DHCP Reservations list to be created. These bind a certain IP address
with a particular MAC address. When a request for a DHCP lease is received on the interface,
NetDefendOS checks the MAC address of the requesting DHCP client against the list. If a match is
found, the IP address that has been associated with the MAC address is the one that is handed out.
The screenshot below shows how this option appears in the web interface. Combinations of IP
address and MAC address can be added to the list. The red icon on the right of each entry can be
clicked to delete the entry.
This feature allows the same IP address to be always allocated to a particular DHCP client.
Transparent Mode and the Interface IP Address
There are some considerations that should be noted with the LAN IP address when transparent
mode is enabled:
•
In transparent mode, the LAN interface will take on the same IP address as the WAN interface.
•
If DHCP is enabled on the WAN interface and the IP address on WAN cannot be refreshed
within its DHCP lease time then it will receive the IP address 0.0.0.0 and the LAN interface will
also receive this IP address.
This will mean that it will not be possible for the administrator to connect through the LAN
interface with a browser to perform management tasks while the LAN interface has the 0.0.0.0
IP address.
These IP address considerations are also true if transparent mode is enabled on the DMZ interface.
3.3. LAN Settings
Chapter 3. The System Menu
30
Summary of Contents for NetDefend SOHO DFL-160
Page 11: ...1 3 The LED Indicators Chapter 1 Product Overview 11...
Page 22: ...2 4 Console Port Connection Chapter 2 Initial Setup 22...
Page 39: ...3 7 Dynamic DNS Settings Chapter 3 The System Menu 39...
Page 76: ...4 10 Schedules Chapter 4 The Firewall Menu 76...
Page 78: ...5 1 Ping Chapter 5 The Tools Menu 78...
Page 93: ...6 11 DHCP Server Status Chapter 6 The Status Menu 93...
Page 102: ...7 6 Technical Support Chapter 7 The Maintenance Menu 102...


