SIP PHONE – D-LINK DPH-140S – Installation Guide
pag.7
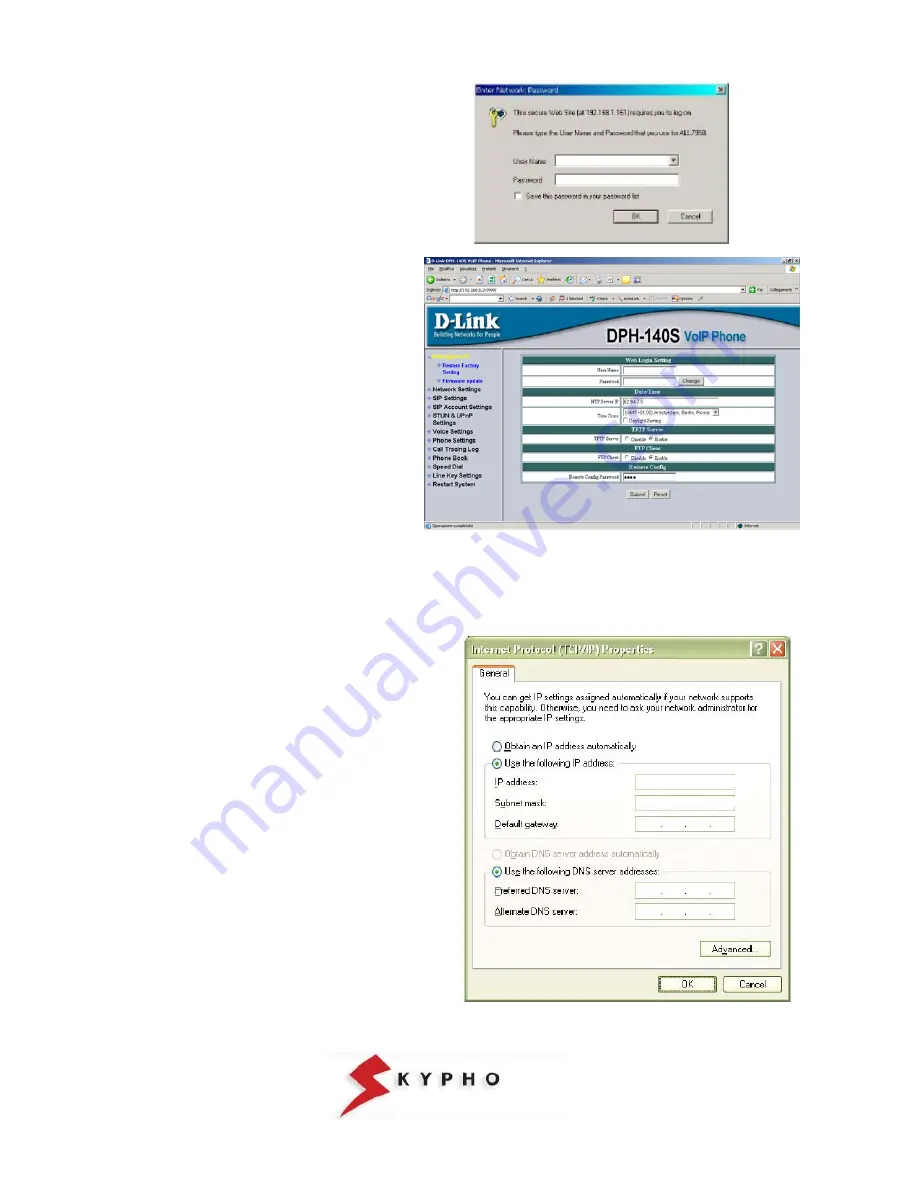
4. Leave “Username” and “Password” blank
as you are installing the phone for the first
time and press “OK”.
Look out!
!
The confidentiality of this data
is necessary in order to guarantee that the
equipment configuration is accessible only
by you. We suggest to proceed with the
configuration password change and to
write it down by using the Web Login
Configuration.
5. After few seconds it will appear the “D-link
DPH-140S Voip Phone” page where you
can modify the configuration parameters of
your D-LINK DPH-140S, as indicate in the
following chapter.
LOOK OUT!:
The changes are going to be effective only after the saving (“Update”) and restart (“Reboot”) of your IP
Phone, as indicated in this manual.
Access to the IP Phone when the DHCP service is not working
1. configure the static IP address (in the example
192.168.0.2
) on the LAN port of your PC.
Click on “
Start \ Settings\ Network connections
“,
double click on “
Local area connections (LAN)”
.
In the new window click on
“Properties”
and then
double click on “
Internet Protocol (TCP/IP)”.
Verify that the option “
Use the following IP address”
is activated, or modify the setting and fill in the
following fields:
IP Address:
192.168.0.x with x different from “1”
and “3” (the last one is the default IP
we assigned to the Voip Telephone).
For example 192.168.0.2.
Subnet Mask:
255.255.255.0
Gateway predefinito:
192.168.0.1
For
DNS servers,
it should be used the IP
addresses provided by the Internet Service
Provider.
Once finished the configuration, press “
OK
” and
close all the opened windows.


