D-Link DNS-346 USER’S MANUAL
Page 24 of 85
RAID Create:
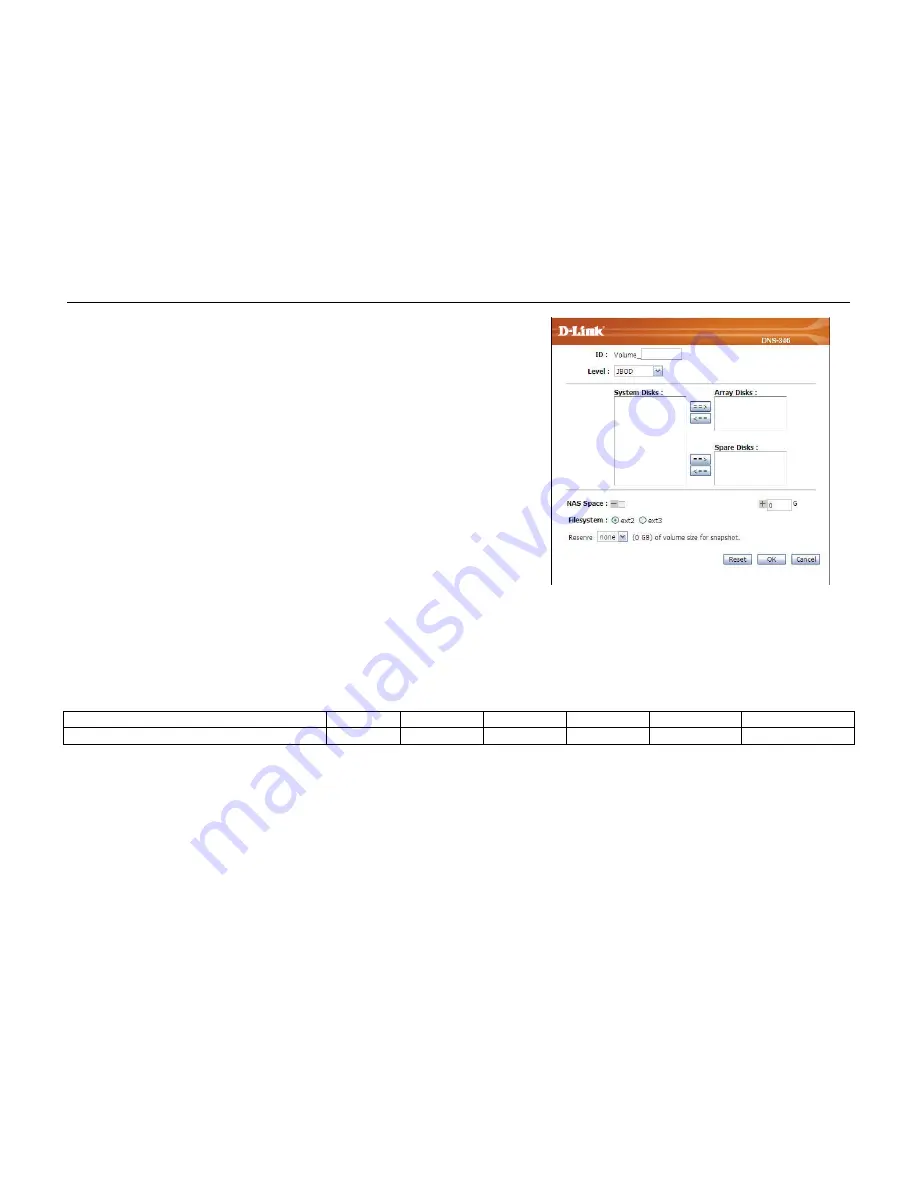
ID:
Level:
System Disks:
Array Disks:
Spare Disks:
NAS Space:
File system:
When the user click the Create button the following screen
appears.
Type in a number between 1 and 99 to identify the new RAID
array.
Use the drop-down to choose the level of RAID. The options are
JBOD, 0, 1, 5, 10 and Standalone.
Displays the disks that are installed in the DNS-346.
Use the ==> button to add disks to the new RAID array from the
disks listed in the System Disks section. Use the <== button to
remove disks from the Array.
Use the ==> button to add spare disks to the new RAID array from
the disks listed in the System Disks section. Use the <== button to
remove spare disks from the Array.
Type a value in the G field to specify the size of the array in
gigabytes. Use the – and + icons to reduce or increase the size of
the array.
Choose the type of file system you want to install on the volume.
You can choose Linux Ext2 or Ext3.
Click the OK button to add the new Array.
The required number of hard drives with different levels of RAID is as explained below:
JBOD
RAID 0
RAID 1
RAID 5
RAID 10
Standalone
Minimum required hard drive(s)
2 2 2 3 4
1
Summary of Contents for DNS-346
Page 1: ......


