


QUICK INSTALLATION GUIDE | DIS-F200G SERIES
6
The DIS-F200G can be managed by using the Web User Interface (Web UI), Console Port,
Telnet, SSH, or Simple Network Management Protocol (SNMP).
For management, each Switch must be assigned its own IP address, which is used for
communication with the management PC.
Web User Interface
Once the Switch has been successfully installed, you can begin configuration and monitor
Switch status using a web browser. Supported browsers include Firefox, Chrome and Safari.
You need the following equipment to access the Web UI of your device:
•
A PC with an RJ-45 Ethernet connection
•
A standard Ethernet cable
1. Connect the Ethernet cable to any of the ports on the Switch’s front panel and to
the Ethernet port on the PC.
2. Configure the PC’s IP address to be in the same network segment as the Switch.
The Switch’s default IP address is 192.168.254.1, with subnet mask 255.255.255.0.
For example, to connect to the Switch using the default settings, your PC should have
an IP address in the range: 192.168.254.2-254 and a subnet mask of 255.255.255.0.
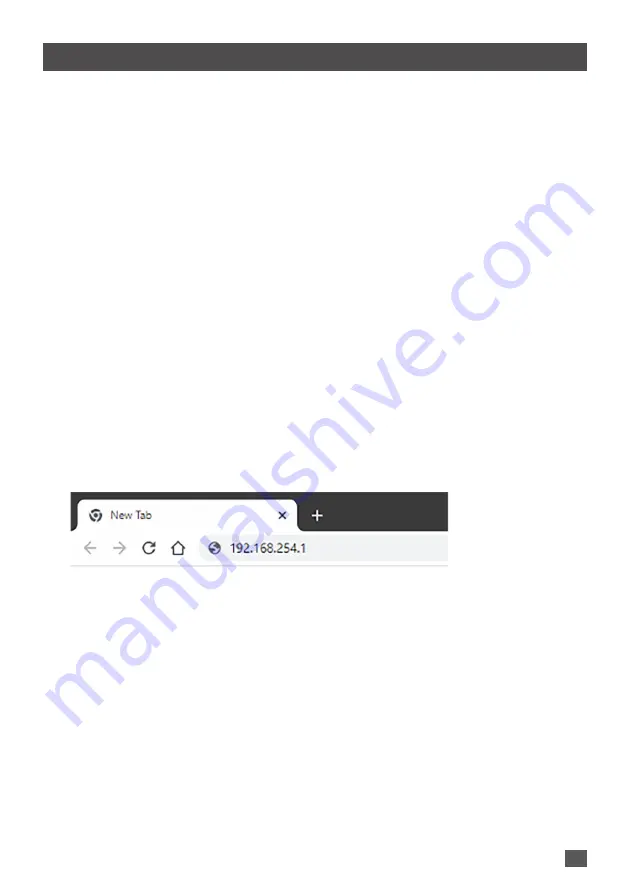
3. Open a web browser and enter
http://192.168.254.1/
in the address box.
4. Log in to the switch. To do this, enter
admin
as the default user name and
admin
as
default password. It is recommended to apply a secure strong password to “admin”
account under System Settings > User Management.
MANAGEMENT OPTIONS


