8
D-Link DHP-342 User Manual
Section 2 - Installation
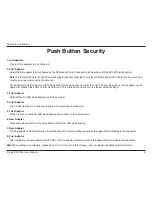
1. All Adapters
Plug in all the adapters to be configured.
2. First Adapter
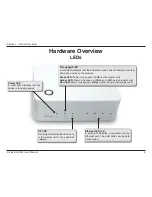
Select the first adapter to be configured as the AP(Access Point). Press and hold the button until the AP LED starts flashing.
Note:
It is recommended to choose a Powerline adapter directly connected to a router or a Media Center PC to be the master unit. There
must be only one master unit in the network.
The adapters memorize their security settings even after power is removed from the units. The security settings of any adapter can be
cleared by pressing the button until its AP LED is off. This will reset the unit back to the factory default settings.
3. First Adapter
Wait until the AP LED stops flashing (up to 30 seconds).
4. First Adapter
The AP LED remains on and is now ready to start registering new adapters.
5. First Adapter
Press the button until its AP LED starts flashing and continue to the new adapter.
6. New Adapter
Press and hold the button in the new adapter until the AP LED starts flashing.
7. New Adapter
The new adapter’s AP LED will turn off indicating that it is securely configured and its throughput LED will indicate the link quality.
8. First Adapter
After registering the new adapter, the AP LED of the first adapter remains on and its throughput LED will indicate the link quality.
Note:
When adding more adapters, repeat steps 5 to 8. At the end of this process, only one adapter should have the AP LED on.
Push Button Security

