D-Link NetDefend Firewall
3
D-Link NetDefend Firewall
3
Port
Interface
Name
Interface
Type
IP Address
Web-Based
Mgmt
1
WAN
DHCP Client 0.0.0.0/0
Disable
2
DMZ
Static IP
172.17.100.254/24
Disable
3
LAN1
Static IP
192.168.1.1/24
Enable
4
LAN2
Static IP
192.168.1.1/24
Enable
5
LAN3
Static IP
192.168.1.1/24
Enable
6
LAN4
Static IP
192.168.1.1/24
Enable
DFL-210/DFL-260 Default Interface Settings
Table 3. Default Interface Assignment
Note:
D-Link NetDefend Firewalls only allow
Web GUI access from one of LAN1~4 ports by
default for security reason.
Connect an Ethernet cable from the
1.
DFL-210/DFL-260 to your Cable/ DSL
modem. If the Cable/DSL modem is
powered on, wait for the WAN LED on the
DFL-210/DFL-260 to light up to show a
proper connection. Otherwise, turn off your
Cable/DSL modem, connect the Ethernet
cable from the DFL-210/DFL-260 to your
Cable/DSL modem, and turn on the Cable/
DSL modem. Some Cable/DSL modems
may not have an on/off switch and will
require you to unplug the power adapter.
Insert an Ethernet cable to the LAN1 port
2.
on the rear panel of the DFL-210/DFL-260
and connect it to a port on your network hub
or switch. The LAN port LED light on the
DFL-210/DFL-260 will illuminate to indicate
proper connection.
Connect Power and Turn the Device On/Off
Connecting the Device
Connect the power cord to the receptor on
the back panel of the DFL-210/DFL-260 and
then plug the other end of the power cord to a
wall outlet or power strip. After the power LED
turns on, you need to wait 1-2 minutes for the
DFL-210 or DFL-260 to boot up completely.
Connecting the Device to a Network
This section provides basic information about
physically connecting the DFL-210 or DFL-260
to a network. Follow the steps below to
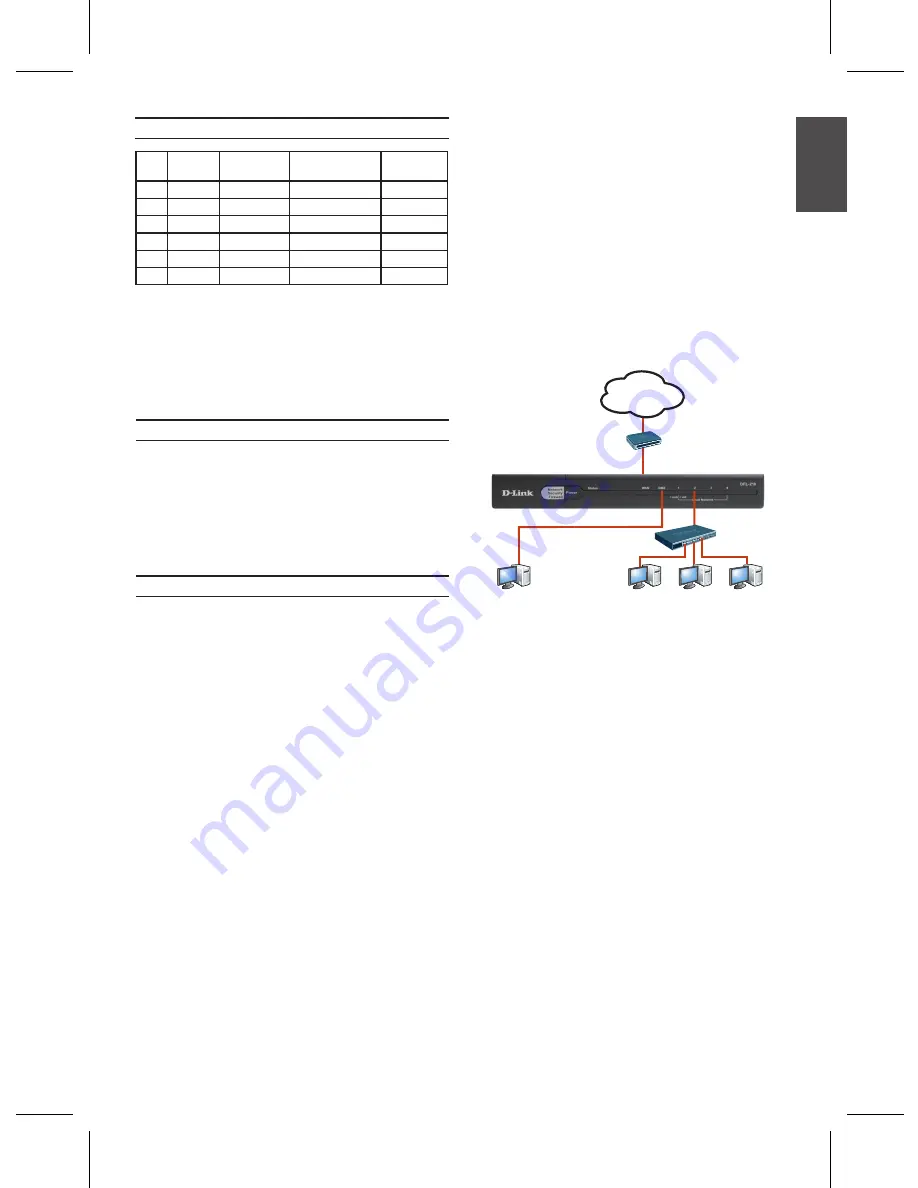
connect the firewall as shown in Figure 3.
Connect the computer that you will use
3.
to configure the DFL-210/DFL-260 to the
network hub or switch.
Note:
The default management IP address
of the DFL-210/DFL-260 is 192.168.1.1. If
you have are using a router that uses DHCP,
there may be a conflict if the router uses the
same IP address as the DFL-210/DFL-260.
If this is the case, either disconnect the
DFL-210/DFL-260 from the router and change
the management IP address of the DFL-210/
DFL-260, or change the DHCP settings on
your router.
The NetDefendOS software is preinstalled on
the DFL-210/DFL-260 device. When the device
is powered on, it is ready to be configured.
While the device has a default factory configu
-
ration that allows you to initially connect to the
device, you must perform further configuration
for your specific network requirements.
Configuring the Device
Figure 3. DFL-210/DFL-260 Front Panel
WAN1
Cable/DSL Modem
Computer2
Computer1
Internal
Network
Switch
LAN1
DMZ Network
(optional)
DMZ
Internet
E
NG
LIS
H


