8
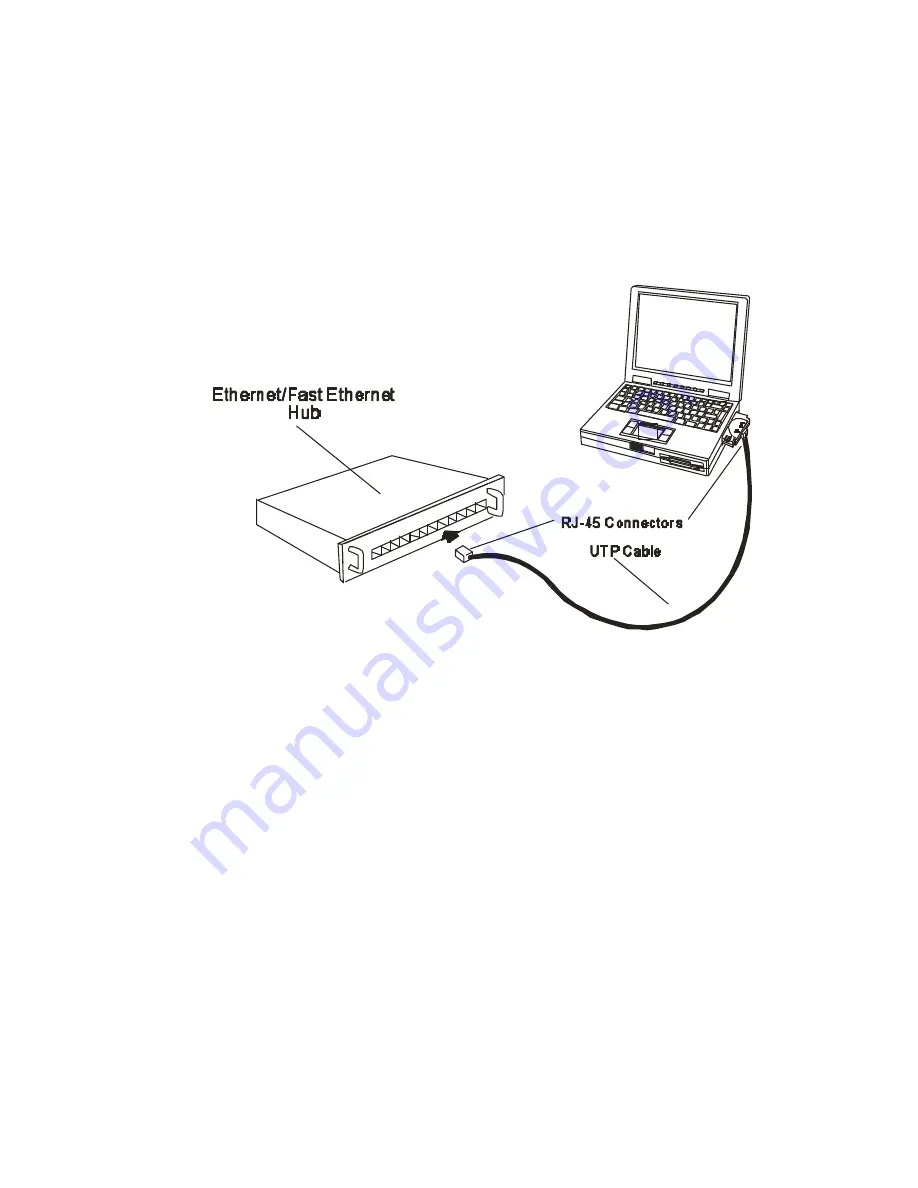
Step 2: Connect to the Network Medium
Make the network connection by running a UTP cable from the supporting switch or hub
to your direct port. Simply plug one end (RJ-45 plug) of the cable into an available port
of the switch or hub, and plug the other end (RJ-45 plug) into the RJ-45 socket of your
direct port coupler.
Step 3: Confirm Connection (Ln/Act Indicator)
When the notebook computer's power is ON, the DFE-680TXD is firmly seated in the
slot connector, the direct port has a good cable connection to the supporting hub, and the
supporting hub is power on and functioning properly, then the direct port’s Ln/Act LED
glows steady green ("Linkage" state).
If the Ln/Act LED remains dark without apparent cause, then the most likely fault is poor
engagement of the 68-pin front -end plug. Review the following section titled "Remove
the DFE-680TXD," then remove the DFE-680TXD from its slot. Repeat the procedures
of the above Step 1, "Insert the DFE-680TXD," taking care to ensure that the DFE-
680TXD is right side up and front-end first, and that it seats firmly in a suitable PC Card
slot of your notebook. Repeat the procedures of Steps 2 as necessary get the Ln/Act LED
confirmation.
NOTE:
You might need to wait a few seconds following notebook power up, or
following insertion of a PC Card, for the software processing to be completed. The
Summary of Contents for DFE-680TXD
Page 13: ...11 Figure2 Select Next to continue installation ...
Page 14: ...12 Figure3 Ensure that the Specify location box is checked and click Next ...
Page 15: ...13 Figure4 Click Next to continue ...
Page 16: ...14 Figure5 The Digital Signature Not Found window appears Click Yes to continue ...
Page 17: ...15 Figure6 Click Finish to complete the DFE 680TXD Ethernet Card installation ...
Page 20: ...18 D Link DFE 680TXD CardBus should appear showing proper installation ...
Page 24: ...22 Figure4 Click Finishto complete driver installation ...
Page 26: ...24 Windows 98 Driver install Figure1 Select Next ...
Page 27: ...25 Figure2 Select Next ...
Page 28: ...26 Figure3 Enter CD ROM drive or click on the Browse button and select CD ROM drive ...
Page 29: ...27 Figure4 Driver file name select Next Figure5 Insert 98 CD ROM then click on OK button ...
Page 31: ...29 Figure7 Finish ...


