7
contact your dealer for an exchange.
Follow these four steps to install the DFE-680TX:
Step 1: Insert the DFE-680TX
Under the PC Card standard and the corresponding Japanese JEIDA standard, PC Cards
may safely be "hot swapped"
––
it is not necessary to switch the computer's power off
before installing or removing the DFE-680TX, or any other PC Card.
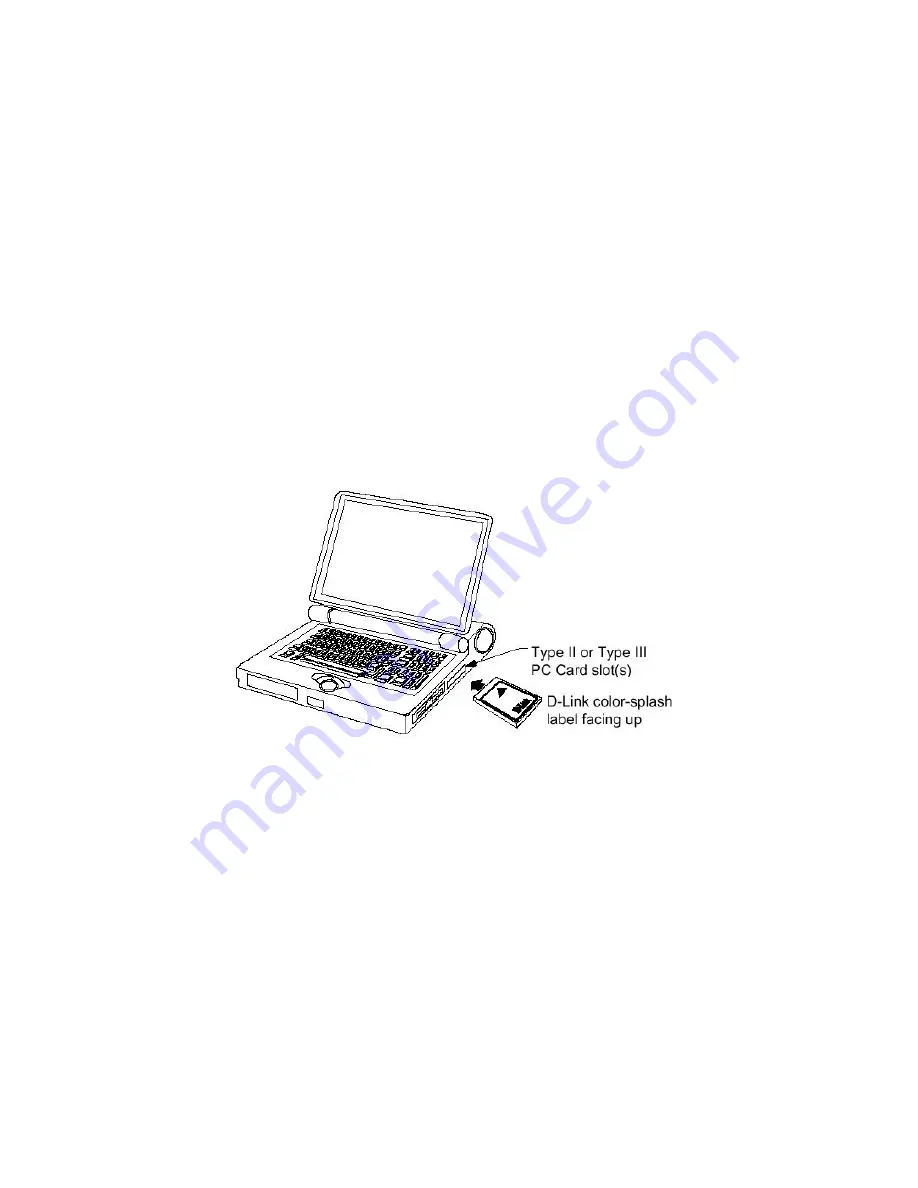
Find/select an open Type II or Type III PC Card slot on your notebook computer's side or
rear panel. Hold the DFE-680TX with the colorful D-Link splash label upward. Notice
that the splash label features a yellow triangle or "arrow," which points to the front end of
the PC Card. Insert the front end of the PC Card into the CardBus slot, and slide the PC
Card all the way into the slot until it reaches a firm stop.
NOTE:
Many notebook PCs feature a stacked pair of PC Card slots, logically (but not
physically) designated as Slot 1 and Slot 2.
It is most usual for the lower one of the two slots in the stack to be designated Slot 1, but
there are exceptions. In the subsequent procedure for DFE-680TX software installation, it
might be useful for you to know whether your DFE-680TX is installed in Slot 1 or Slot 2.
Under Windows 95, you can check by opening the Control Panel / PC Card display.
Under DOS it is also possible to make a software check, but it is more difficult. If it
develops that you need to make a trial-and-error determination or correction, then it is
Summary of Contents for DFE-680TX
Page 16: ...14 Figure2 Select Next to continue installation ...
Page 17: ...15 Figure3 Ensure that the Specify location box is checked and click Next ...
Page 18: ...16 Figure4 Click Next to continue ...
Page 19: ...17 Figure5 The Digital Signature Not Found window appears Click Yes to continue ...
Page 20: ...18 Figure6 Click Finish to complete the DFE 680TX Ethernet Card installation ...
Page 22: ...20 Figure8 Select Hardware and then click the Device Manager button ...
Page 27: ...25 Figure4 Click Finishto complete driver installation ...
Page 29: ...27 Windows 98 Driver install Figure1 Select Next ...
Page 30: ...28 Figure2 Select Next ...
Page 31: ...29 Figure3 Enter CD ROM drive or click on the Browse button and select CD ROM drive ...
Page 32: ...30 Figure4 Driver file name select Next Figure5 Insert 98 CD ROM then click on OK button ...
Page 34: ...32 Figure7 Finish ...
Page 43: ...ii VCCI Warning ...


