


Mount the Camera
Please refer to the steps below to assist you with mounting the camera.
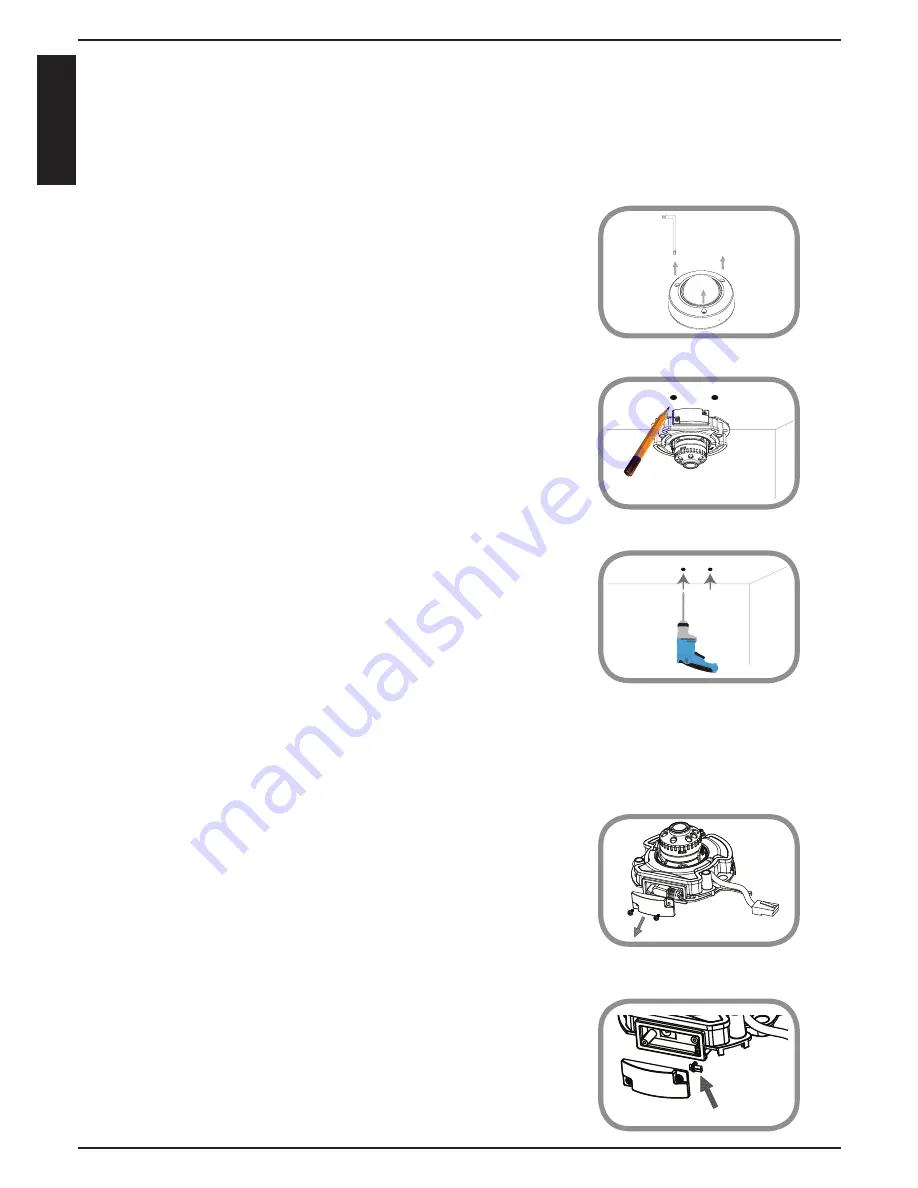
1. Use the included wrench to loosen the 3 screws
on the top of the camera, then lift the camera
cover off.
2. Place the camera in the position you want
and use a pencil to mark the holes. Ensure the
camera is oriented correctly with adequate
space for the necessary cables to be routed.
3. Depending on the material of the wall or ceiling,
use proper tools to drill two holes 25mm deep
with a 6mm drill bit where you marked. After
drilling the holes, insert the plastic anchors to
support the screws.
If you are running the camera cables through
the wall, drill a hole in the center and pull the
cables through the hole.
4. If you are using PoE to power the camera, use a
small Philips screwdriver to remove the screws
for the power connector cover, then disconnect
the power cable.
5. Place the power cable plug into the gap, then
reattach the cover with the screws.
4
EN
G
LI
S
H