


The Zero Configuration Setup will only work with a registered
Cloud Router and an active mydlink account. Your Cloud Router will
automatically assign your network settings (both wired and wireless) to
your camera, and add it to your mydlink account. If you do not have a
D-Link Cloud router, skip to the
Easy Setup
section on the next page.
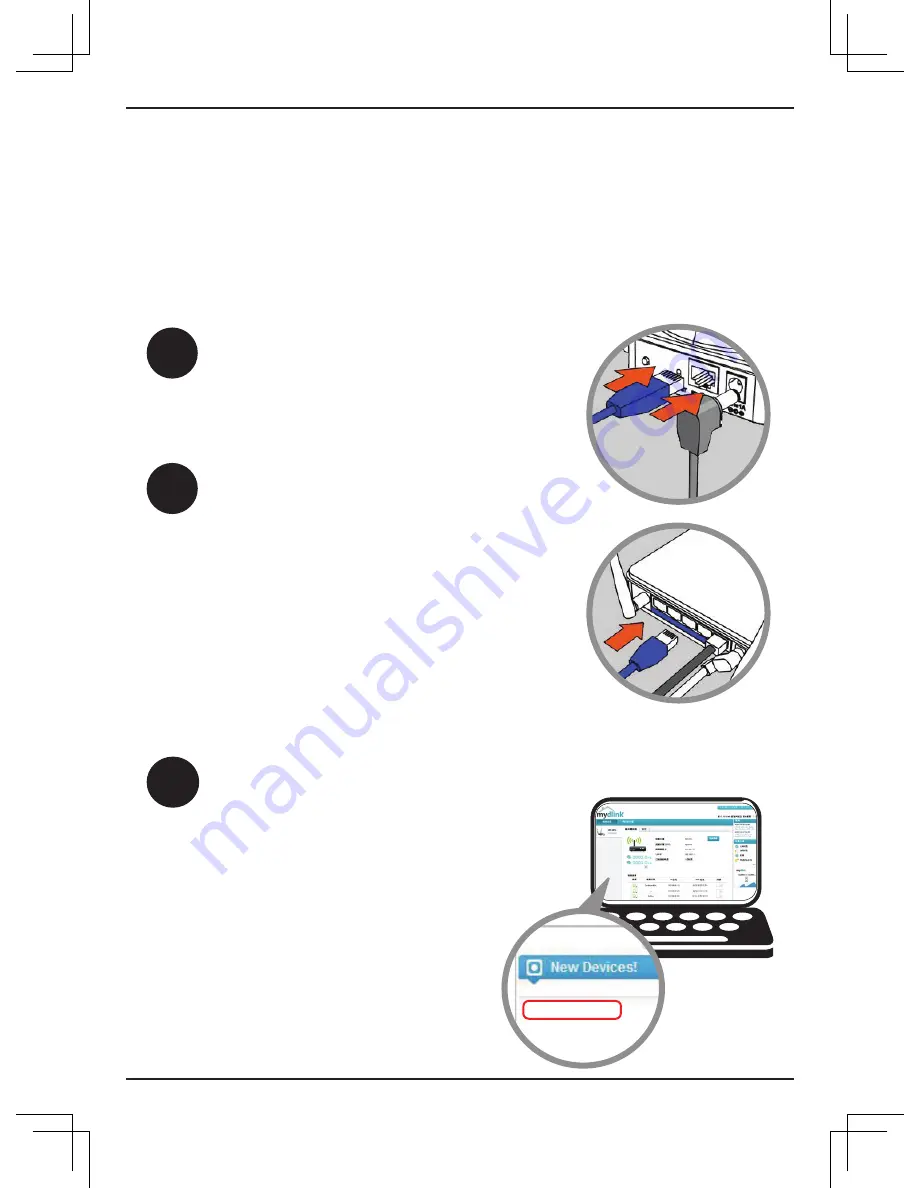
Zero Configuration Setup
1
2
From any PC, open a web browser,
go to
http://www.mydlink.com
and
log into your account. Once mydlink
detects your camera, a notice will
appear that there is a new device
detected. Click on your camera from
the
New Devices
list and then click
Yes
to add your camera.
3
Attach the power supply to the power
receptor located on the back of the DCS-
5009L and connect it to a wall outlet or
power strip. Power is confirmed when the
Power LED is lit.
DCS-5009L
I
f using an Ethernet connection:
Connect
the included Ethernet cable to the Ethernet
port located on the back of the DCS-5009L
and connect it to your router.
If using a wireless connection:
Press and
hold the
WPS
button on the side of the
camera for five seconds. The blue WPS
status LED will start to blink. Then, press
the
WPS
button on your Cloud Router
within two minutes.
Your setup is complete!
4


