(1)
If your Wi-Fi router does not support WPS, then you need to connect the camera using an
Ethernet cable first. You can configure the Wi-Fi settings in the camera's configuration pages
later.
(2)
If your Wi-Fi access point/router supports WPS, then it is very easy to connect your device to
the network:
Turn on the camera, then press the WPS button on your Wi-Fi access point for 3 seconds; the
WPS button will usually start flashing. Quickly press the WPS button on the back side of
your camera and hold for a few seconds until the light changes. In about 1 minute, you will
see the status light (below the camera lens) changes to solid green, indicating it is connected
to the wireless router.
1.2 Find the Camera’s IP Address
Please refer to the manufacturer’s manual for more detailed information.
If your camera is connected to the Wi-Fi router, or if you have connected the camera with an
Ethernet cable, then you can run the manufacturer’s setup program to find the camera’s IP
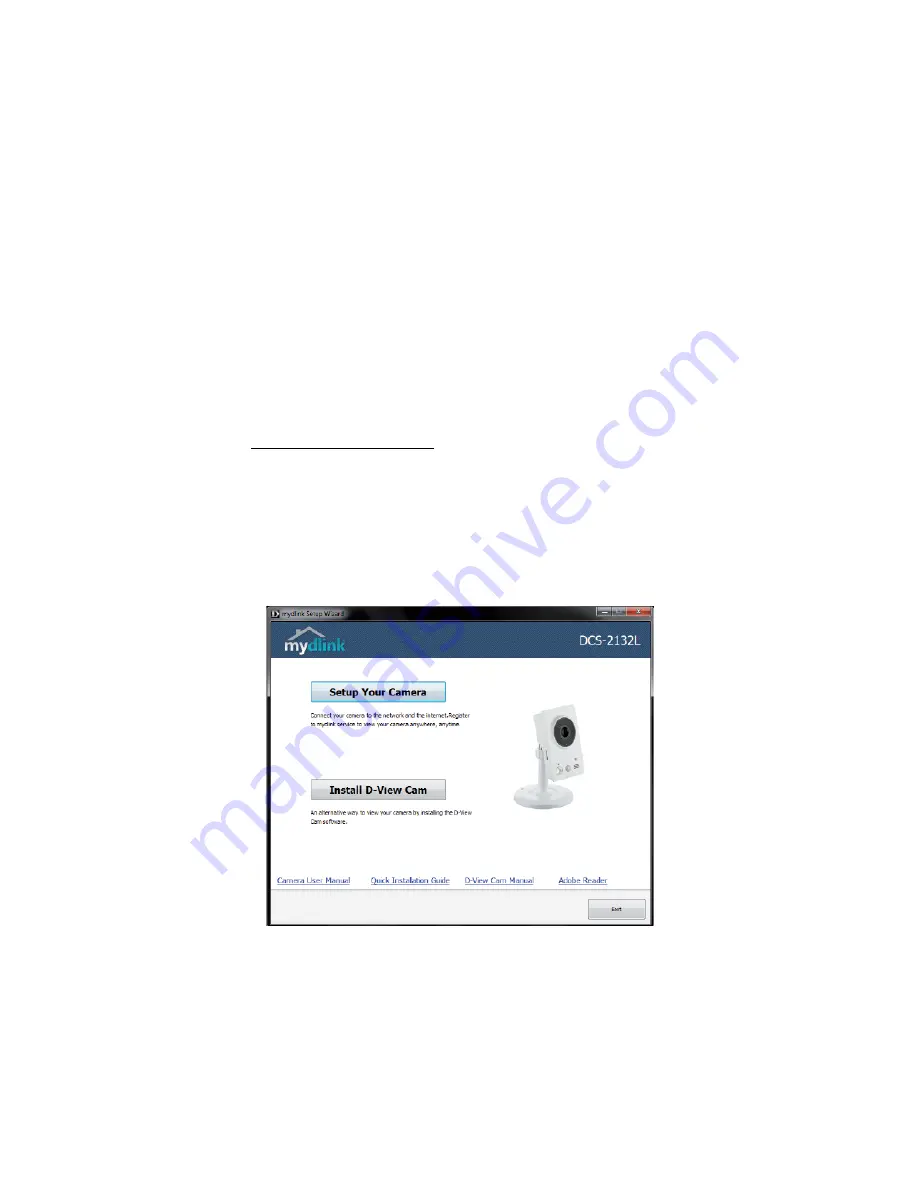
address. From a PC in the same network, insert the camera’s software CD and run the auto-run
program - it will open the following window:
Click "Setup Your Camera" and follow the instructions. Select
Next
until it starts searching the
network for the camera. After it finishes, you will see this screen:


