48
Using the Configuration Menu
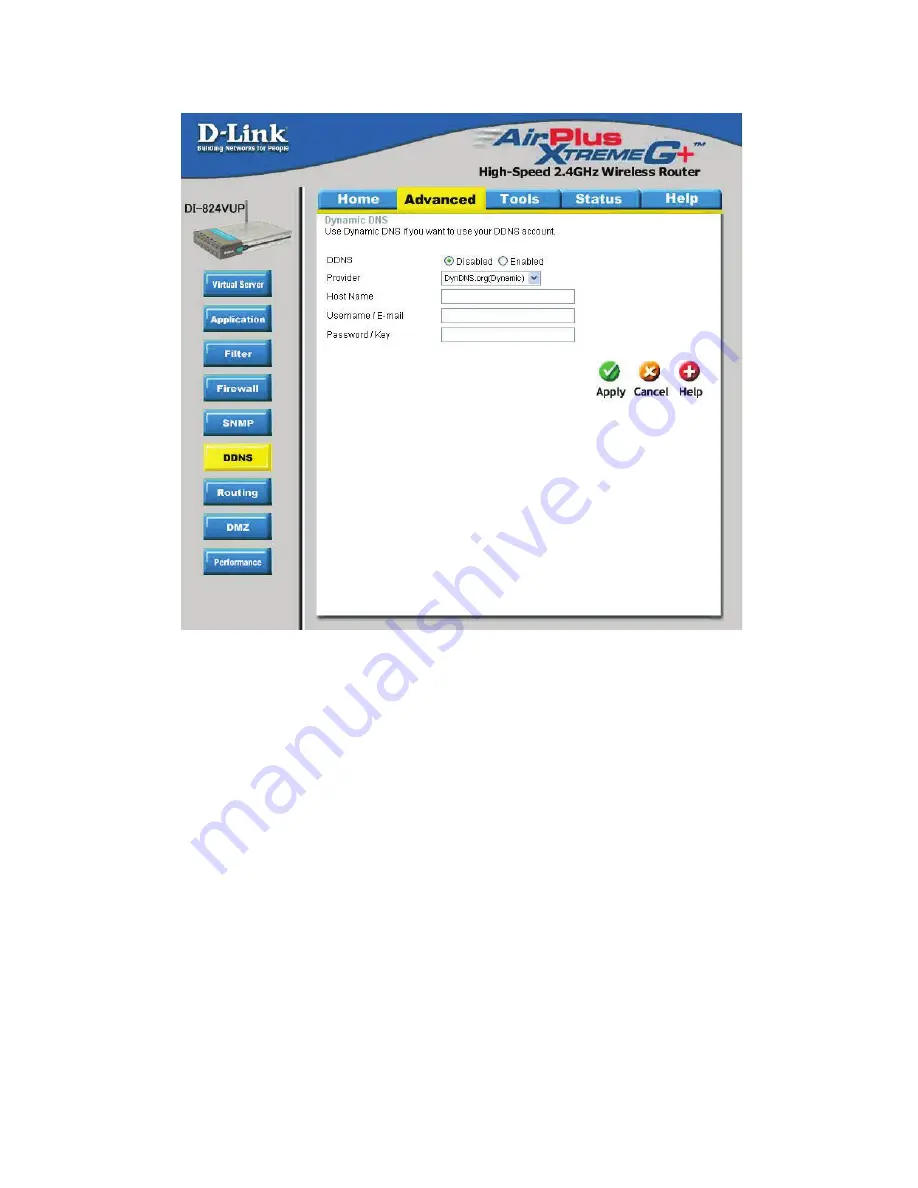
Advanced > DDNS
DDNS (Dynamic Domain Name System) keeps dynamic IP addresses (
e.g.
, IP
addresses assigned by a DHCP capable router or server) linked to a domain name.
Users who have a Dynamic DNS account may use this feature on the DI-824VUP.
DDNS
When an IP address is automatically assigned by a DHCP
server, DDNS automatically updates the DNS server. Select
Disabled
or
Enabled
.
Provider
Select from the pull-down menu.
Host Name
Enter the Host name.
Username/Email
Enter the username or email address.
Password/Key
Enter the password or key.