Product User’s Manual – ESPWiFi Shield Rev2.0
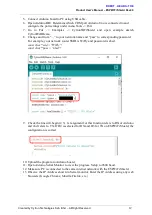
5. Connect Arduino board to PC using USB cable.
6. Open Arduino IDE. Determine which COM port Arduino Uno is connected to and
configure the port settings under menu Tools > Port.
7. Go to File > Examples > CytronWiFiShield and open example sketch
CytronWiFiDemo.
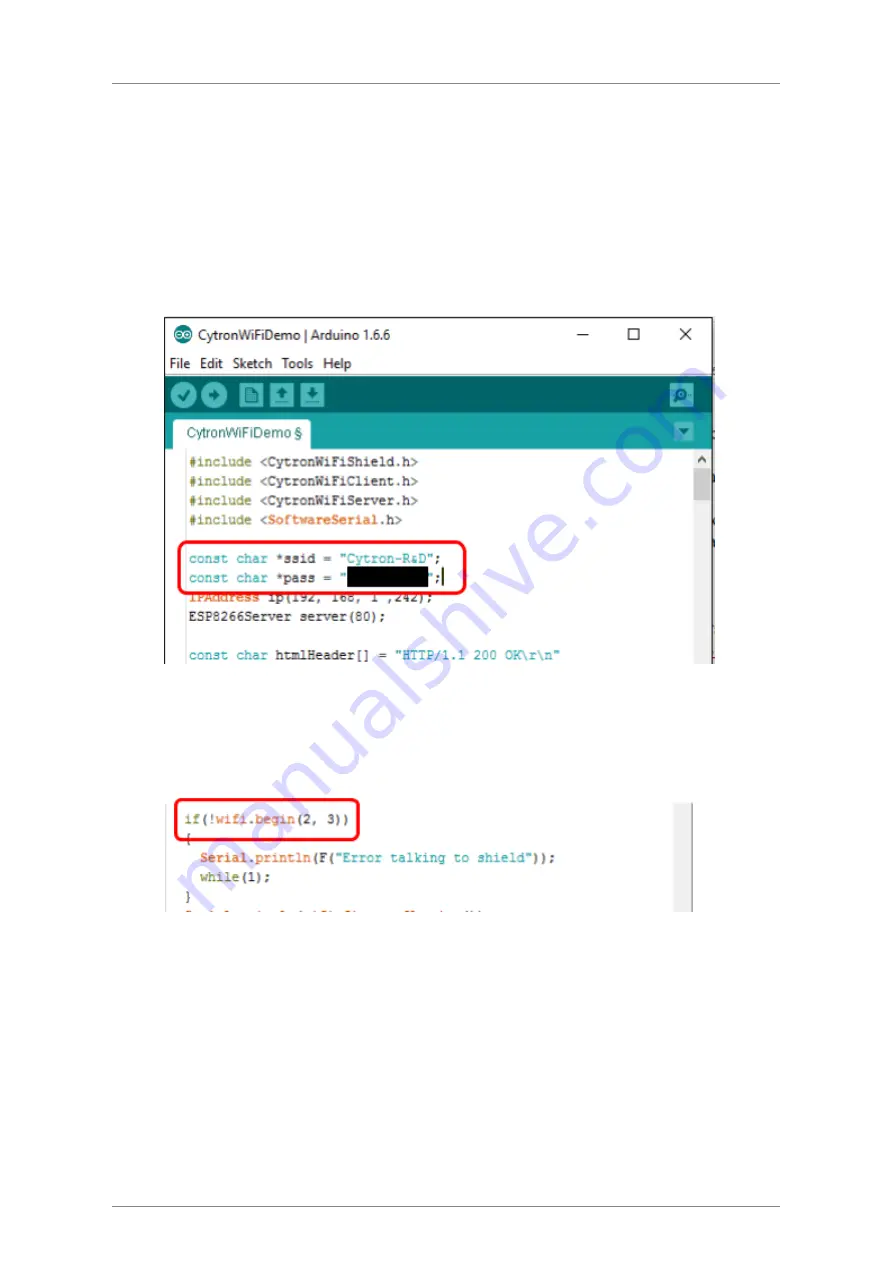
8. Change ssid from “...” to your network name and “pass” to corresponding password.
For example, your network router SSID is WiFly and password is abcd.
const char *ssid = "WiFly";
const char *pass = "abcd";
9. Check the line wifi.begin(2, 3). 1st argument for this function refers to RX of Arduino
and 2nd refers to TX. If D2 is selected for RX and D3 for TX on ESPWiFi Shield, the
configuration is correct.
10. Upload the program to Arduino board.
11. Open Arduino Serial Monitor to view the progress. Setup to 9600 baud.
12. Make sure PC is connected to the same internet network with the ESPWiFi Shield.
13. Observe the IP Address shown in Serial monitor. Enter the IP Address using any web
browsers (Google Chrome, Mozilla Firefox, etc.)
Created by Cytron Technologies Sdn. Bhd. – All Right Reserved
12


