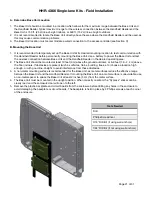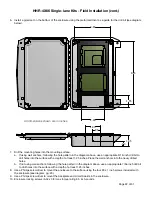
Page of
22
31
2.99
1.55
8.15
4.65
1.90
.70
1.45
.95
All dimensions shown are in inches.
HHR-4X66 Single-lane Kits - Field Installation
(cont.)
6. Install a grommet on the bottom of the enclosure using the preformed divot as a guide for the drill bit (see diagram,
below).
7. Drill the mounting holes into the mounting surface.
a. If using wall anchors: following the hole pattern in the diagram above, use an appropriate 3/16-inch drill bit to
drill holes into the surface with a depth of at least 1.25 inches. Place the wall anchors into the newly drilled
holes.
b. If not using wall anchors: following the hole pattern in the diagram above, use an appropriate 7/64-inch drill bit
to drill holes into the surface with a depth of at least 1.25 inches.
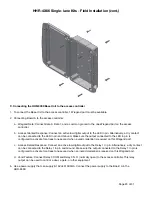
8. Use a Phillips screwdriver to mount the enclosure to the surface using the four #8 x 1 inch screws included with
the enclosure (see diagram, pg. 23).
9. Use a Phillips screwdriver to mount the backplate and circuit boards in the enclosure.
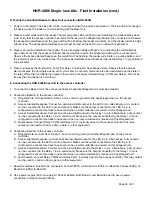
10. Enclosure locking screws (6-32 x 3/8) max torque rating 8.5 inch-pounds.

