The Manual of Ink-jet Printer
7
Install & Test
Only trained technicians are authorized to carry out installation.
Before install, confirm the machine was stay in a solid & smooth place without electromagnetic radiation.
Installed as stipulated in manufacturer
’s specification, do not change the relative position of ink system
and print head. Any special requirements, please consult the manufacturer and supplier directly.
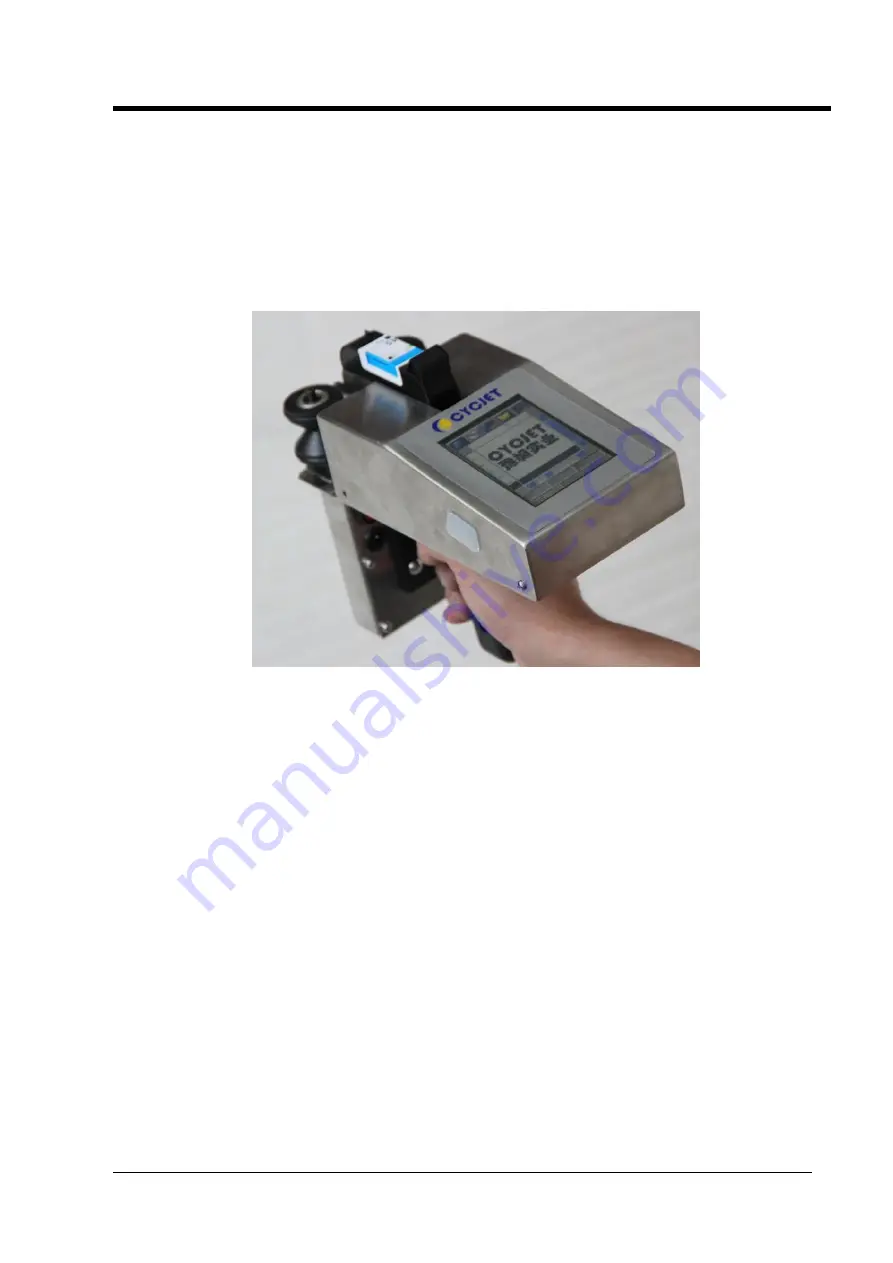
Ink-jet Printer Installation & Testing
Pic1
1
、
Unpacking: open the package and move out Handle jet printer.
2
、
Switch On: Press the Red power switch, wait for 15 seconds to entering edit screen.
3
、
Ink cartridge installation: Insert the ink cartridge into ink-tube system in correct direction.
4
、
Move off printhead cap, and then squeeze ink cartridge to drain out air and cleaner. Repeat
squeezing several times for new machine.( more details see page24)
5
、
Print:a) Click PRINTING key. b)Press the button of handlebar. c) move the Handle jet printer by
wheels (ensure the wheels contact to product surface)
6
、
If the screen cannot work when switch on, it may power off, please charge up the battery. When the
Red light turns into Green, means complete charging. The charging time is nearly 3 hours each time.


