Cybermind hi-Res800 Technical Manual Download Page 10


USING THE 

DEVICE (Cont’d)


TECHNICAL MANUAL


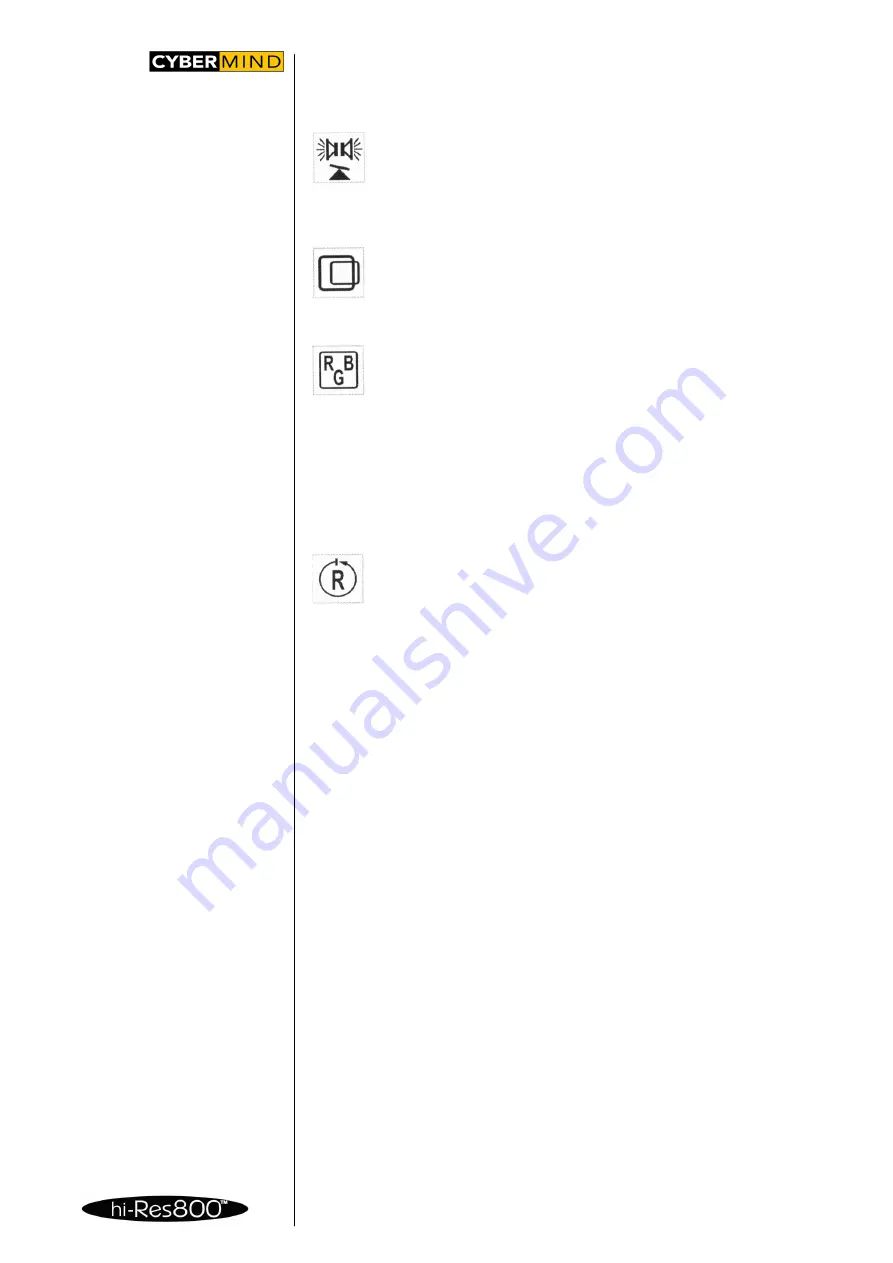
C. Audio Balance: 

Audio Balance allows you to adjust the sound between the left and right 
earphones.  When  the  Audio  Balance  submenu  appears,  you  may 
change  the  balance  by  pressing  the  ADJUST  (+  /  -)  buttons  until  you 
achieve  the  desired  balance.  Press  the  POWER  button  to  save  any 

changes you have made to the settings 
 
D. Centering Screen: 

If  the  image  on  the  screen  appears  to  be  off  center,  you  can  make 
adjustments  by  selecting  this  function.  Again,  use  the  ADJUST  (+  /  -) 
buttons  to  position  the  image  on  the  screen  as  desired.  Press  the 
POWER button to save any changes you have made to the settings. 

 
E. RGB Color Balance: 

Selecting the RGB (Red / Green / Blue) Color Balance icon allows you 
to make individual changes in the primary colors in each eye. From the 
main  OSD  menu  select  the  RGB  icon,  which  brings  up  the  next  sub-
menu.  Use  the  ADJUST  (+  /  -)  keys  to  select  which  eye  (LEFT  or 

RIGHT) you want to adjust (or EXIT to return to the main OSD menu). Then use the 
ADJUST  (+  /  -)  keys  to  select one  of  the  RGB  colors,  notice that  the  color  name 
(Red, Green, Blue) toggles as you press one of the Up (+) or Down (-) keys. Press 
the POWER button to go into the next sub-menu. Using the ADJUST (+ / -) keys, 
make  the  necessary  adjustments  to  the  color  you  have  chosen.  Once  you  have 
made the adjustments, press the POWER button to save the setting and return to 
the main OSD menu. 

 
F. Factory Reset Option: 

To  reset  all  settings  to  the  original,  factory  preset  levels,  highlight  the 
Factory Reset icon and select YES. 


For hi-Res800_PC-3D only 

 
G. 3D modes: 
Selecting this icon allows you to switch your hi-Res800_PC-3D between 2D and 3D 
modes. Please Note: Before switching to 3D mode, you will want to increase the 
refresh rate to a minimum of 60Hz. A Refresh Rate of 100Hz is preferable. (Please 
see the Set Refresh Rate” instructions on page 6) Once the hi-Res800_PC is set to 
3D mode, the user cannot make changes to the refresh rate or the resolution 
settings without first going back into 2D mode. 
 
3D Modes: 3D1 and 3D2 
The hi-Res800_PC-3D supports two 3D modes. In both modes, full resolution 
frame sequential image input is required. 
 
Mode 1: DDC Line Protocol 
The DDC line protocol is used principally by the nVlDlA Stereo drivers. If nVIDIA 
stereo drivers are active and outputting a 3D signal, the headset will automatically 
detect the DDC line and stay locked on the signal. Note: The DDC Line Protocol is 
the highest priority 3D function. If this signal is present, the headset will function 
correctly in either 3D1 or 3D2 modes. 
 
Mode 2: Frame Sequential Stereo 
With frame sequential stereo input the user can select either 3D1 or 3D2 to activate 
the frame swapping function. However, if the image on the headset is in reverse 
stereo, simply switch to the opposite mode, 
 
Line Interlaced Stereo 
The hi-Res800_PC-3D will also support Line Interlaced Stereo but only if the line 
blanking is done by I-0 Display’s proprietary Cruiser or MM Gamer VGA dongles. 
Please contact Cybermind for additional information. 


9

Summary of Contents for hi-Res800

Page 1: ...TECHNICAL MANUAL VERSION 1 0 _________________ INTERNATIONAL 2004 Cybermind B V ...

Page 2: ...VERSION 1 0 _________________ INTERNATIONAL TECHNICAL MANUAL HIGH QUALITY VGA SVGA HEADSET 1 ...

Page 3: ... individuals may experience nausea or disorientation while viewing certain games or videos If you feel a sense of dizziness or light headedness discontinue use Warning Consult your physician before using the hi Res800 PC if you or anyone in your family has an epileptic condition The optics assembly fitted inside the hi Res800 PC headset complies with part 15 of the FCC rules Operation is subject t...

Page 4: ...for Electronic Products 5 2 SUPPLIED ACCESSORIES 6 3 GETTING STARTED 6 4 CONNECTING THE DEVICE 7 5 USING THE DEVICE 8 9 6 WEARING THE HEADSET 10 7 TROUBLE SHOOTING 11 12 8 SPECIFICATIONS 13 9 TECHNICAL DATA 9 1 Use 14 9 2 Installation 14 9 3 Others 14 10 WARRANTY 10 1 Details 15 10 2 Terms and Conditions 15 11 NOTES 16 3 ...

Page 5: ...or 1 2 HEALTH CONCERNS Warning Eye Fatigue Eye Damage Loss of Visual Functions Misuse or overuse of this product may result in eye fatigue eye damage or loss of visual functions Stop using if you feel tired or experience headaches or discomfort Caution Sickness Headache Nausea If during use you experience any of the following symptoms stop using this product immediately and rest These symptoms may...

Page 6: ...se Caution Avoid Wet Humid Dusty and Smoky Environments This product may be adversely affected by wet humid dusty and smoky conditions which may result in property damage personal injury or death Do not use this product near or around water Avoid using or storing this product under these conditions Caution Avoid High Temperature or Direct Sunlight Avoid Mechanical Shock This product may be deforme...

Page 7: ...adjust your Desktop Area control to 800 x 600 pixels When you have selected the desired screen resolution click on Apply to accept the change Step 2 Set Color Resolution For best results make sure that your computer is set for a minimum of 16 Bit color resolution The color resolution settings are found in the Settings tab of Display Properties See Step 1 for instructions on finding Display Propert...

Page 8: ...e 1 1 Connect the VGA plug on the hi Res800_PC cable to the VGA output port on your computer 2 Connect the power supply plug on the hi Res800_PC cable to the power supply cube Plug the power cube into an AC electrical socket 3 Connect the audio plug on the hi Res800_PC cable to the audio output source on your computer 4 If the headset has been integrated with a tracking device it will need to be c...

Page 9: ...ct the icon for the display function you would like to activate Notice that the selected icon is highlighted Once you have highlighted the desired icon press and release the POWER button once to activate Once activated a new screen will open Use the ADJUST buttons to increase or decrease the setting between 0 and 100 Once you are satisfied with the new setting depress the POWER button to save the ...

Page 10: ...et all settings to the original factory preset levels highlight the Factory Reset icon and select YES For hi Res800_PC 3D only G 3D modes Selecting this icon allows you to switch your hi Res800_PC 3D between 2D and 3D modes Please Note Before switching to 3D mode you will want to increase the refresh rate to a minimum of 60Hz A Refresh Rate of 100Hz is preferable Please see the Set Refresh Rate in...

Page 11: ...unscrewing the ratchet Item A Place the headset over your head and tighten the ratchet until the headset is firmly in position 2 The stereo earphones Item B are in a fixed position Users of prescribed eyeglasses do not have to remove them before fitting the headset 10 ...

Page 12: ... the display unit with a soft dry cloth You continued using the hi Res800_PC for a long period without turning it off The micro displays have overheated Please Note The micro displays will NOT be damaged if they do overheat during operation The Picture suddenly disappears The battery pack or batteries are dead Recharge the battery pack or replace with new ones The Image Rolls has Static or is Jump...

Page 13: ...ange the screen resolution and the vertical frequency on your PC to match the supported output frequency Refer to the instruction manual of your PC Noises appear on the picture The input signal does not match the supported specification Change the screen resolution or the vertical frequency of the external display output signal on your PC to match the supported vertical frequency Refer to the inst...

Page 14: ...onnectors PC input D sub 15PIN A V input Stereo Mini Jack Power Supply Adapter supplied Output 9V at 800mA Power Consumption 4W Operating temperature 0C to 50C Storage temperature 0C to 60C Humidity 10 95 non condensing Weight Headset 800g untracked PC DISPLAY MODE Resolution Refresh Rate VGA 640 480 60 100Hz SVGA 800 600 60 100Hz Refresh Rate Double the input refresh rate up to 60Hz Above 60Hz th...

Page 15: ...you may develop eye fatigue If you find the screens misaligned have the product repaired Do not place the product in locations where it is wet humid dusty smoky or steamy Do not use this product near or around water It may cause fire or electric shock Especially do not use this product in the bathroom If the product is transported directly from a cold room to a warm location or if the room tempera...

Page 16: ...e Product Before returning any Products to Cybermind Nederland Customer must obtain a return to manufacturer authorization number RMA Customer will be responsible for the costs of returning Products under a warranty claim and if it is determined that a returned Product is not covered by this warranty Customer will pay for the costs of inspecting repairing if necessary and return of the Product fro...

Page 17: ...NOTES TECHNICAL MANUAL 16 ...

Reviews: