background image

9

INSTALL

INSTALL

INSTALL

INSTALL THE

THE

THE

THE FIXTURE

FIXTURE

FIXTURE

FIXTURE

1. Make sure that the point of fixing is stable before positioning the light, It must bear more than 10

multiple of the fixture's weight.

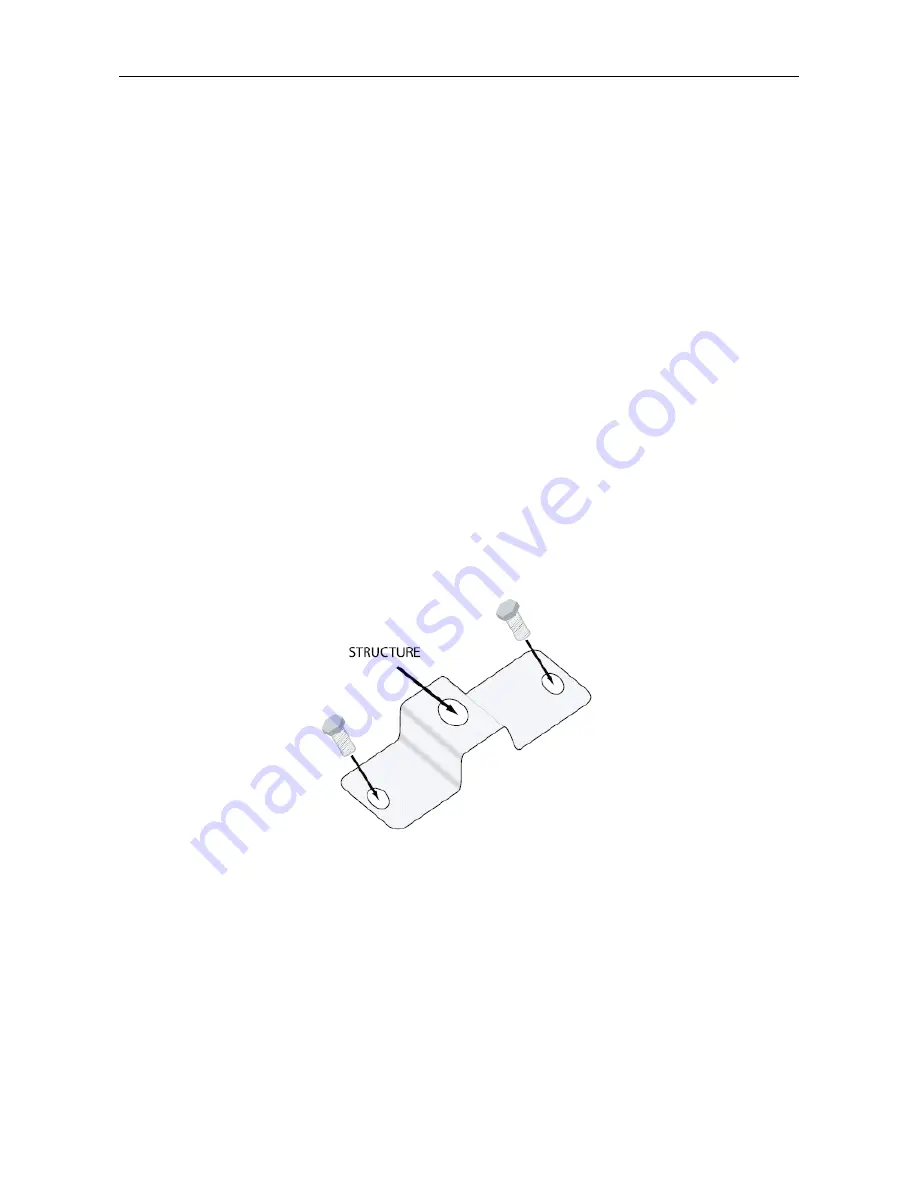
2. Use two special M10 bolts to fix the fixed-screw, which is in the projector’s soleplate, ensure

projector can’t fall. And must use safety belt to tie the projector’s handle and other fixing-point when

you fixing them.

3. When positioning the projector, the distance between the objects that beam hi and the lens of

projector should keep more than 1 meter, and the minimum distance from the surface of projector to

any flammable material should be at least 0.5meters. In order to ensure the light working normally

and stably, the ambient temperature must not exceed 35°.

Summary of Contents for AILISI-1060

Page 1: ... W LED LED LED LED MOVING MOVING MOVING MOVING HEAD HEAD HEAD HEAD SPOT SPOT SPOT SPOT 12 CHANNELS Please read over this manual before operating the light Professional Professional Professional Professional Stage Stage Stage Stage Lighting Lighting Lighting Lighting ...

Page 2: ...ture 3 Technical parameter 3 DMX 512 Channels 4 6 Digital display function 7 8 Install the fixture 9 Power supply mains and DMX 512 connecting 10 Rigging optional 11 Maintenance 11 Cleaning of lens system 11 Safety information 11 Alarm 12 Solutions to problems 12 ...

Page 3: ...y precautions listed below and observe all warnings in this manual Warning Always disconnect from mains supply before replacing the lamp or not it will burn the light 1 Disconnect the fixture from AC power before removing or installing the lamp fuses or any part and when not in using 2 Always make the fixture connected to the ground electrically 3 Please stop using when it is very hard to use and ...

Page 4: ...0Hz LIGHT SOURCE 60W LED POWER CONSUMPTION 150W BEAM ANGLE 18 1 COLOR WHEEL 6 colors open bi directional rainbow effect at variable speed 1 ROTATING GOBO WHEEL 7 interchangeable gobos open bi directionally rotating at variable speed 1 PRISM WHEEL 3 facet prism bi directionally rotating at variable speed FOCUS Linearly adjustable DIMMER 0 100 linearly adjustable STROBE 0 20 flash per second speed a...

Page 5: ...NNEL 1 SHUTTER STROBE RESET CHANNEL 2 DIMMER CHANNEL 3 COLOR WHEEL CHANNEL 4 ROTATING GOBO WHEEL CHANNEL 5 GOBO ROTATION CHANNEL 6 FOCUS CHANNEL 7 PRISM PRISM ROTATION CHANNEL 8 PAN CHANNEL 9 PAN FINE CHANNEL 10 TILT CHANNEL 11 TILT FINE CHANNEL 12 PAN TILT SPEED VECTOR MODE ...

Page 6: ... 94 Color 4 95 113 Color 5 114 127 Color 6 128 191 Rainbow effect clockwise fast to slow 192 255 Rainbow effect anticlockwise slow to fast CHANNEL 4 ROTATING GOBO WHEEL DMX512 signal 0 255 range Function 0 15 Open 16 31 Gobo 1 32 47 Gobo 2 48 63 Gobo 3 64 79 Gobo 4 80 95 Gobo 5 96 111 Gobo 6 112 127 Gobo 7 128 191 Rainbow effect clockwise fast to slow 192 255 Rainbow effect anticlockwise slow to f...

Page 7: ...o slow 198 255 Anticlockwise Rotating slow to fast CHANNEL 8 PAN DMX512 signal 0 255 range Function 0 255 0 450 CHANNEL 9 PAN FINE DMX512 signal 0 255 range Function 0 255 0 2 1 CHANNEL 10 TILT DMX512 signal 0 255 range Function 0 255 0 270 CHANNEL 11 TILT FINE DMX512 signal 0 255 range Function 0 255 0 1 0 CHANNEL 12 PAN TILT SPEED VECTOR MODE DMX512 signal 0 255 range Function 0 251 Fast to slow...

Page 8: ...7 ...

Page 9: ...8 ...

Page 10: ...ector s soleplate ensure projector can t fall And must use safety belt to tie the projector s handle and other fixing point when you fixing them 3 When positioning the projector the distance between the objects that beam hi and the lens of projector should keep more than 1 meter and the minimum distance from the surface of projector to any flammable material should be at least 0 5meters In order t...

Page 11: ...MX IN the diameter of each core must be 0 5mm In case of problems please use high quality shield cable of balance microphone cable and insert a terminal into socket for the end of projector Weld a 1 4W120 ohm resistor for 2nd 3rd Pin of 3 pin XLR connectors 3 Power on for the projector After finishing all the operations of above and make sure the lamp is no problem power on and checking it s good ...

Page 12: ...tance more than 1 M from equipment to flammable material or lighting source Maintenance Maintenance Maintenance Maintenance Cleaning Cleaning Cleaning Cleaning of of of of lens lens lens lens system system system system Wash exterior and interior optical mirrors to enhance the brightness in regular time especially when equipment used in messy surroundings Use mirror cleanser or alcohol to wash ext...

Page 13: ... very hot cool it for 5 minutes before operation Advise you to choose accessories produced by us when install and replace Whenever install or move equipment set an alarm to prevent others entering job site Do not put your hand between side arm and light structure when light working shown in picture 1 by arrow Keep the optical system clean Make the maintenance according to this manual when use in m...

Reviews: