Installing the Premium Cooler
13
Cat. No. 01021717
11. Turn ON the Red Power Switch to start the chilling and heating processes.
12. Verify that the compressor and heater are both working. This is best accomplished by placing a hand on top of
the compressor to feel for vibration, and by dispensing water from the hot tank (after five minutes), noting a tem-
perature increase in the water.
13. Verify that the UV Lamp is working properly by looking for a faint blue glow underneath the silicon fitting on the
top of the UV Lamp.
14. Replace the top cover, reservoir lid, and the front panel and all hardware, including screws, which will prevent
unsafe access by untrained persons.
15. Taste the water. Check the unit is clean and functions to the customer’s satisfaction. If you are not satisfied with
the quality of the water, check the filters and flush additional water through the unit.
16. Prior to leaving the unit, educate the customer on the necessary steps for dispensing Hot, Cold, and Room
water from the Premium Cooler.
17. Apply service maintenance label to side of cooler.
18. Apply marketing cross-sell to top of cooler.
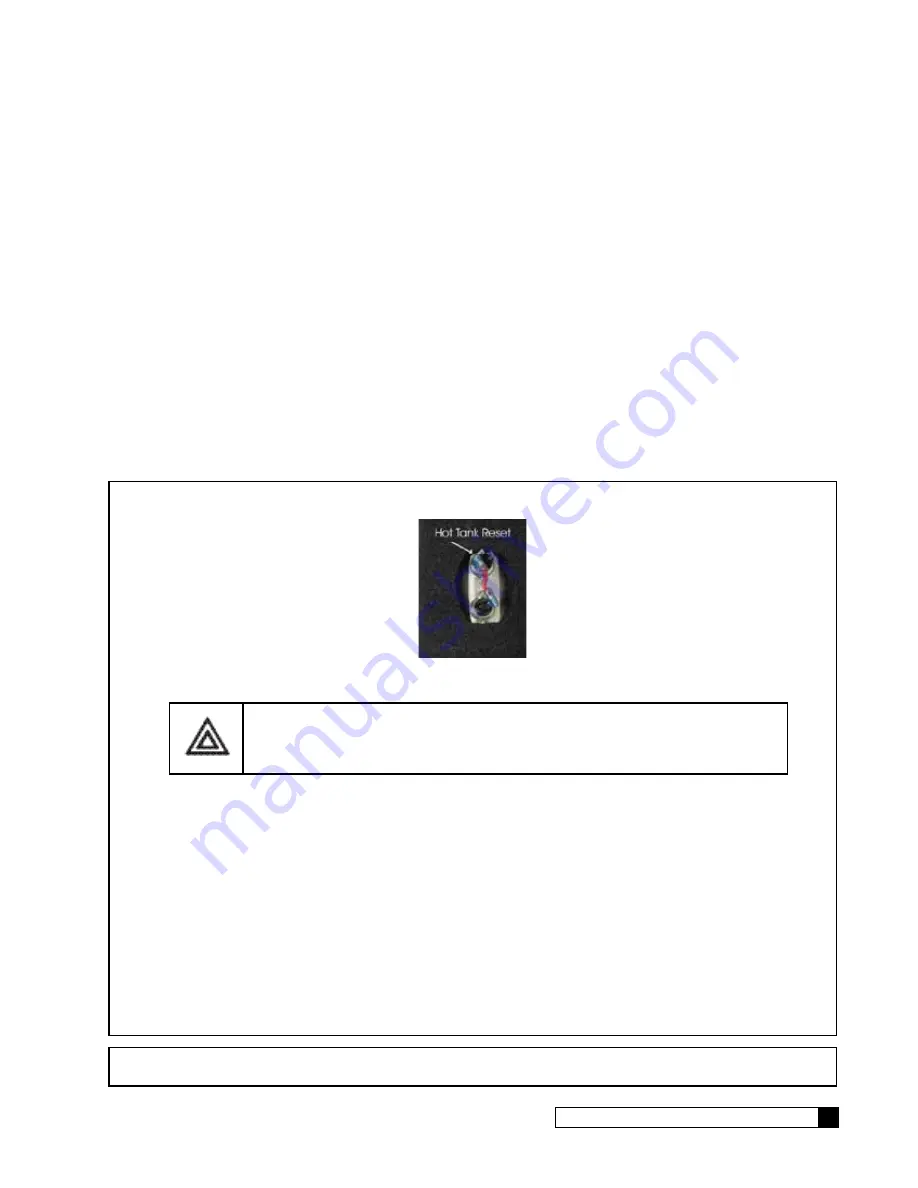
NOTE If an audible “click” is heard within 5 minutes of turning on the Red Power Switch, the hot tank is likely
empty, and has overheated. The overload device on the side of the hot tank will have to be reset.
CAUTION! Resetting the hot tank requires the power cord to be removed!
Once the power cord is removed, the reset button on the overload can be depressed by reaching your
arm and hand up from the bottom and up the side of the tank. This requires access through the lower
front panel of the Unit.
1. Remove the power cord.
2. Remove (4) screws on back face plate.
3. Pinch and pull white box off of hot tank reset.
4. Press the reset button on the overload by reaching your arm and hand up from the bottom and up the side of
the tank. This requires access through the lower front panel of the unit.
5. Replace white box.
6. Screw back on back face plate
NOTE All personnel should be aware of company requirements for their own cleanliness and hygiene when
installing, servicing or sanitizing a unit
Figure 5. Hot Tank Reset


