Page
2
of
4
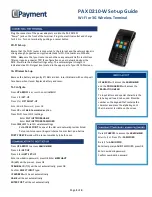
Press
UP ARROW
- to access
ADMIN MENU
Press 3 for
SET-UP
Press 3 for
SYSTEM SET-UP
Enter Admin Password, press OK
TERMINAL DATE
will be set automatically by host
TERMINAL TIME
will be set automatically by host
Set
Main
Comm mode
For WIFI: Enter or confirm Wi-Fi
NETWORK NAME/PASSWORD
For 3G wireless: Set
ACCESS POINT
to one of the SIM card network provider
listed: Telus: isp.telus.com or Rogers: internet.com or Bell: pda.bell.ca
PORT FOR ECR
mode will be set automatically in both cases
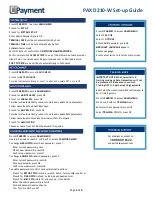
Press
UP ARROW
to access
ADMIN MENU
Press 4 for
KEY EXCHANGE
Terminal will automatically connect to Host and update KEYS, press OK
Press
UP ARROW
to access
ADMIN MENU
Press 6 for
MAINTENANCE
, press OK
Press 1 for
PARAM DLL
, press OK
Terminal will automatically connect to Host and update DLL parameters
Follow same steps to update EMV keys:
Press 2 for
EMV KEY DLL
, press OK
Terminal will automatically connect to Host and update EMV parameters
Follow same steps to Associate terminal with Wi-Fi network:
Press 3 for
ASSOCIATION
Choose network from list. Reset password if required
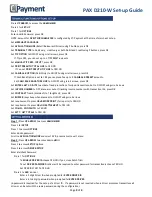
Press
UP ARROW
to access
ADMIN MENU
Use scroll arrows to reach 9, or Press 9 to access
PASSWORD MENU
To change
MERCH PWD
(merchant password), press 1
Enter current password, press
OK Set new password, press OK
Confirm new password, press O
To change
ADMIN PWD
(admin password), press 2
Enter current password, press OK
Set new password, press OK
Confirm new password, press OK
To enable password to restrict various terminal functions
Press 3 for
REPORT PWD
(clerk, pre-auth, batch, term config reports) or
Press 4 for
FINAN PWD
(refund, voided, keyed payments) or
Press 5 for
MISC PWD
(clerk ID, print set-up, close batch)
Enter the Admin password, press OK
For each password option choose:
Yes= Turn On No=Turn Off
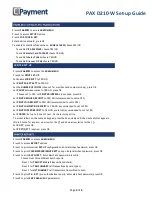
Press
UP ARROW
to access
ADMIN MENU
Select 3
SET-UP
Select 1
OPTIONS
Enter ADMIN password, press OK
MERCHANT LANGUAGE
appears
Choose Language
Press Cancel twice to return to main screen
IMPORTANT NOTE: When terminal is in
training mode any Sale transactions will not
be processed. Please ensure you turn
Training OFF to begin accepting payments.
Batch must be closed (complete settlement) to
be in training mode
Press
UP ARROW
to access
ADMIN MENU
Press/scroll to 8 for
TRAINING
mode
Enter merchant password, press OK
Select
TRAINING
YES/NO, press OK
For assistance contact us:
1 888 800 6622
TRAINING
MODE
PAX D210-W Set-up Guide

