PMS 711
2 cyan
85 magenta
76 yellow
10.25.12
CRU Mark
Page 7
6.2.2 Mounting and Unmounting Volumes
If the hard drive inside of the RTX carrier is already
formatted, you can begin using the volume right away.
When the RTX-3QR is properly connected and turned on, a
window may open to allow you access to the volume. If no
window appears, find the volume by double-clicking on the
My Computer icon on the desktop (Windows XP), by clicking
the Computer button in the Start Menu (Windows Vista, 7,
Server 2008 product family ), by clicking on Computer in the
navigation pane of a File Explorer window (Windows Server
2012 ), or by opening a File Explorer window (Windows 8.1,
RT 8.1, Server 2012 R2 ).
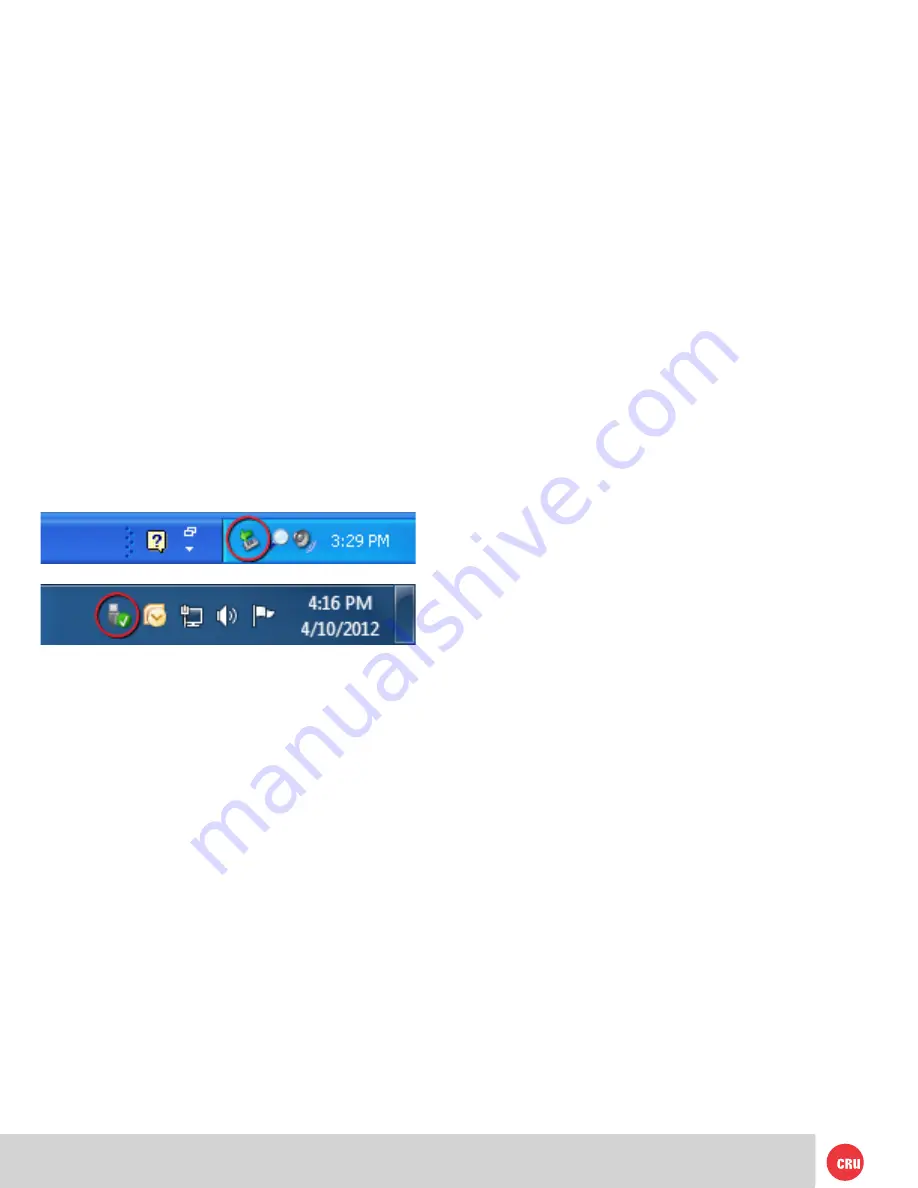
Unmounting a USB or Firewire Volume
Unmount the RTX-3QR before powering it down by left-
clicking the green arrow icon on the task bar (in Windows
XP) or the USB plug icon with the green checkmark on the
Desktop task bar (Windows Vista, 7, 8.1, RT 8.1, Server 2008
and 2012 product families ), and then selecting the proper
device from the menu that pops up. You may have to click
on the Show Hidden Icons arrow on the task bar to find
the correct icon. Windows will indicate when it is safe to
disconnect the RTX. Disconnecting the RTX without first
ejecting it can result in data loss.
Unmounting an eSATA Volume
If you purchased an eSATA host card that supports hot-
swapping, follow the instructions for unmounting a USB or
FireWire volume above. Many eSATA hosts do not support
this feature. However, freeware utilities are available on the
Internet that provide a similar function. You may download
one of these utilities or follow these instructions: Ensure
no file transfers are taking place by making sure the Drive
Activity LED is not blinking, as disconnecting the unit
while a file transfer is in progress can result in data loss.
Then disconnect power to RTX You may need to restart your
computer in order to remount RTX.
7 Encryption (RTX Secure models only)
• RTX Secure uses full disk hardware encryption to
encrypt the entire contents of the drive—including
the boot sector, operating system and all files—
without performance degradation.
• The Security Key must be installed prior to powering
on the RTX Secure for the data to be decrypted on the
drive. If the key is externally connected to the Mini-
USB Security Key Port and is not internally installed,
then once it has been accepted, it may be removed
and stored in a safe location. Always store Security
Keys apart from the data so that in the event that the
drive is lost or stolen, the data is protected.
• When a drive is formatted using an encryption key,
the same or a duplicate key must be used in order to
access the data. There is no “back door” to access
the data; lost keys make data recovery virtually
impossible.


