I-Tech Series
Power Amplifiers
Operation Manual
page 25
4.5.5 TCP/IQ Addressing Rules
In the next section, you will be assigning TCP/IP addresses to the devices in your network.
When you do so, be sure to follow the addressing rules below. Otherwise, the computer
may not communicate with the devices.
1. Turn off DHCP (automatic addressing). This will be done in Instruction 1C, described
later.
2. Assign each device a static (fixed) IP address. An IP address is made of four numbers
separated by periods. Each number can be zero to 255. The last number can never be a zero
or 255. For example, 126.126.17.1 could be an IP address. 126.126.17.0 would not be a
valid IP address.
3. Make sure that the computer and all the devices have the same NETWORK IDs in their
addresses. This tells the computer that all those devices are on the same network. Various
tools are available to determine whether devices are on the same network. In TCP/IQ utility
described later, if items are NOT on the same network, they are highlighted in the list.
4. Make sure that each component has its own TCP/IP address, and there are no duplicate
addresses. The same holds true for IQ addresses.
5. Assign a subnet mask. Make it the same for all devices on the network. If the network you
are assembling will interconnect with other networks, your network is considered to be a
subnet within the larger network. Check with the network administrator to determine the
proper Subnet Mask for your subnet.
If you have a stand-alone network, set the Subnet Mask to 255.255.0.0 for all components,
including the computer.
Note: Just because two components have the same subnet mask does not mean that they
are on the same network. As we said, the subnet mask just tells what part of the TCP/IP
address is the Network ID.
1.
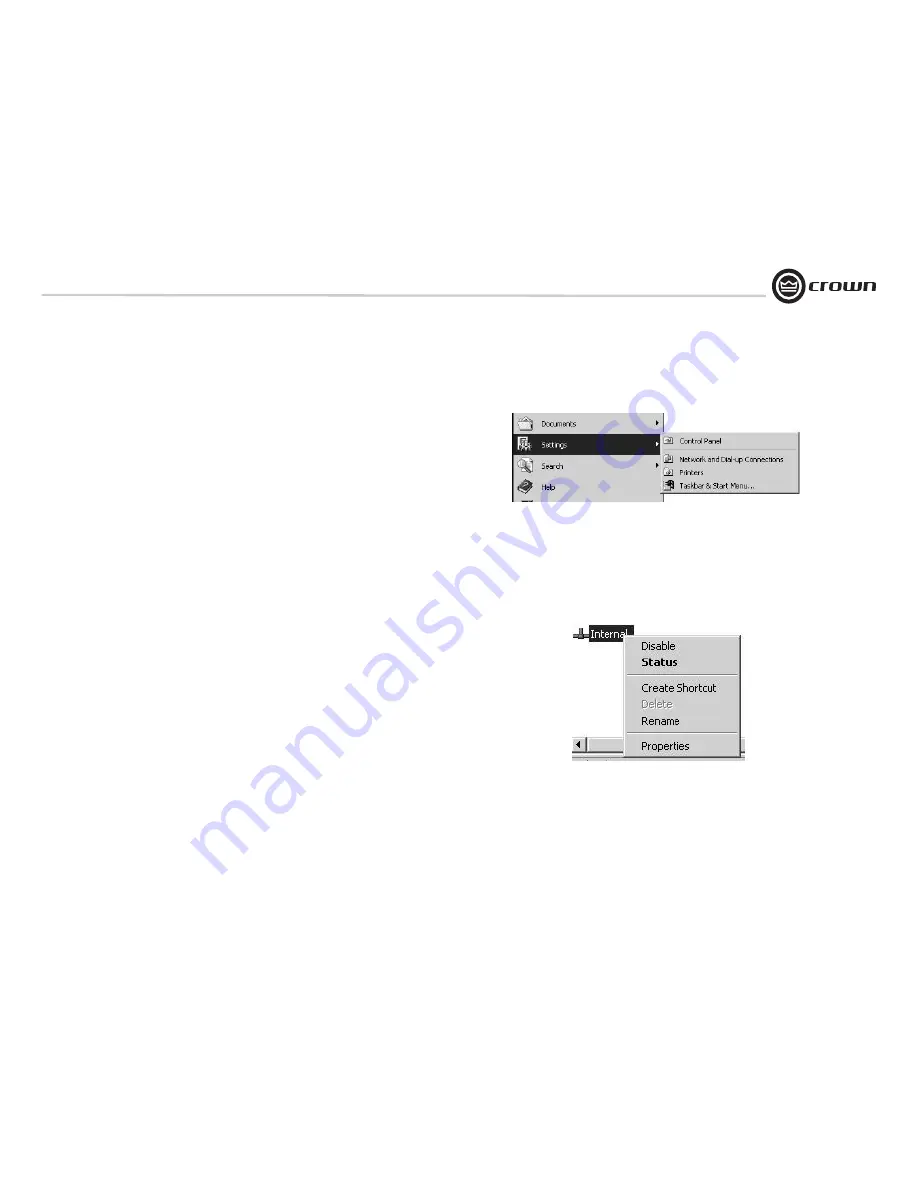
Select Settings > Control Panel > Network Connections (Figure 4.4). Set a static TCP/IP
address and Subnet mask on the master computer. Document the address and mask.
Figure 4.4 Selecting Settings > Control Panel
1A.
Right-click on LAN Connections. Then select Internal > Properties (Figure 4.5).
Figure 4.5
Result of Clicking LAN Connections > Internal
4 Advanced Operation
Summary of Contents for I-Tech I-T4000
Page 48: ...Operation Manual I Tech Series Power Amplifiers page 48 THIS PAGE INTENTIIONALLY LEFT BLANK ...
Page 50: ...Operation Manual I Tech Series Power Amplifiers page 50 THIS PAGE INTENTIIONALLY LEFT BLANK ...
Page 51: ...I Tech Series Power Amplifiers Operation Manual page 51 THIS PAGE INTENTIIONALLY LEFT BLANK ...
Page 52: ......


