Cricut Cake Personal Electronic Cutter User Manual Download Page 17


ENGLISH   

17


16 

ENGLISH

TIP:

 To cut two proportionate characters (such as a base character and its shadow) 

using the 

Fit to Page

 mode, select the 

Fit to Page

 mode with the larger character 

(shadow) selected first. Press the 

OK

 button to see the calculated size of the charac-

ter and press 

CUT

. Note this size. Unload and remove that cut and load in your next 

cutting mat and material. Then turn off the 

Fit to Page

 mode and select the noted 

calculated size for the smaller (base) character. These two cuts (the shadow and the 
base) will now be in perfect proportion to each other.

TIP:

 After making your cutting selection, press the 

OK

 button to see the calculated size 

of the cut.


TIP:

 The length in this mode is dependent upon the currently selected unit of measurement 

(Inches—1/4ths, Inches—1/10ths, cm, or mm). The

 Fit to Length

 measurement will adjust to 

the nearest increment, so it will not create proportions between characters that are per-
fect to the dial size. If you want to be more exact, use mm as your unit of measurement.
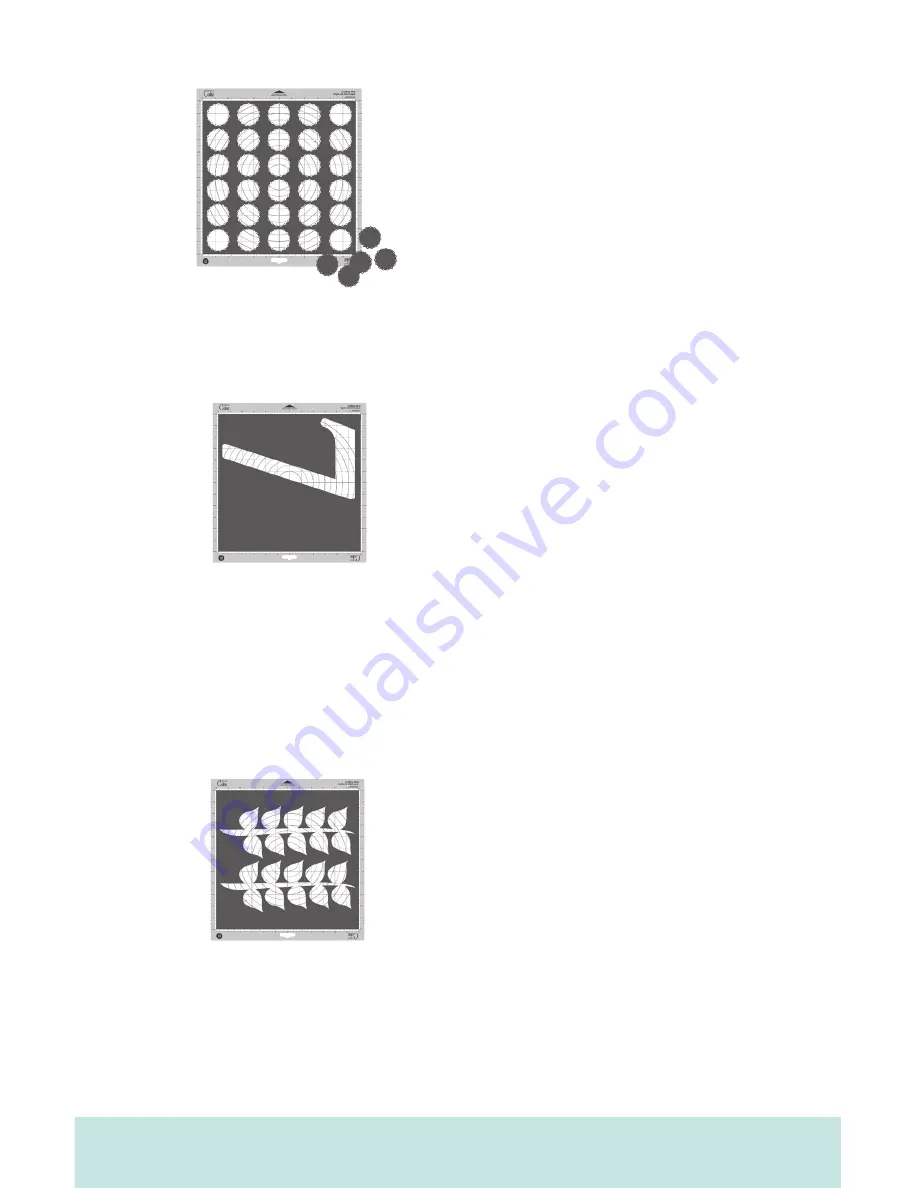
The 

Quantity

 mode allows you to choose the 

number of cuts you want of those selected on 
the display. To use the

 Quantity

 mode, press 

the 

Quantity

 button until the button is backlit 

in green and the display reads “Quantity on” 
and offers instructions. Then use the plus and 
minus arrows (the Left and Right Arrow Buttons) 
to indicate the quantity of cuts desired. Then 
make your cutting selection and press 

CUT

. The 

display will show a running total of how many 
cuts from the selected quantity have been cut. 
If the quantity selected exceeds the amount 
of available material, you can unload the mat 
and load more. The machine will keep track of 
the number of cuts made. 

The 

Fit to Page

 mode maximizes the size of the 

character on the page, overriding the size set 
with the Size Dial. To use the

 Fit to Page

 mode, 

press the 

Fit to Page

 button any time before 

pressing the 

CUT

 button. The mode will be on 

when the button is backlit in green. After 
pressing 

CUT

, the display will preview the cut 

height and length before the machine begins 
to cut.

The

 Fit to Length

 mode allows you to set the size 

of the length of a designated cut. This mode 
is only available in the Landscape mode. This 
mode takes out the guesswork of setting the 
height of each cut with the Size Dial and 
hoping to make a cut a certain length. To use 
the

 Fit to Length

 mode, press the 

Fit to Length 

button so that the button is backlit in green. 
Then make your cut selection and determine 
the length using the Size Dial on the right side 
of the front of the machine. Press 

CUT

 and the 

display will preview the height before the ma-
chine begins to cut. The

 Fit to Length 

mode will 

apply to all cuts on the display screen.

Pressing the 

OK

 button once the quantity count has started will reset the cut tally back to 

zero, whether or not you’ve adjusted the quantity using the Left and Right Arrow Buttons.

Summary of Contents for Cake Personal Electronic Cutter

Page 1: ......

Page 2: ...is specifically designed for decorating professional looking cakes cupcakes cookies and confections in no time at all Just choose a shape a size and press cut Decorating like a professional has never...

Page 3: ...ridges Creative Features built into every Cricut cartridge allow you to add special effects to characters There are literally thousands of custom combinations you can use to make each project uniquely...

Page 4: ...13 Cutting Characters 14 Size Dial 14 Cutting Your Selections 14 Removing Your Characters from the Cutting Mat 14 Advanced Operations 15 Creative Feature Keys 15 Shadow Feature 15 Advanced Keys and B...

Page 5: ...CAKE that contain images or fonts Documentation means any documents provided with CRICUT CAKE when purchased including but not limited to the User Manual 2 LICENSE TO USE Subject to the terms and cond...

Page 6: ...rpose without the express written consent of PROVO CRAFT Any such authorized use of the PROVO CRAFT marks inures to PROVO CRAFT s benefit 9 U S GOVERNMENT RESTRICTED RIGHTS If software is being acquir...

Page 7: ...ly 4 Cake Basics cartridge cartridge binder keypad overlay and handbook 5 12 x 12 30 48 cm x 30 48 cm foodsafe cutting mat ENGLISH 7 6 Quick Start Guide 7 Power adapter 8 Cleaning guide 9 Cartridge pl...

Page 8: ...or cleaning DO NOT place your fingers or other objects in the Cricut Cake machine while connected to electri cal power powered on or during cutting operations Rapid movements of the cutting carriage...

Page 9: ...of the carriage Locate the silver screw and turn it counter clockwise until it loosens enough that you can swing the screw to the right Be careful not to loosen the screw too much or it will fall out...

Page 10: ...t directly exposed to the effects of the weather away from direct exposure to sunlight or extreme temperatures such as in parked cars storage sheds sunrooms etc WARNING Your Cricut Cake machine should...

Page 11: ...Material on Cutting Mat Insert a Cricut cartridge with cartridge skirt into the cartridge slot located in the front of your Cricut Cake machine Turn it on by pressing the On button near the CUT butto...

Page 12: ...mat and mate rial If the mat does not load press the Unload Mat key and try again Load Cutting Mat into Machine If you want to stop the Cricut Cake machine from cutting before it is finished simply p...

Page 13: ...2 30 48 cm x 30 48 cm or 12 x 24 30 48 cm x 60 96 cm depending on the mat size selected Place the material on the cutting mat aligning it in the lower left corner of the mat as indicated even if cutti...

Page 14: ...tting mat be sure to select a size that will fit on the material you are using a warning message will display on the display if your size is too large The Cricut Cake machine includes four units of me...

Page 15: ...reative Features vary from cartridge to cartridge and provide a multitude of creative options Refer to a Cricut cartridge s handbook for a full review of the Creative Features that are available on th...

Page 16: ...button again to return to Landscape mode You will need to load the paper and cutting mat again The Mix n Match mode allows multiple Creative Features or the Flip function to be applied to only certain...

Page 17: ...cate the quantity of cuts desired Then make your cutting selection and press CUT The display will show a running total of how many cuts from the selected quantity have been cut If the quantity selecte...

Page 18: ...button is backlit in green Then make your character s selection set the Size Dial and press CUT The Multi Cut function allows you to cut the cut lines of a selected character s two three or four times...

Page 19: ...nits menu allows you to choose one of four units of measurement Inches 1 4ths Inches 1 10ths cm or mm 3 The Multi Cut menu allows you to choose the numbers of cuts 2 3 or 4 to be used for the Multi Cu...

Page 20: ...sized according to the selected dial size rather than cutting proportionate to the Key Height Character or the base shape TIP Only one dial size can be selected for each cut and that dial size will b...

Page 21: ...indicate the pressure level ranging from one bar Min to five bars Max As a general rule increase the pressure if your selections are not being cut completely through the material Basic Care Blade Lif...

Page 22: ...Brush out any excess crumbs Unplug machine before further cleaning Wipe down your machine with a soft lightly damp cloth Do not use a dripping cloth Water can damage electrical parts Remove cartridge...

Page 23: ...e material with the bottom left corner of the mat even in the Portrait mode Once the mat is loaded use the Blade Navigation Buttons to move the cutting blade down to the upper right corner of the new...

Page 24: ...eed replacement Refer to the Replacing the Cutting Blade section on page 21 Problem The material lifts off the mat as the Cricut Cake machine is cutting Possible Solution 1 Make sure you press the mat...

Reviews: