Product Manual — Doc. 9321A
IV-CAMFL-N-W-1B • 23
Adjusting Exposure
In challenging lighting conditions, adjusting exposure compensation might be necessary in order
to guarantee optimum tracking performance.
1. Open OSD Menu
2. Enter EXPOSURE Settings
3. Adjust Exposure Settings to your liking.
Test and Refine Tracking Performance
Now that the initial configuration is complete, test tracking behavior using a stand-in presenter.
Have the presenter walk around and monitor the camera to pinpoint any unwanted motion or
incorrect framing.
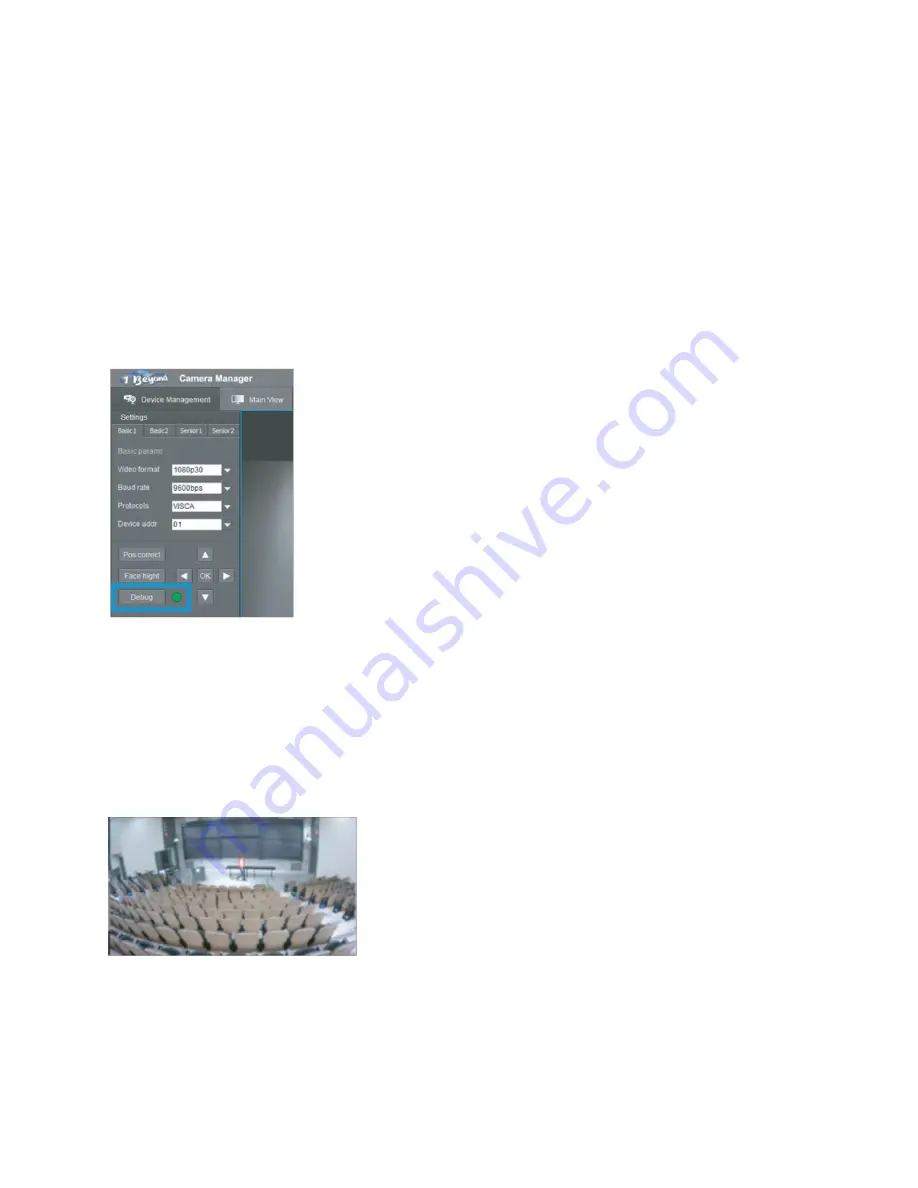
To activate Debug mode:
1. In the first tab of the Tracking (Lecturer) settings, click the Debug button. The green
indicator reflects whether this mode is turned on or off.
2. Once this mode is engaged and tracking starts, monitor the camera’s motion and facial
detection behavior.
If motion has been detected within the Tracking Zone, the full-room view feed will show a green
box in that area of the frame.
The tracking shot moves to and zooms into the area where motion has occurred. As it is zooming
in toward the position defined in Preset 1, the full-room view shows a red box around the
presenter’s face once it has been detected.


