Quick Installation Guide
1.
Connect the OSD Controller to the Service Monitor port of the network camera.
2.
Connect Service Monitor and the Video Output port of the OSD Controller.
3.
Press the SET button to access main Menu.
4.
Change Camera ID, and IP Address. You can change the Name or Title and IP address of the
camera. Using the
↑↓←→
buttons on the controller, you can change the parameters.
5.
Select SAVE or CANCEL to exit the Main Menu.
Video Output is used for an easy zoom and focus control when installing lens. Video Output is
restricted to 704x480(576) resolution.
▶
Zoom & Focus Control
The camera enters Zoom and Focus control mode as soon as connecting OSD Controller to the
Service Monitor port.
-. Zoom Control:
↑
(Zoom In),
↓
(Zoom Out)
-. Focus Control:
←
(Focus Near),
→
(Focus Far)
-. Smart Focus: Press and hold the SET button for 2 or more seconds. The camera readjusts
focus automatically.
Note: You can get the Optional OSD Controller from your installer.
Heater Kit Installation(Optional)
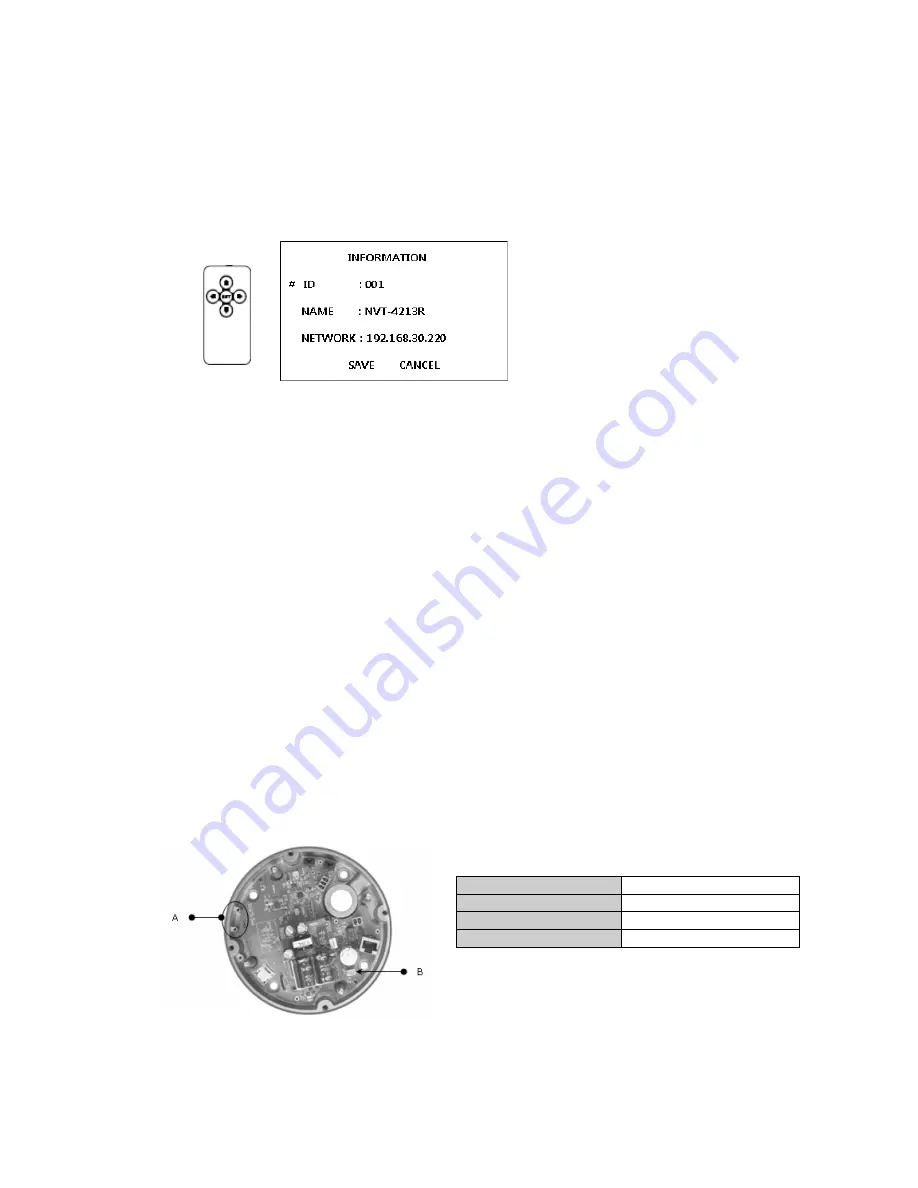
1. Place the heater element is slot “A”. Please ensure that the cables are facing upwards and the
heater is pointing towards the Dome.
2. Place the plug in the Connector “B” (J13) which is found on the controller board.
•
Heater (IF Applicable)
Power Supply
AC24V
Power Consumption
20Watt
Heater On
at 41°F (5°C)
Heater Off
at 59°F (15°C)
Note: The Heater module does not come equipped with the camera; however can be purchased as
an option.
5


