INSTRUCTION MANUAL
Models: 6755 – 120V 6756 – 100V 6758 – 230V UK 6759 – 230V EU
CLS-EQ-104 October 2013 , Document 01, Revision 02
Page 1: ...INSTRUCTION MANUAL Models 6755 120V 6756 100V 6758 230V UK 6759 230V EU CLS EQ 104 October 2013 Document 01 Revision 02...
Page 2: ...Removing the rotors 2 2 Operation 2 2 1 Power switch 2 2 2 Lid release 2 2 3 Lid lock 2 2 4 Pre selection of speed RCF value 2 2 5 Pre selection of running time 2 2 6 Pre selection of brake intensity...
Page 3: ...with defective hermetic sealing s is strictly prohibited The user is obligated to perform appropriate disinfection procedures in case dangerous substances have contaminated the centrifuge and or its...
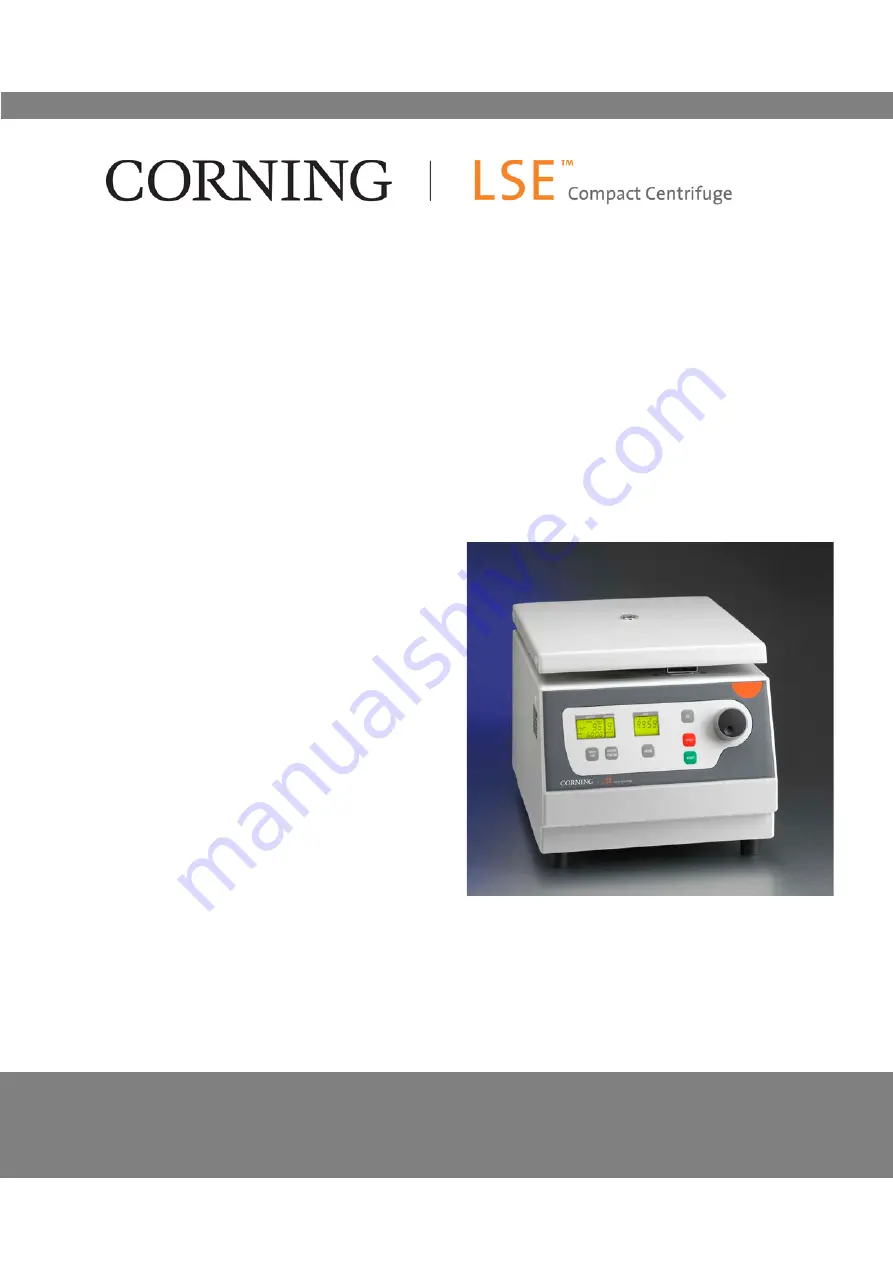
Page 4: ...elevant run parameters can easily be set with keys and be pre selected with the main adjusting knob All pre selected respectively actual values are permanent displayed on large LED s The lid is latche...
Page 5: ...entrifuge Remove all material inside unit The instruction manual must always be kept with the centrifuge 1 2 1 2 Space requirements The centrifuge should be installed on an even and solid surface if p...
Page 6: ...Technical Data Type Model Corning LSE Compact Centrifuge Dimensions Width Depth Height 28 cm 37 cm 26 cm Weight 15 kg Noise level max 60 2 0 dB A Max speed Max volume Max RCF Admissible density Admis...
Page 7: ...A digital device pursuant to both Part 15 of the FCC Rules and the radio interference regulation of the Canadian Department of Communications These limits are designed to provide reasonable protection...
Page 8: ...al numbers before 7412 5031 120V or 7412 0011 230V multiply the displayed G force by 1 05 96 For serial numbers after 7412 5031 120V or 7412 0011 230V 53 Switch on the unit and open the lid Now press...
Page 9: ...list 5 Operation of imbalance sensor 6 Operation of keyboard 7 Display test If the centrifuge is still turned off press simultaneously the keys time 4 and lid 1 and turn on the main switch of the cent...
Page 10: ...ormation can be called up A previous starts of the centrifuge see photo 3a H previous operating hours S software version E list of previous error messages F U only for service purpose P C The list of...
Page 11: ...e rotors Clean the drive shaft as well as the location hole of the rotor with a clean grease free piece of cloth Place the rotor onto the drive shaft see photo 4 Take care that the motor shaft is plug...
Page 12: ...should check the fixing screw before each run see photo 5 2 OPERATION Hold the rotor with one hand and secure the rotor to the shaft by turning the fixing screw 1 clockwise see photo 6 photo 6 1 CLS...
Page 13: ...e rotor to the shaft by turning the rotor screw 1 clockwise The charging of the buckets and the adapters must be done appropriately photo 10 In principle swing out rotors may not be taken in operation...
Page 14: ...maximum speed allowed for this rotor see label on rotor must not be exceeded The liquids the rotors are loaded with should have an average homogeneous density of 1 2 g ml or less when the rotor is ru...
Page 15: ...left side of the unit Photo 11 Attention After turn on the power switch you have to open the lid of the unit first before starting the centrifuge 2 OPERATION 2 2 2 Lid release After the run respectiv...
Page 16: ...8 Simultaneously it appears in that display the word rotor 10 as well as the code number of the rotor which is in the centrifuge i e nr 96 11 With that all rotor specifically data like e g max speed a...
Page 17: ...The setting range is between 20 x g and the maximum permissible centrifugal force of the rotor The maximum speed of the CORNING COMPACT is 6000 rpm resp 4180 x g Photo 13 Max Revolution per minutes of...
Page 18: ...r with open or closed lid of the centrifuge To activate the setting of the running time press the key time 4 In the display time flashes the indication m s or h m 15 depending on the previous setting...
Page 19: ...ccel decal 5 twice in the display acc dec indicates the word decal 17 Now the desired brake intensity can be pre selected by the adjusting knob 7 The value 9 is equivalent to the shortest and the valu...
Page 20: ...e pre selected running time has ended then the centrifuge will stop automatically or you can interrupt the run in the mode cont with the key stop 2 Photo 16 2 2 8 The STOP key By the stop key 2 you ca...
Page 21: ...display time the word error together with the number 01 18 appear the weight difference of the samples is too huge Weight out the samples exactly Load the rotor as described in chapter 2 1 1 When in...
Page 22: ...ntrated acids Solutions containing heavy metals Water free chlorinated solvents Saline solutions e g salt water Cleaning Thorough cleaning not only has its purpose in hygiene but also in avoiding corr...
Page 23: ...o ensure yourself you would not damage the unit or the rotor by applying the designated method 3 1 4 Disinfection of PP rotors Autoclaving The recommended time for autoclaving 15 20 min at 121 C 1 bar...
Page 24: ...rvey of possible error messages and their solutions 4 2 1 Lid release during power failure Emergency Lid Release In case of power failure or malfunction the lid of the centrifuge can be opened manuall...
Page 25: ...4 2 3 Error messages Errors that may be indicated in the LCD display Error No Description 01 Imbalance arose 02 Imbalance sensor is defective 14 Leap of speed is too big between 2 measurements 30 Moto...
Page 26: ...d out wheelie bin symbol if present on the product indicates that the product was planned for use in a country complying with the Waste Electrical and Electronic Equipment EU Directive 2002 96 EC This...
Page 27: ..._____________ E mail _____________________________________ Pos Crowd Decontaminated object Serial number Description comment 1 2 3 4 Are these the parts listed above in touch come with the following s...
Page 28: ...0 492 1110 t 86 21 2215 2888 t 0800 101 1153 t 978 442 2200 f 86 21 6215 2988 f 0800 101 2427 f 978 442 2476 India The Netherlands t 91 124 4604000 t 31 20 655 79 28 www corning com lifesciences f 91...
Page 29: ...CLS EQ 104 October 2013 Document 01 Revision 02...