9
8
4. TAKING PICTURES
1.
Switch the camera on.
Press the Power button to turn the power on.
2.
Compose the image on the preview screen
.
If necessary, use the Zoom function to magnify the scene. Press
the
ok
button to zoom in on the subject. The digital magnification
ranges from 1.0x to 6.0x. Note that the more the image is
magnified, the grainier the image may become.
When you record video clips, the zoom function is not available.
3.
Choose a Flash mode.
Press the button to choose a flash mode:
Auto Flash: Let the camera choose when to use the flash.
Always On: Always use the flash.
Flash Off: Never use the flash.
The flash has an effective range of 0.9-1.5m (35-59”).
4. If you do not want to use the camera’s automatic settings, select a
special
SCENE MODE
(see “Setting the Scene Mode”, opposite).
5. Press the shutter button to capture the image.
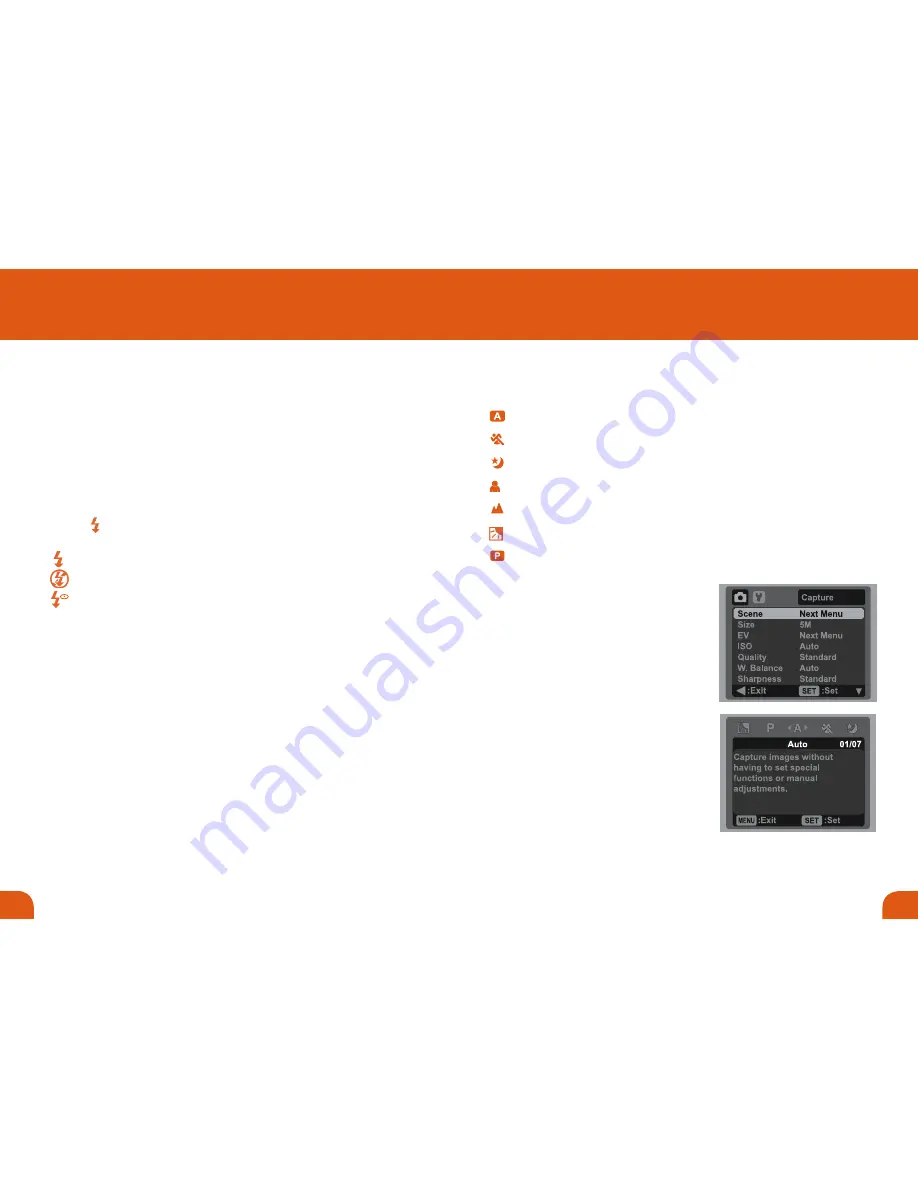
SETTING THE SCENE MODE
The camera has six scene mode settings for the following
To set a scene mode:
1. Press the
MENU
button.
The Capture Menu is displayed.
2. Use the
p
/
q
buttons to select
Scene Mode.
3. Press the
OK
button.
4. Use the
p
/
q
buttons to select the
required mode.
5. Press the
OK
button.
6. Press the
t
button to exit the menu.
Whenever you switch the camera on, the
AUTO
scene mode is selected.
Auto:
Let the camera choose the settings.
Sport:
Fast moving subjects.
Night:
Dark scenes such as night views.
Portrait:
Make the foreground stand out against a defocused (blurred) background.
Landscape: Capture an image with infinity focus, high sharpness and high saturation.
Backlight:
Capture images when the light comes from behind the object.
CAPTURING IMAGES
[blank]
Red eye reduction.
Program AE: Manually set parameters other than shutter speed and aperture value.
!
Ref. ID 2320, Rev. A


