


Portable DAB Radio
G555
Instructions for Use
Please read and retain these instructions for future reference v002: 20/04/20
Page 6
*Set date format: DD-MM-YYYY/MM-DD-YYYY Cycle through Time menu by Push
the SELECT button, select a particular option, and Push the SELECT button
changes.
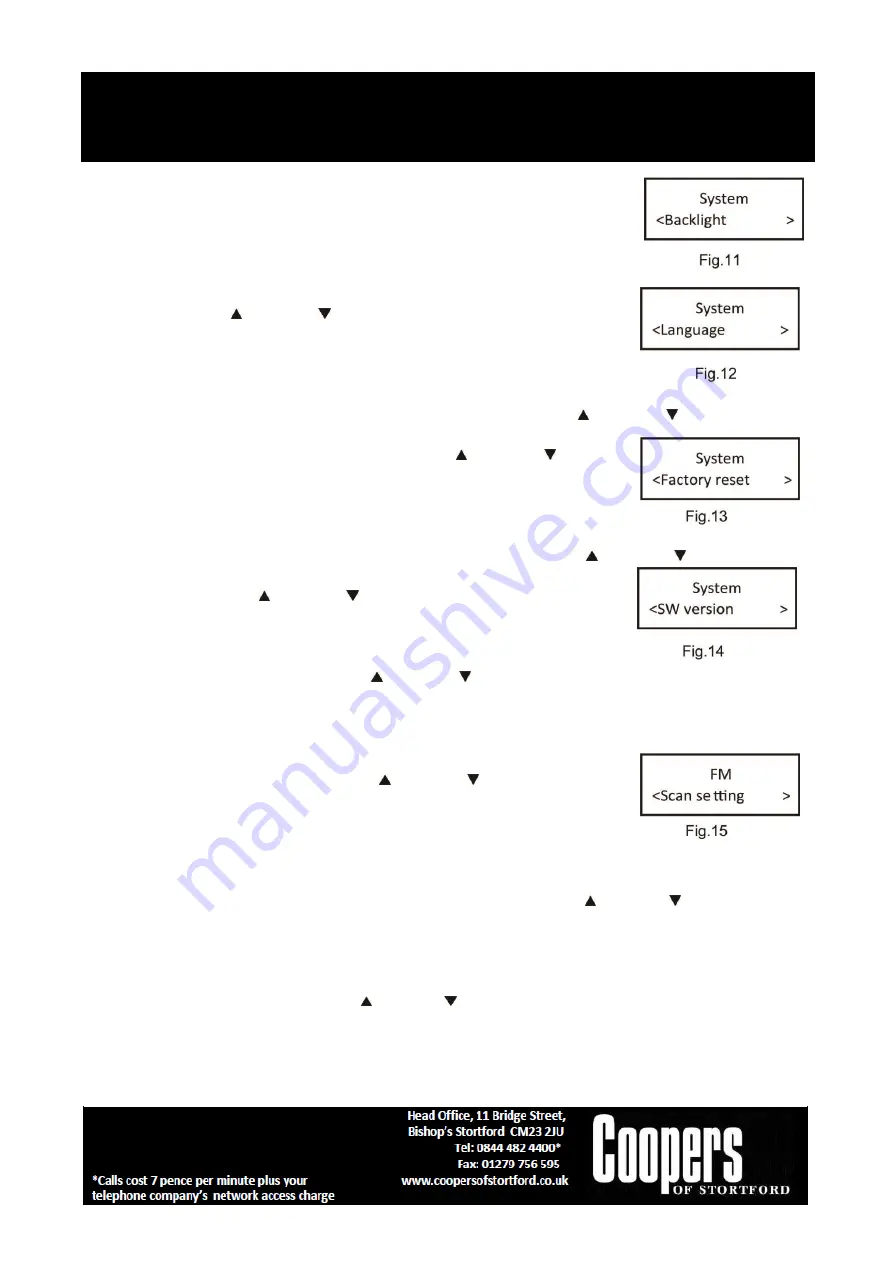
6.1. Backlight
–
this radio display has a backlight which can be adjustable. You can
select the time out of the display backlight of your radio. Under the system
menu, press the Next / Previous Button button to select
“Back
light” through the list of menu,
Push the SELECT button to confirm to
‘High’, ‘Medium’ or ‘Low’.
6.2. Language
–
the language used for display messages can be selected from
below options: English | Francais Under the system menu, press the Next / Previous Button to select
“Language” through the list of menu,
Push the SELECT button to confirm to
fig.12. Cycle through Language menu by press the Next / Previous Button,
select and stop at a particular language, Push the SELECT button to confirm.
6.3. Factory Reset
–
this function clears all user defined settings, replacing them
with the original default values, so time/date, preferences/settings, DAB station
list and preset stations are all lost. Under the system menu, press the Next / Previous Button to select
“Factory Reset” throu
gh the list of menu, Push the SELECT button to confirm to
fig.13. Then, use the Next / Previous Button to choose <Yes> and Push the
SELECT button to start the factory reset.
6.4. Software version
–
this is used to display the current software version.
Under the system menu, press the to Next / Previous Button
select “Software version” through the list
of menu fig.14, Push the SELECT button to confirm. Then, the existing SW version will be showed.
FM MODE
–
CHOOSING MENU OPTIONS
1. If the DAB Digital Radio is in FM mode, press and hold MENU/ INFO button to
enter the menu list to fig.15. Press the Next / Previous Button to select
option through the list of menu. Then, stop at your preferred option and Push
the SELECT button to confirm. The menu options are: scan setting, audio setting,
system.
2. Scan setting
–
by default, FM scans stop at any available station (All stations). This may result in poor
quality audio from weak stations.
Options: Strong stations only / All stations Under menu list, press the Next / Previous button to select a
particular optio
n in “Scan setting”, then
Push the SELECT button to confirm the change to new setting to
fig.15.
3. Audio setting
–
by default, all stereo stations are reproduced in stereo. For weak stations, this may result
in poor quality audio. The audio quality can be improved using mono. Options: Stereo allowed | Forced
mono Under menu list, press the to Next / Previous button
select a particular option in “Audio setting”
to fig.16, then Push the SELECT button to confirm the change to new setting. It will automatically change to
new setting after 3 seconds.


