


Portable DAB Radio
G555
Instructions for Use
Please read and retain these instructions for future reference v002: 20/04/20
Page 5
2.
If the DAB radio is in FM mode, press MENU/INFO button to select different info to show on the
display, such as radio text, PTY (Program me Type), PS (Program me Service), stereo/mono, time,
date.
DAB MODE
–
CHOOSING MENU OPTIONS
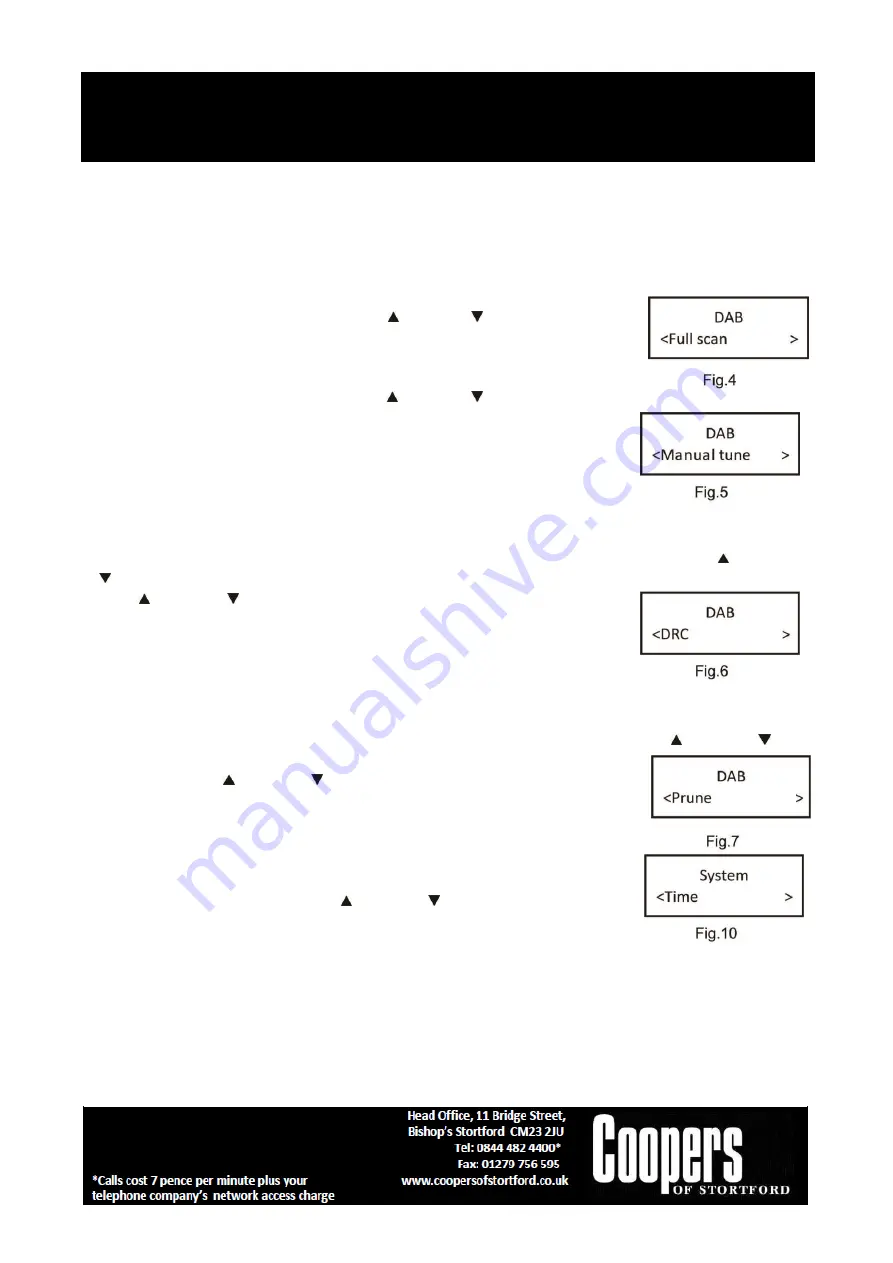
1. If the DAB Digital Radio is in DAB mode, Press and hold MENU/INFO button to
enter the menu list to fig.4. Press the Next / Previous button to select
option through the list of menu. Then, stop at your preferred option and Push
the SELECT button to confirm. The menu options are: full scan, manual tune,
DRC, prune, system.
2. Full scan
–
under menu list, press the Next / Previous
button to select “Full
scan“ through the list of menu
. Push SELECT button to confirm and full scan
starts automatically to fig.4. Once a scan is completed, the radio returns to
play the previously-selected station or first station on the station list.
Note: if no radio station found, it shows “No DAB Station”. For a bet
ter
reception, extend the antenna or do the full scan again in another place.
3. Manual tune
–
as well as the normal method of scanning, you can also manually tune to a particular
channel/frequency. This can be useful for adjusting your antenna to achieve the best possible reception
and scanning a particular channel to update the station list. Under menu list, press the Next / Previous
button to
select “Manual tune” through the list of menu,
Push Select button to confirm. Then press the
Next / Previous to select a particular channel/frequency and then Push
SELECT button to confirm the setting to fig.5. The display shows a live
indication of the received signal strength on the selected frequency.
Adjustments to your antenna will be manifested in the received signal
strength displayed.
4. DRC (Dynamic range compression)
–
this function reduces the difference between the loudest and
quietest audio being broadcast. Effectively, this makes quiet sounds comparatively louder and loud sounds
comparatively quieter. Options: off(default)/high/low Under menu list, press the Next / Previous
Button
to select “DRC” through the list of menu,
Push ENTER button to confirm.
Then pres the Next / Previous Button to select a setting and Push SELECT
button to confirm the setting to fig.6.
Note: DRC only works if it is enabled by the broadcaster for a specific station.
5. Prune
–
this removes all invalid stations indicated in the station list with a
‘?’in front of the station name. Under me
nu list, press the Next/ Previous
button to select “Prune” through the list of menu,
Push SELECT button to
confirm to fig.7. Then press the Next / Previous Button to select <Yes>,
and Push SELECT button to confirm
6.0. Time
–
if there are any DAB+ radio signal, the machine will
automatically update the time, there is no signal, can also be set
manually to fig.10.
*Set Time/Date: set hour / set minute / set month / set date>set year > saved
*Auto update options: update from Any / update from DAB / update from FM
/ no update
*Set 12/24 hour: 12hour/24hour


