Coolix MPM3-10CRN1 Instructions For Use Manual Download Page 1

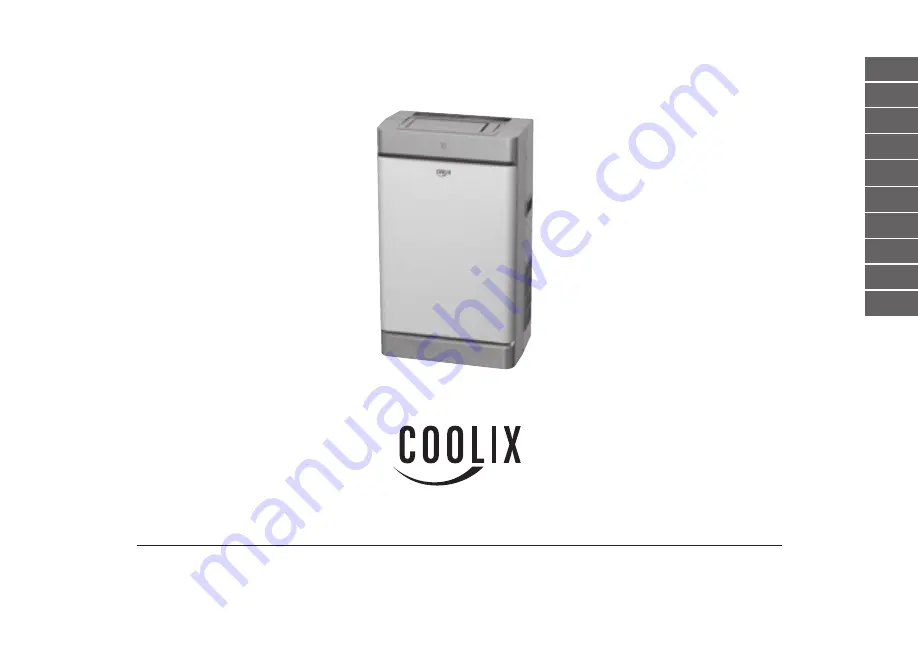
MPM3-10CRN1 / MPM3-12CRN1

DE
EN
IT
FR
NL

MOBILES KLIMAGERÄT    MOBILE AIR-CONDITIONER    CONDIZIONATORE pORTATILE    CLIMATISEUR MOBILE    MOBIEL AIRCOTOESTEL

MOBILT KLIMAAppARAT   MOBIL KLIMATANLÄGGNING   MOBILT KLIMAAppARAT   KANNETTAVA ILMASTOINTILAITE   

KLIMATYZATOR PRZENOŚNY

DK
SE
NO
FI
PL

Summary of Contents for MPM3-10CRN1

Page 1: ...NL MOBILES KLIMAGERÄT Mobile AIR CONDITIONER CONDIZIONATORE portatile CLIMATISEUR mobile Mobiel AIRCOTOESTEL MOBILT KLIMAAPPARAT MOBIL KLIMATANLÄGGNING MOBILT KLIMAAPPARAT KANNETTAVA ILMASTOINTILAITE KLIMATYZATOR PRZENOŚNY DK SE NO FI PL ...

Page 2: ...ssories 32 CONTROL PANEL 33 OPERATING THE APPLIANCE 34 INSTALLATION AND START UP 38 OPERATING INSTRUCTIONS 40 WATER DISCHARGE 41 MOUNTING 43 CLEANING MAINTENANCE AND STORAGE 45 TROUBLESHOOTING 46 WEEE 48 INSTRUCTIONS FOR USE PURCHASE TERMS AND CONDITIONS 48 WARRANTY 49 ...

Page 3: ... the advantage that they can be moved from one room to another and can be transported to another building SAFETY INSTRUCTIONS 1 Do not operate this appliance if it is damaged or has damages or if it does not function properly Disconnect the power plug from the power outlet 2 Install the appliance at a place where children cannot reach it 3 Do not use the appliance A In the vicinity of heat sources...

Page 4: ...ck Warn children about these dangers 10 Do not submerge the appliance in water or other liquids and do not spill water or other liquids onto the appliance or into the air intake and air outlet openings 11 The appliance must be cleaned regularly Please observe the cleaning instructions in this context Disconnect the appli ance from the power supply before cleaning 12 The appliance should not be cov...

Page 5: ...al ventilation flap 3 Signal receiver of remote control 4 Air intake 5 Handle on both sides 6 Air intake opening 7 Power cable and power plug 8 Opening for the drainage hose 9 Air intake opening 10 Hot air outlet 11 Air intake opening 1 2 3 4 5 7 8 9 10 11 6 ...

Page 6: ... addition to the electronic movement of the ventilation flaps you have the additional option of adjusting the ventilation flaps manually by freely selecting an angle up to 45 1 Pull the flaps up and bring them into the desired position 1 ...

Page 7: ...ble mounting 1 Adapter B for temporary cable mounting 1 Expansion plug 4 Tape for fastening power cable 2 Drainage hose 1 Window panel set 1 Foam seal 3 Remote control 1 E T MP U A O T O C OL R D Y E H T A A F N I H G H M D E O L W MO E D A F N P S E E D W S N I G I T M R E O N C E O O N MY O N O F F I T M R E O F F E R E S T O L K C E S T E T M E P A R U T E R C F L O O L W M E L D E D S I L P Y ...

Page 8: ...ed from the control panel of the appliance or with the remote control 1 Activates the timer 2 Mode control light 3 Turbo mode 4 Set mode 5 Clean Air mode in some models 6 Sleep Mode 7 Switches device on or off 8 Sets blower speed 9 Control light of blower speed 10 Direction regulation 11 Sets temperature or time LED display window Displays the set temperature auto timer and fault code 1 2 3 4 6 7 ...

Page 9: ...mperature see Section 4 The temperature may be displayed in degrees Fahrenheit or degrees Celsius To switch from one unit to the other hold the and keys down simultaneously for 3 seconds 2 2 3 3 Blower speeds By pressing this key you can select one of the following four blower speed levels slow medium fast or auto there is no control light for Auto The speed changes each time you press the key 1 1...

Page 10: ...d of the desired temperature the display shows the actual room temperature in this mode Needless to mention the blower speed can be adjusted 4 5 5 Sleep function The selected temperature is increased by 1 C after 30 minutes on pressing this key The temperature is increased by 1 C again after another 30 minutes The new temperature is maintained for 7 hours the appliance is then reset to the origina...

Page 11: ...in or by setting the timer to 0 0 3 The Auto Start Stop function is also deleted when the LED display window shows the E1 E2 E3 P1 or P2 code 6 6 Clean Air function only with model MPM3 12CRN1 Press the key This will start the Clean Air mode It supports the removal of pollen and contamination from air and catches it in the filter 7 Timer function Automatic start Press the key when the appliance is...

Page 12: ...wn for one second Press the key again and the movement stops The angle of the flaps changes automatically if the ventilation flaps are set to a position that affects the cooling or heating performance of the appliance 9 8 8 Turbo function Press the key in the mode and the appliance will produce very cold air at maximum blower speed The set temperature is reached in the least possible time in this ...

Page 13: ...ts Do not attempt to roll the appliance over objects 4 Maintain a safety distance of about 30 cm at the front and rear side of the appliance from other objects The appliance should not be placed under tables or in cabinets because then the airflow is restricted 5 Before operating the appliance please ensure that the air inflow and outflow apertures are not covered The air exhaust nozzle must alway...

Page 14: ...all socket should be easily accessible 11 Unwind the power cord fully and insert the power plug into the power socket Not unwinding the coiled cord can lead to overheating causing a fire Do not touch the power cable with wet hands 12 The POWER control light flashes 13 Now press the power key to activate the appliance Press the key again to deactivate the appliance NOTE If the appliance has been sw...

Page 15: ...ed tightly 2 To achieve better dehumidification please keep the doors and windows closed 3 The exhaust air hose must be removed from the appliance if it is in the Dehumidify mode 4 Press the key till the control light lights up 5 You can neither set a definite temperature nor select a definite blower speed in this mode The appliance runs at the highest blower speed automatically Fan 1 Press the ke...

Page 16: ...ating that the program is set The procedure to be followed to activate the function is identical to the one described above The Start Stop time can be set in the 30 minutes to 24 hours range 3 Both control lights light up till the automatic Start Stop time is reached if you set the start as well as stop times In the COOL mode The appliance is switched off automatically as soon as the display shows...

Page 17: ... ap pliance back into the room B Permanent water drainage 1 You can use the continuous discharge function of the appliance in the mode too Please proceed as described in the DEHUMIDIFY MODE for this In DEHUMIDIFY mode 1 Please open the water filling cover on the rear side of the appliance To do this press the lower part of the flap gently till the cover swivels forward 2 There is a hose connection...

Page 18: ...imply let it hang out of the window and close the window as tight as possible to avoid warm air to re enter the room or new warm air coming in from the outside 2 Or you can use the attached window panel set This set can be installed in most standard windows with vertical or hori zontal closure The panel is pushed to the required length and clamped to the window frame while closing the window You c...

Page 19: ...end of the exhaust hose which you used earlier in the appliance see above on Adapter A 4 You can cover the opening in the wall with the adapter cap when you do not want to use the appliance 5 The cable can be compressed or stretched in the 50 cm to 200 cm range The appliance will work more effectively when the length of the line is kept as short as possible NOTE Do not bend the cable sharply max 1...

Page 20: ...g Air filter Clean the air filter at least once every two weeks to ensure dust free operation of the lower blower 1 Take out filter Reach into the recessed grip of the upper and lower filters and pull the filter out and then up Pull the filters on the side out 2 Clean filter Dip the air filter in hot water app 40 C 104 F and wash with a neutral detergent Flush the filter carefully and dry it in a ...

Page 21: ...connected or it is blocked Connect the pipe and ensure that it can function properly Storage 1 If you intend not to use the appliance for an extended period of time remove the lower drainage plug on the back of the appliance and drain the water from the tank under the appliance into an external bowl use the discharge hose if needed 2 Insert the plug again 3 Let the appliance run in the FAN mode fo...

Page 22: ... and the digital display shows P2 The bottom container is full Remove the plug from the bottom outlet and let the water out The control light flashes at 1 Hz and the digital display shows E1 The room temperature sensor is switched off or short circuited Call Customer Service The control light flashes at 1 Hz and the digital display shows E2 The evaporator temperature sensor is switched off or shor...

Page 23: ...he appliance on your own or to repair it as this will nullify the guarantee and can lead to bodily and material damages PURCHASE TERMS AND CONDITIONS The appliance may not be disposed of with household waste This appliance is marked according to European Guideline 2002 96 EG for old electric and electronic devices waste electrical and electronic equipment WEEE The guideline specifies the rules for...

Page 24: ...any nature This limitation does not apply to you if you live in those states or countries that do not permit the exclusion or limitation of incidental or consequential damages This warranty only applies to the original purchaser of this product This warranty does not cover any filter elements which may be included with this product except for defects in material or workmanship Not all products inc...

Page 25: ...50 ...

Page 26: ...cher Str 5 40549 Düsseldorf Germany Service Hotline DE 01805 12 16 17 14 Cent pro Minute aus dem deutschen Festnetz Service Hotline Europe 0049 1805 12 16 17 german and english www mideaaircon de info mideaaircon de 01 2008 ...

Reviews: