7
INSTALLATION
Note:
The default configuration for the AnyplaceUSB-S4 USB server device is
DHCP
enabled. If the USB server device is not able to get an IP address from a DHCP server,
it will use the
IP address 192.168.254.254
and the
subnet mask 255.255.255.0
.
Step 1 - Connect the AnyplaceUSB-S4 USB server device to your
network
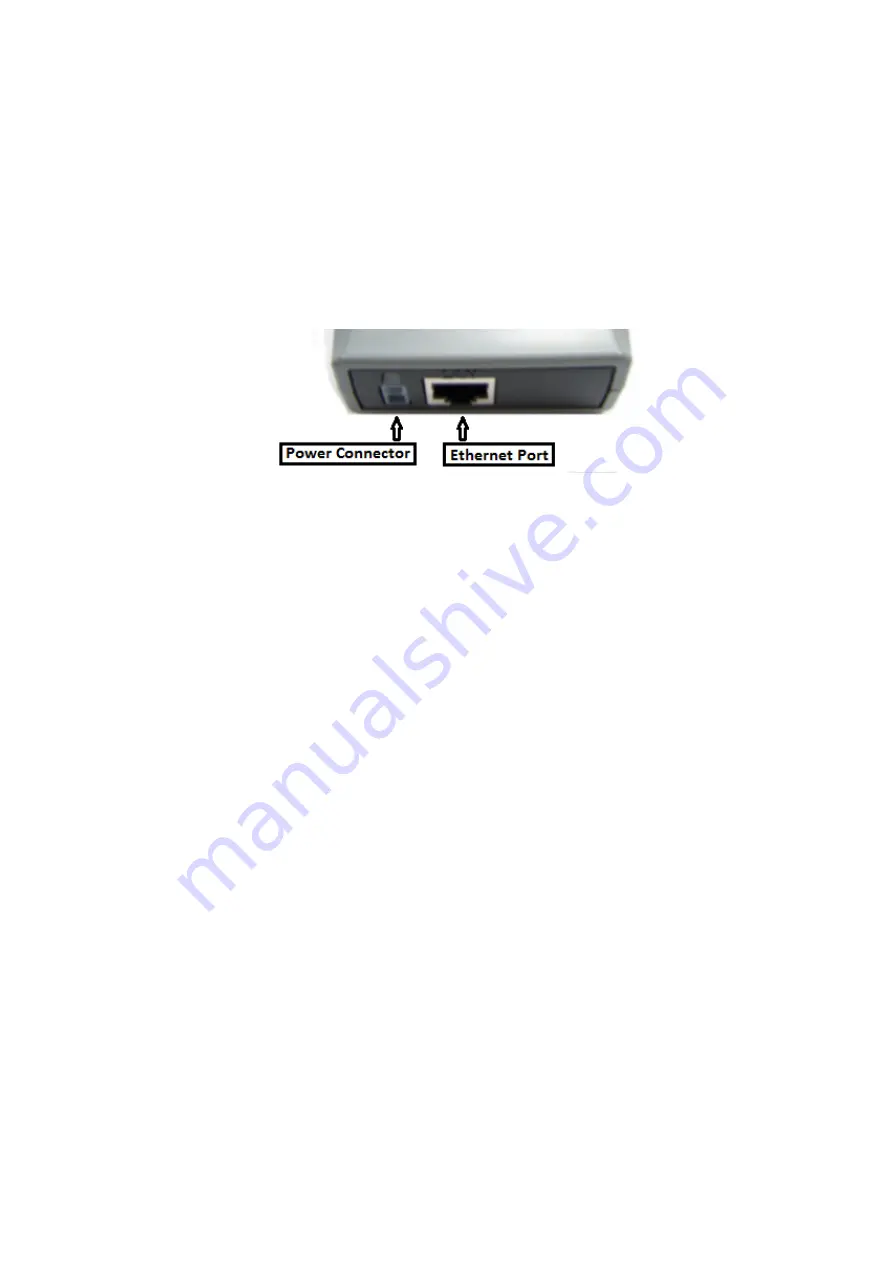
First connect an Ethernet cable to the AnyplaceUSB-S4 USB server device's Ethernet
port.
Once the Ethernet cable is connected, connect the other end of the cable to your
network. This can be a free Ethernet port on your DSL router, Ethernet Hub/Switch, or
an 802.11n router/base station.
If you do not have a network, you can connect the USB server device directly to the
Ethernet port on your computer using static IP address.
Step 2 - Connect the USB server device's power supply/Read the LEDs
Connect the included power supply to the USB server device's power connector.
Once the USB server device is powered, the USB server device's green “SPEED”
Ethernet’s status LED and yellow “LINK” Ethernet’s status LED will turn ON. After a few
seconds, the red “PWR” LED will illuminate when the USB server device is working fine
and booted properly.
Step 3 - Connect the USB devices to AnyplaceUSB-S4
Connect your USB devices to USB ports on AnyplaceUSB-S4. The green USB status LED
will illuminate when your USB devices have connected to the USB ports successfully.
The AnyplaceUSB-S4 USB server device hardware installation is now complete. User
can into the web console interface to configure the USB server device, please open
any web browser and enter AnyplaceUSB-S4’s IP address in the address bar to access
the “HOME” page of AnyplaceUSB-S4’s firmware.


