9
Step 5.
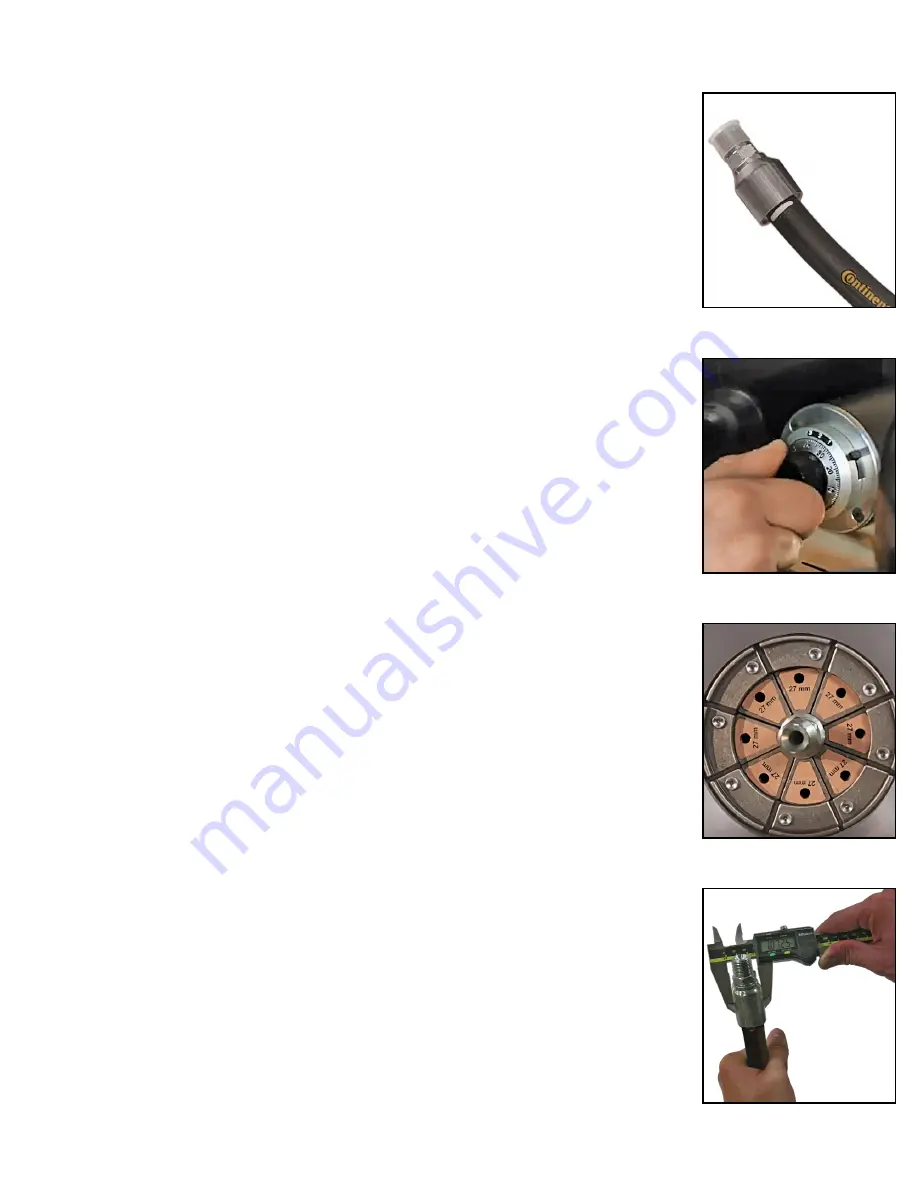
Select the correct hose and fitting for your project.
Note:
Refer to the Continental ContiTech Crimp Specifications Manual.
Step 6.
Set the dial micrometer to the setting as shown in the most current
Continental ContiTech Crimp Specifications Manual for the combination of
hose and fitting being crimped, then lock the micrometer.
Micrometer Setting Example:
Each 100 on the Micrometer represents 1 mm above the closed diameter of
the die set. For example, with a 50mm die installed and the Micrometer set at
250 as shown, the finished crimp diameter would be 52.5 mm. (50mm + 2.5mm)
Step 7.
With the valve in the “release” position, insert the hose assembly from
either direction into the crimper, taking care not to disturb the die set. Hold the
assembly in place until the crimp is complete.
• Activate the crimp cycle by pressing and holding the green close button or the
pneumatic switch, until the crimp is complete.
• The pump will remain on after the crimp cycle is complete, and the die have
retracted. If necessary, turn the valve to the “Release” position to retract the die
and remove the hose assembly.
Step 8.
Check the crimp diameter of the finished assembly with calipers or
micrometers, to be certain that it is within the specifications as outlined in the
Continental ContiTech Crimp Specifications Manual.
PC150H Crimping Procedure


