


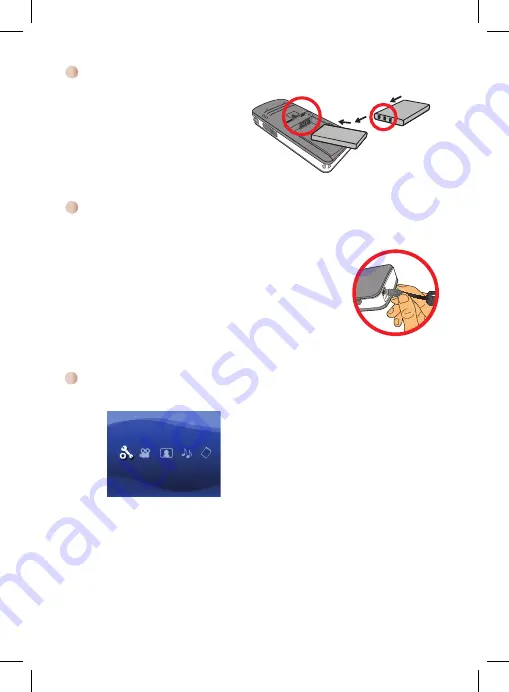
1. Slide the battery cover open.
2. Place the included Li-Ion battery
into the compartment. Note that the
metallic contacts must be aligned with
the contacts in the compartment.
3. After the battery is properly installed,
replace the battery cover.
Please charge the battery at least 3 hours prior to its first use.
1. Connect the cable.
Connect one end of the supplied AC adapter to the USB port of
the projector and the other end to a wall outlet.
OR
Connect one end of the supplied USB cable to the USB port of
the projector and the other end to a powered PC. Make sure the
projector is powered off.
2. The charging LED turns orange and the charge starts.
3. When the charging is interrupted or the battery pack is fully
charged, the charging LED will turn green.
Charging the battery
Introduction to main menu
After turn on the projector, you will see “
Welcome
” screen first then main menu as below.
Settings
: This function allows users to set some preference settings such as
Language, Brightness, Contrast, Saturation, Slideshow Speed,
Auto power off
and
Beep sound
.
Video
: This function allows users to select video file to project from screen.
Photo
: This function allows users to select JPEG image file to project from screen.
Music
: This function allows users to select MP3 files to play from the projector.
Memory
: This function allows users to check the available memory type and
capacity and select it for target source for projection.
●
●
●
●
●
Installing the battery
Summary of Contents for Aiptek V10
Page 8: ......
Page 14: ......
Page 20: ......
Page 26: ......
Page 32: ......
Page 38: ......
Page 44: ......
Page 50: ......
Page 51: ...USB SD MMC AV OK...
Page 52: ...JPEG MP3 3 1 USB USB USB 2 3 1 2 3...
Page 54: ...AV out AV 1 AV out 2 AV 3 4 AV AV out 1 2 USB USB 3 4 4...
Page 56: ......
Page 62: ......
Page 68: ......


