IP CAMERA QUICK START GUIDE
1
WHAT’S IN THE BOX?
Packaging Contents
IP Camera x1
Torx Wrench x1
Mounting Template x 1
Quick Start Guide x1
Screw & Plastic Anchor x2
RJ45 Waterproof Connector Kit x1
2
INSTALLATION
Install the IP Camera in 3 Steps
1. Use the included mounting template sheet to drill holes in the mounting surface.
2. Feed required cables through the installation surface and connect all required cables
to the camera.
3. Use the included Torx wrench to loosen the three screws on the dome cover and re-
move the dome cover from the camera body. Line up the camera body to the drilled
holes on the mounting surface and affix the camera to the mounting surface. Install
a MicroSD card inside the camera if desired and after positioning the lens module,
replace the dome cover and tighten the three screws.
3
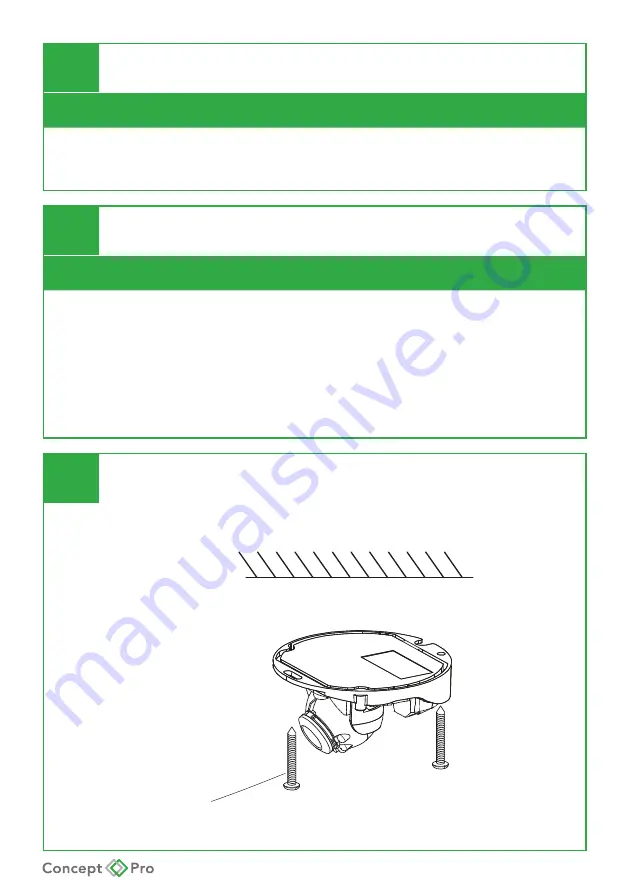
SURFACE MOUNT INSTALLATION
Note:
For other bracket mounting instructions, see installation instructions in the manual.
D78-Self -tapping screw installation sketch map
Self-tapping Screw


