Comtrend Corporation WAP-5903 Quick Install Manual Download Page 6


Page 6 


11.


You can now connect the additional WAP-5903. Power on the additional WAP-5903 by connecting one end 
of the Power Adapter into the Power Port of the WAP-5903 and the other end into an outlet. The Ethernet 
Pairing will automatically start processing and the WAP-5903’s LED will begin blinking 

green

.  


12.


Wait until the WAP-5903’s LED is solid 

green

.  This means that the WAP-5903 is paired and grouped in the 

same WiFi mesh network as the first WAP-5903. 
 

13.


You can now move the additional WAP-5903 extender to the nearest outlet where more WiFi coverage is 
needed. Once plugged in, wait for the LED to light up solid 

blue

, which means it is ready. 


14.


Repeat steps 11-13 to add more WAP-5903 extenders to the mesh network.


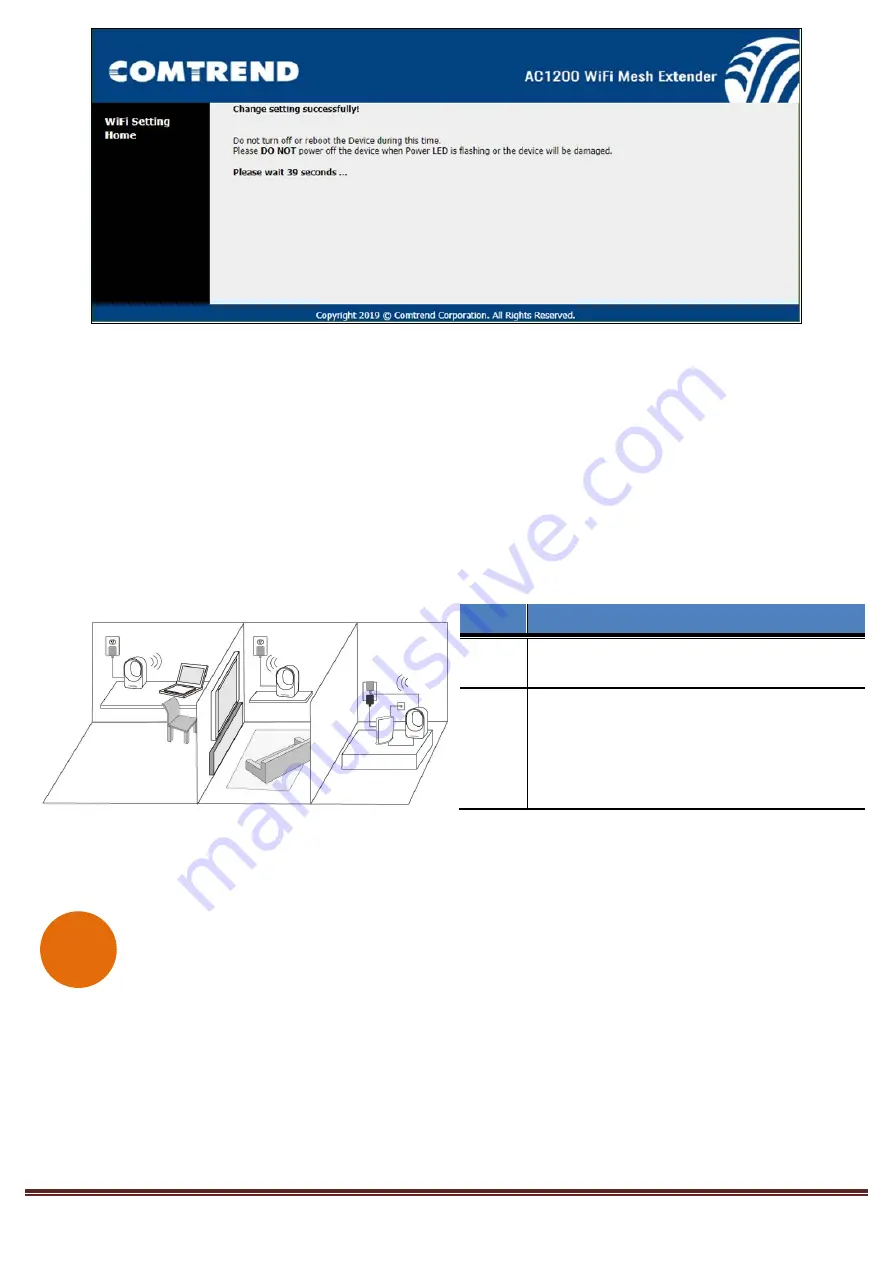
The WiFi Mesh Network is Ready to Use! 


FOR MORE HELP: 

For instructions on advanced features, FAQ, etc., please visit our online Product Webpage. 


For more information:


YouTube: 

https://www.youtube.com/user/ComtrendConnection


Facebook:


https://facebook.com/Comtrend


Website: 

http://us.comtrend.com/


Support: Visit our website or call (949) 753-9640 
 

LED 

Description 

Solid 
Blue


The WAP-5903 is placed in an ideal location 
and is receiving a good WiFi signal. 

Solid 
Red


The WAP-5903 is placed too far away from 
the first WAP-5903 (i.e. the one connected 
to the modem/router), and is receiving a 
weak WiFi signal. 

Action Required:

 Move the 

WAP-5903 closer to the first WAP-5903. 

Summary of Contents for WAP-5903

Page 1: ...linking The mesh system is processing Green Blue Blinking 1 The device is booting up and on stand by 2 The device has lost the uplink connection Green Blue Red Blinking 1 The device is upgrading the f...

Page 2: ...rend Gateway that Supports WifiXtend2 0 1 Use the included Ethernet cable to connect one end into the LAN port of the Comtrend Gateway that supports WifiXtend2 0 and the other end into the UPLINK port...

Page 3: ...at least two WAP 5903 units to create a connection 1 Optional Disable the WiFi on the non Comtrend modem router This will help improve the performance of the WiFi Mesh Extender and avoid confusing th...

Page 4: ...nder2368 or Extender2368 5G The default SSID of this extender device is Extender2368 and 2368 is for reference It is the last 4 digits of the device s MAC number 5 When you are prompted to input the s...

Page 5: ...word is 12345 Click the OK button to continue 9 After logging into the Web page input the new SSID for both the 2 4GHz and 5GHz fields The user can setup a new password by inputting it in both the Key...

Page 6: ...wait for the LED to light up solid blue which means it is ready 14 Repeat steps 11 13 to add more WAP 5903 extenders to the mesh network The WiFi Mesh Network is Ready to Use FOR MORE HELP For instruc...

Page 7: ...distance of 20 cm between the radiator and your body Safety Power Specifications Alimentation Input 12Vdc 1 5A Certification FCC IC standard Part 15B ICES 003 Part 15C RSS 247 2 4GHz Part 15E RSS 247...

Page 8: ...und to comply with the limits for a Class B digital device pursuant to part 15 of the FCC Rules These limits are designed to provide reasonable protection against harmful interference in a residential...

Reviews: