Comtrend Corporation WAP-5883 Quick Installation Manual Download Page 5

C.  Repeater Mode Installation Guide 


(3) If the WPS connection is successfully established, the ‘

WPS

’ LED will light 

for 5 minutes; if the ‘

WPS

’ LED flashes fast, a problem has occurred, please 

wait for 2 minutes until the ‘

WPS

’ LED is off, and start from step (1) to try again.

When quick installation is successful, the ‘

Signal

” LED will turn on.

(4) Please move the extender to the place you wish to use it (the ideal place will 

be the center of your house), you can check the ‘

Signal

’ LED status to 

understand the signal reception level. Steady light: Excellent, Flashing: Good, 

Fast flash: poor.

*The following manual is for establishing a connection via the WAP-5883’s WEB 

Interface:

NOTE: By default the Comtrend WAP-5883 has a default IP address of 

192.168.0.2. To login through the Web Management interface, your computer 

(whether connected through wireless or via Ethernet directly to the device) will 

need to have an IP in the same range: 192.168.0.x. (where x equals any number 

between 3 and 254). If your network has a different IP range, set your computer 

to a static IP to configure this device for the first time and set it to match your 

network settings.

Use an Ethernet cable to 

connect your computer’s 

Ethernet port and the 

Wireless-N Range Extender’s 

Ethernet port.

OR

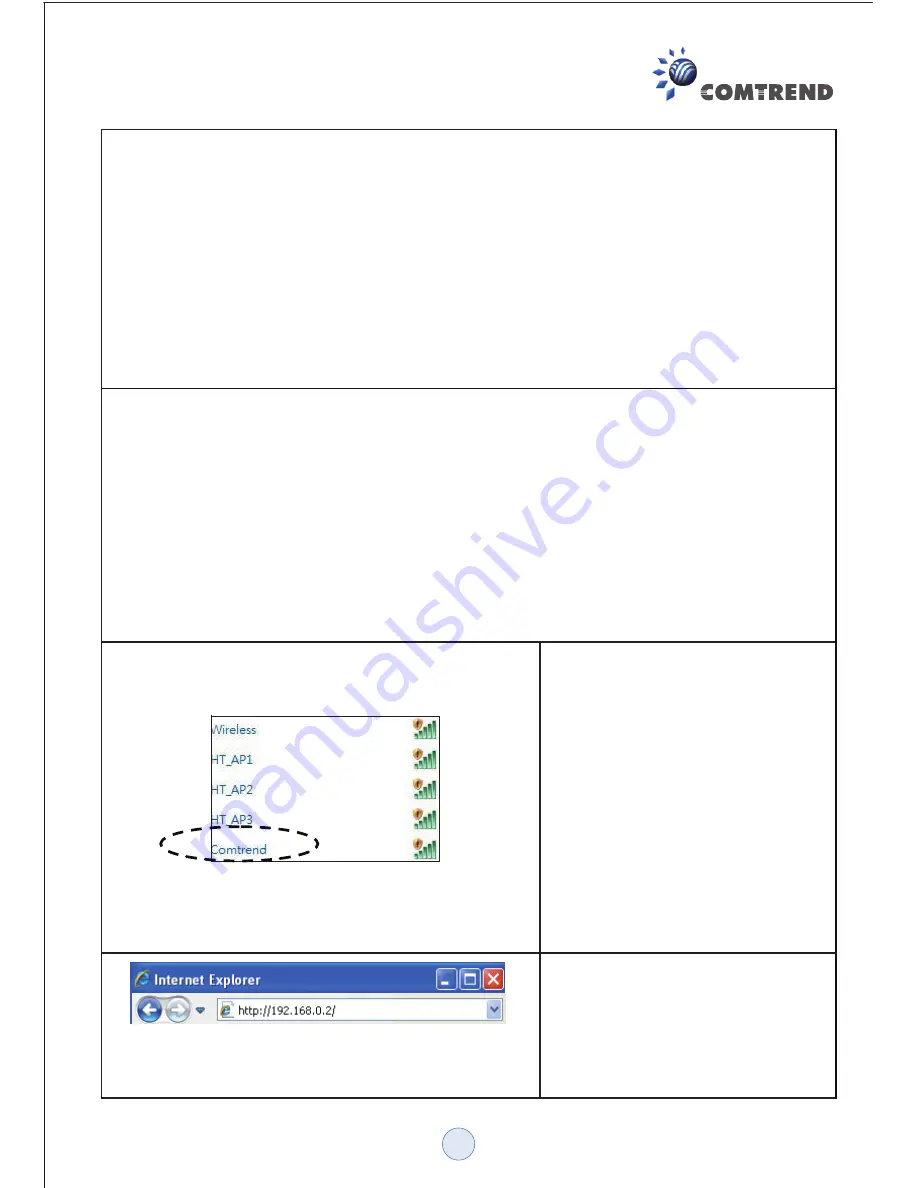
Use your computer’s wireless 

configuration utility to search 

for an access point named 

comtrend

’ to connect to.

Open your web browser and 

input ‘

http://192.168.0.2

’ in the 

address bar. Ensure your 

computer has an IP in the same 

range as the WAP-5883 

(192.168.0.10 as an example)

4

Summary of Contents for WAP-5883

Page 1: ...Quick Installation Guide Wireless N Range Extender WAP 5883 Copyright 2012...

Page 2: ...ser Manual 1 Wireless N Range Extender 2 RJ 45 Cable 3 Printed QIG 4 Before you start using this Wireless N Range Extender please check if there s anything missing in the package and contact your plac...

Page 3: ...tion no WPS pairing is necessary for initial setup You can however use the WPS button to pair other wireless devices with the WAP 5883 when you are ready to associate them to the wireless network Whil...

Page 4: ...few seconds 2 If not check if the power outlet you re using is working 1 Press and hold the WPS button on the extender for 2 seconds the WPS LED will start flashing 2 Press the WPS button on the acces...

Page 5: ...Comtrend WAP 5883 has a default IP address of 192 168 0 2 To login through the Web Management interface your computer whether connected through wireless or via Ethernet directly to the device will ne...

Page 6: ...and click the Next button to continue If the access point you wish to connect to does not appear here click Refresh until it appears in the list or move the Wireless N Range Extender closer to the ac...

Page 7: ...this step Wait for a few moments for the Wireless N Range Extender to reboot After rebooting use your computer to connect to the wireless access point by the SSID you set in the previous step and sta...

Page 8: ...outlet on the wall and switch to Client mode 2 Use an Ethernet cable to connect it to the Ethernet port of your networking device 3 Follow the same setup procedures Using the WPS button to establish c...

Page 9: ...e username and password The default username is admin and default password is admin Click the OK button to continue All wireless access points nearby will be displayed in the list Select the required...

Page 10: ...lick Apply to continue Wait for a few moments for the Wireless N Range Extender to reboot After rebooting you can connect to the access point and use it to access the network Internet Use an Ethernet...

Page 11: ...ote In AP mode when you try to make a connection with a wireless client using WPS push the WPS button twice on this device within 5 seconds and the WPS LED will start flashing Switch to AP mode Plug t...

Page 12: ...d is admin Click the OK button to continue Input an SSID a name used to identify this access point in the Device SSID field and then click the Next button Default SSID is comtrend Select the security...

Page 13: ...server on your LAN You have to input the RADIUS server s parameters Server IP port number and password Recheck the settings you made and click Apply to continue Please be patient while the device res...

Page 14: ...ving data Wireless network is switched off or in LED off mode Power is turned on or in LED off mode except power LED is on other LEDs are off If user selects to enable LED OFF mode power LED On Off de...

Page 15: ...14...

Page 16: ...WAP 5883_QIG_V1 0...

Reviews: