9
NOTE: If pressed down for more than 60 seconds, the NexusLink 3112u will go
into a firmware update state (CFE boot mode). The firmware can then
be updated using an Internet browser pointed to the default IP address.
GB ETH Port
Use RJ45 straight through or crossover MDI/X cable to connect to Ethernet WAN.
Ethernet (LAN) Ports
Use 10/100 BASE-T RJ-45 cables to connect up to four network devices (as the GB
ETH port can also be used). These ports are auto-sensing MDI/X; so either
straight-through or crossover cable can be used.
USB Host Port (Type A)
This port can be used to connect the router to the print server.
DSL Port
Connect to a VDSL with this RJ14 Port. This device contains a micro filter which
removes the analog phone signal. If you wish, you can connect a regular telephone
to the same line by using a POTS splitter.
FRONT PANEL
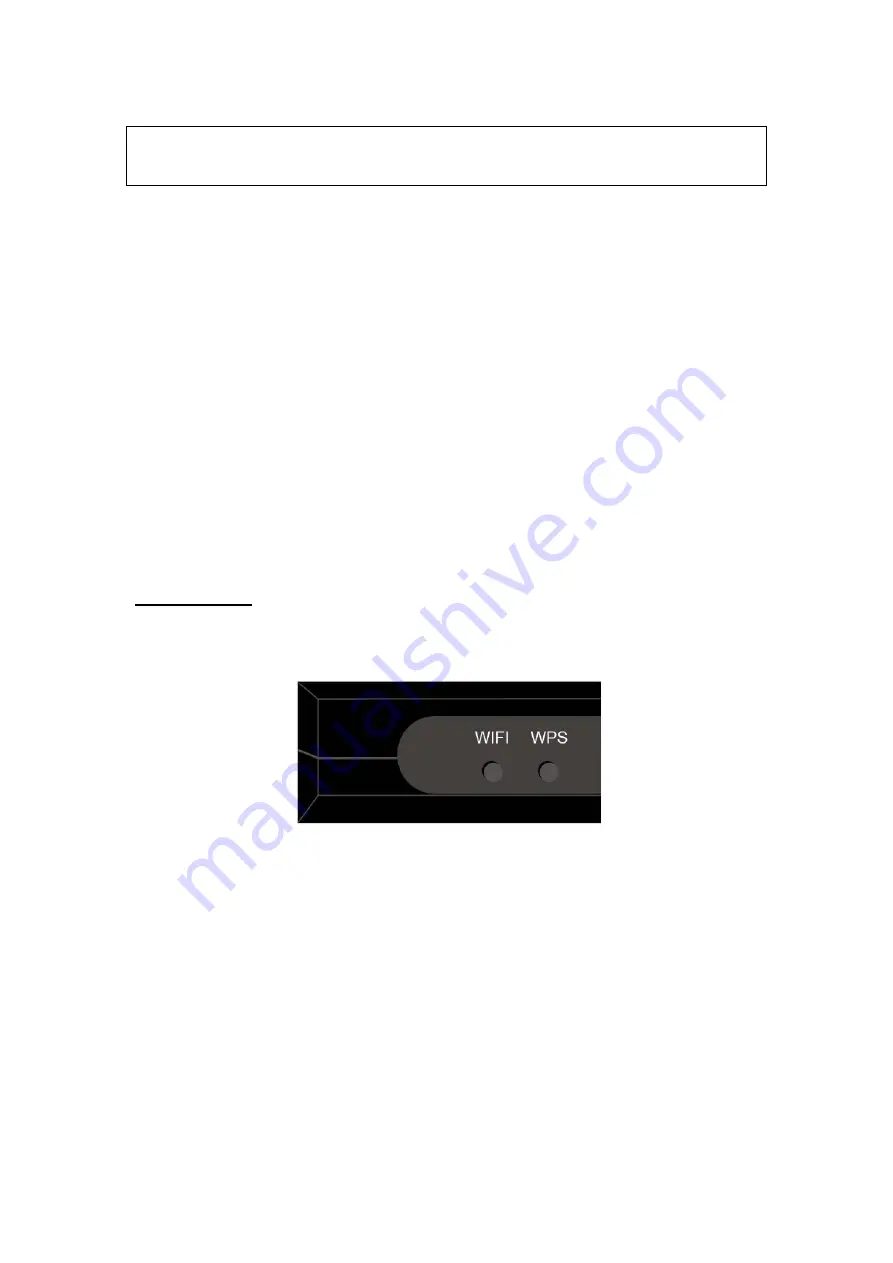
The Wi-Fi & WPS buttons are located on the bottom-left of the front panel, as shown.
WiFi Switch
Press this button to enable/disable the wireless LAN (WLAN).
WPS Button
Press this button to begin searching for WPS clients. These clients must also enable
WPS push button mode (see
Summary of Contents for NexusLink 3112u
Page 1: ...NexusLink 3112u Multi DSL Bonded Router User Manual Version A1 1 June 04 2014 261103 009 ...
Page 19: ...18 This screen shows hardware software IP settings and other related information ...
Page 39: ...38 4 10 2 Site Survey The graph displays wireless APs found in your neighborhood by channel ...
Page 51: ...50 5 2 6 SIP ALG This page allows you to enable disable SIP ALG ...
Page 59: ...58 5 3 3 UPnP Select the checkbox provided and click Apply Save to enable UPnP protocol ...


