background image

Symbols

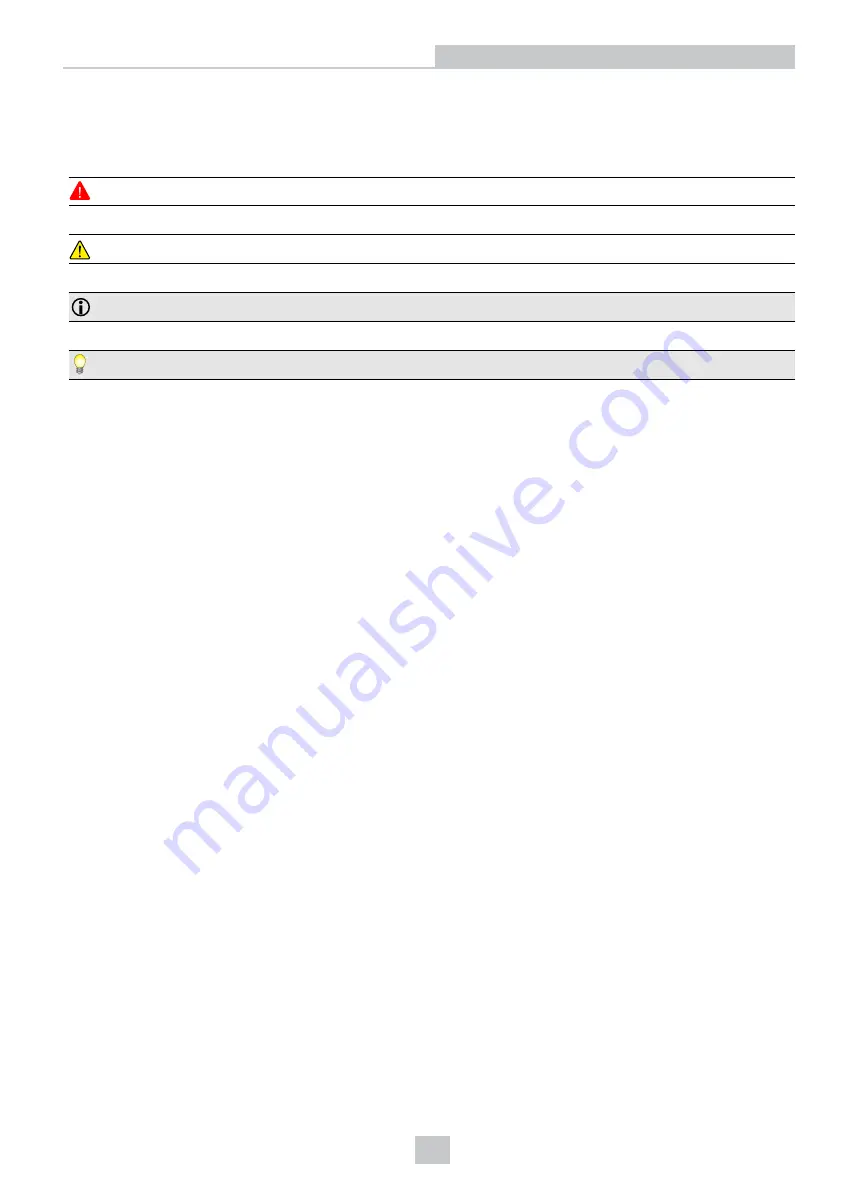
The following symbols indicate safety precautions and supplemental information:

WARNING

:

This symbol indicates a hazard that could cause death, serious personal injury or electrical shock.

CAUTION

:

This symbol indicates a hazard that could result in property damage.

Note

: This symbol indicates additional information about a subject.

Tip

: This symbol indicates suggestions and shortcuts that might not otherwise be apparent.

5

Symbols

Summary of Contents for DataMan 8072 DL

Page 1: ...DataMan 8072 DL Reference Manual 2019November15 Revision 6 1 6SR2 2 ...

Page 2: ...ny means electronic or mechanical for any purpose nor transferred to any other media or language without the written permission of Cognex Corporation Copyright 2019 Cognex Corporation All Rights Reserved Portions of the hardware and software provided by Cognex may be covered by one or more U S and foreign patents as well as pending U S and foreign patents listed on the Cognex web site at cognex co...

Page 3: ... Connecting a DataMan 8072 DL Through RS 232 15 Connecting a DataMan 8072 through USB 17 Using Your Device Through USB 18 Using DataMan 8072 Wireless Reader 19 Connecting to a Wireless DataMan 8072 Through a Base Station 19 Pairing Strategy DMA IBASE BT 02 21 Base Station Routing Capabilities 23 Wireless Reader Buffering Data 23 Summary of Wireless Buffering Indicators 25 Wireless Reader Charging ...

Page 4: ...Reader Control Codes 36 Keyboard Language Corded Readers Only 36 Precautions 37 4 Table of Contents ...

Page 5: ... a hazard that could cause death serious personal injury or electrical shock CAUTION This symbol indicates a hazard that could result in property damage Note This symbol indicates additional information about a subject Tip This symbol indicates suggestions and shortcuts that might not otherwise be apparent 5 Symbols ...

Page 6: ...future proof modular communication slide ins The DataMan 8072 readers are available with the following communication options l Ethernet l USB l RS 232 l Bluetooth An intelligent base station is also provided when the DataMan 8072 reader uses the wireless Bluetooth communication module The base station acts as a router between the reader and your computer or network Note Henceforward the term wirel...

Page 7: ...e in DMCM BTM 00 Charging Base Station DMA CBASE 01 Intelligent Bluetooth Base Station DMA IBASE BT 02 Power Supply for base station DMA 24VPWR xx Power Supply for reader DM100 PWR 000 Battery for the wireless reader DMA HHBATTERY 01 Multi Battery Charger DMA MBC xx POE Adapter CPS 24V POE1 POE Adapter CPS 24V POE4 POE Adapter CPS AC POE1A xx Wall Mount DMA WALL 8000 00 Wall Mount for Base Station...

Page 8: ...00 ECABLEC 05 Ethernet cable 2 5 m DM8000 ECABLE 02 Ethernet cable 5 m DM8000 ECABLE 05 Ethernet cable 30 m DM8000 ECABLE 30 Collimated cable length including DM8000 ECABLE X should not exceed 50 m DataMan 8000 Series Base Station Cables RJ25 RJ12 to DSUB9 cable for base station 5 m DMA RS232RJ 05 Straight 10ft USB cable DMA USB 00 l USB cable for base station Use any standard USB A to USB B 2 0 c...

Page 9: ...sical Layout of the Reader 1 Illumination module 2 LED aimers 3 Illumination LEDs 4 Trigger press and hold to read 5 Lanyard hook 6 Indicator light 7 Communication module insertion point 9 Getting Started ...

Page 10: ... 6 Power plug 24V max 15W 7 Alternative power supply connector 24V max 15W polarity marked on the plastic part near the connector Recommended wire diameter is 14 18 AWG 8 Ethernet Base station status indicators l Power RED base powered BLINK wrong reader in base l Communication BLUE Wireless link BLINK Wireless communication l Cradle connections GREEN reader properly inserted BLINK cradle USB inte...

Page 11: ... the appropriate cabling 3 Power on your device s Install the DataMan SetupTool 1 Check the DataMan Release Notes for a full list of system requirements 2 Download the DataMan Setup Tool from http www cognex com support dataman and follow the on screen steps 3 Connect the DataMan 8072 to your PC 4 Launch the DataMan Setup Tool and click Refresh The reader or the base station appears under COM port...

Page 12: ...external 5 0 W maximum LPS or NEC class 2 power supply 5V 6V DC RS232 external 5 0W max LPS or NEC class 2 power supply Inrush current peak 5A maximum Duration approx 30μs Electrical charge 60μAs at 6V Battery life for wireless reader typical use case ca 4100 triggers can be operated within a 13 hour working shift Ethernet 10 100 Base T FULL HALF DUPLEX IEEE 802 3 Bluetooth Bluetooth 2 1 2 4 GHz D...

Page 13: ...ºF 140ºF Maximum Humidity 95 non condensing Power Supply Requirements 24V 10 15 W maximum LPS or NEC class 2 power supply Recommended wire diameter is 14 18 AWG LED Wavelengths The following table shows LED types and the related wavelengths LED λ nm RED 660 13 Setting Up Your DataMan 8072 DL ...

Page 14: ...o that the slide in is firmly locked 3 Insert the plug and slide the cable lock up to the reader and twist the cable lock in place Use the DM8000 ECABLE 05 5 meters or the DM8000 ECABLE 30 30 meters You also need a Power Over Ethernet Adapter CPS AC POE1A xx Note Disconnect the DataMan 8072 reader from power before inserting removing communication modules 14 Connection Options ...

Page 15: ...e reader still does not appear you can use either the Add Device or Force Network Settings options in the DataMan Setup Tool 1 If you know the IP address of the reader use the Add Network Device option under Reader Maintenance 2 If you do not know the IP address use the Force Network Settings option Either method should allow the DataMan 8072 reader to appear in the list of Network devices so that...

Page 16: ...meters For power supply use the DataMan 8000 Power Supply DM100 PWR 000 Note Disconnect the DataMan 8072 reader from power before inserting removing the communication modules Observe the following electrical requirements 1 6VDC power supply DM100 PWR 000 a 5 5 mm x 2 1 mm DC Power Plug 2 VCC 4 75V up to 6 0V for 2 5 m cable VCC 5 5V up to 6 0V for 5 0 m cable WARNING For proper RS 232 operation do...

Page 17: ...LM 00 to your DataMan 8072 2 With a 2 5 mm Allen wrench tighten the screws so that the slide in is firmly locked 3 Insert the plug slide the cable lock up to the reader and twist the cable lock in place Use the DM8500 USB 00 cable 2 5 meters or the DM8500 USBC 02 cable 2 5 meters Note Disconnect the DataMan 8072 reader from power before inserting removing the communication modules 17 Connection Op...

Page 18: ... mode CDC or HID of both the reader and the base station with a pair of RP codes Perform the following steps In the case of a corded reader 1 Disconnect from the DataMan Setup Tool if you are connected 2 Scan the USB Keyboard code from the DataMan Configuration Codes document 3 Start scanning codes with your corded reader In the case of a wireless reader 1 Disconnect from the DataMan Setup Tool if...

Page 19: ...on 1 Connect the wireless slide in DMCM BTM 00 to your DataMan 8072 2 With a 2 5 mm Allen wrench tighten the screws so that the slide in is firmly locked 3 Insert the battery Note Remove the battery from your DataMan 8072 before inserting removing the communication module 19 Connection Options ...

Page 20: ... PC using either serial USB or Ethernet communication DMA IBASE BT 02 1 RS 232 connection 2 USB connection 3 Power 4 Alternative power supply connector 5 Ethernet connection Observe the following electrical requirements when connecting the base station through RS 232 WARNING For proper RS 232 operation do not apply any voltage to pin 9 20 Connection Options ...

Page 21: ...shed by means of cradle contacts Wireless communication is disabled l Configure wireless communication settings by connecting to the base station In order for the changed settings to be synchronized between the DataMan 8072 wireless reader and the base station place your reader in the base station after your changes are saved To assign a static IP address to the base station or the reader when com...

Page 22: ...nd the reader put on it into force pairing mode This means that the reader and the base it is put on get paired regardless of any assignments they both had previously This force pairing mode is valid for 20 seconds after reading the Pair code The base station s indicators turn green to indicate successful pairing When the reader is put onto another unpaired base station without any previous action...

Page 23: ...and is connected to the reader When you leave the wireless range however you lose connection to your PC but you can still keep reading codes The decoded data is saved in the buffer of the reader This buffered data appears on your PC again when you come back within the wireless range but ONLY IF you were connected to a terminal program when you left the wireless range Buffered read results on the r...

Page 24: ...lation continues starting with the buffered data While you are still within the wireless range the reader occasionally blinks blue to indicate that the wireless connection is established When the reader leaves the wireless range the base station s signal becomes red Blinking blue status indicator wireless connection is alive When you leave the wireless range you can still keep reading codes The re...

Page 25: ...ed Paired reader in the base station flashing green Base station is receiving data or images from reader steady blue Good read 1 beep default No read no beep default Reader out of wireless range of base station Offline When the reader wakes up out of the wireless range there is no indicator Good read green default No read red default Reader offline steady red Long beep when you leave the wireless ...

Page 26: ...eader on the base station for charging Make sure that the pins at the end of the handle make contact with the pins in the base station Paired Reader Charging Paired Reader Fully Charged Refer to the following table for a summary of indicators regarding charging 26 Connection Options ...

Page 27: ...ashing blue indicating data transfer Reader is charging in the base station steady red indicators steady green indicating connection flashing green indicating data transfer Reader is fully charged in the base station steady green indicators steady green indicating connection flashing green indicating data transfer 27 Connection Options ...

Page 28: ... The battery used in these devices may present a risk of fire or chemical burn if mistreated Do not disassemble heat above 60ºC 140ºF or incinerate Replace battery with Cognex DMA HHBATTERY 01 only The use of another battery may present a risk of fire or explosion 3 Put the replacement battery into the slot The battery has a small triangle on one side Make sure that you insert the battery in a way...

Page 29: ...direction of the small triangle of the battery When you are charging the auxiliary battery the base station s spare battery status indicator displays either charging in progress red or fully charged green 6 Dispose of used battery promptly Keep it away from children Do not disassemble and do not burn it Use the appropriate separate take back systems for battery disposal 29 Connection Options ...

Page 30: ...e into effect l Enable the protocols using the Industrial Protocols pane of the DataMan Setup Tool under Communication Settings l Scan the appropriate Reader Configuration codes see Reader Configuration Codes available through the Windows Start menu or the Setup Tool Help menu l Send the appropriate DMCC see Command Reference available through the Windows Start menu or the Setup Tool Help menu For...

Page 31: ...mbol is found and decoded or you release the button Note that while in Presentation mode as the operator pulls the trigger the reader switches to Manual mode until the device is re docked into the base station Setup Tool continues to display Presentation mode while in this state To bring it back to standard Presentation mode use one of the following options l Dock the device into the base station ...

Page 32: ...ith harsh or corrosive solvents including lye methyl ethyl ketone MEK or gasoline Cleaning the Reader Lens Cover To remove dust from the lens cover use a pressurized air duster The air must be free of oil moisture or other contaminants that could remain on the lens cover To clean the plastic window of the lens cover use a small amount of isopropyl alcohol on a cleaning cloth Do not scratch the pla...

Page 33: ...f the FCC Rules These limits are designed to provide reasonable protection against harmful interference when the equipment is operated in a commercial environment This equipment generates uses and can radiate radio frequency energy and if not installed and used in accordance with the instruction manual may cause harmful interference to radio communications Operation of this equipment in a resident...

Page 34: ...from your local representative DMA IBASE 01 and DMA CBASE 01 This equipment complies with the essential requirements of EU Directives 2014 30 EU and 2014 53 EU as applicable Declarations are available from your local representative FCC Class A Compliance Statement This equipment has been tested and found to comply with the limits for a Class A digital device pursuant to part 15 of the FCC Rules Th...

Page 35: ...ion You may also contact your supplier for more information on the environmental performance of this product 中国大陆RoHS Information for China RoHS Compliance 根据中国大陆 电子信息产品污染控制管理办法 也称为中国大陆RoHS 以下部份列出了本产品中可能包含的有 毒有害物质或元素的名称和含量 Table of toxic and hazardous substances elements and their content as required by China s management methods for controlling pollution by electronic information products Hazardo...

Page 36: ...Reader Control Codes Keyboard Language Corded Readers Only 36 Reader Control Codes ...

Page 37: ...he power supply l Changes or modifications not expressly approved by the party responsible for regulatory compliance could void the user s authority to operate the equipment l Ensure that the cable bend radius begins at least six inches from the connector Cable shielding can be degraded or cables can be damaged or wear out faster if a service loop or bend radius is tighter than 10X the cable diame...

Page 38: ...Copyright 2019 Cognex Corporation All Rights Reserved ...

Reviews: