Basic Operation
1. Connect the antenna and the power supply.
2. Press MODE to display the mode option menu, press the left/right direction button or
VOL+/- button to select DTV, press ENTER on the remote or MENU on the main unit to
enter.
3. Press CH+/- on the main unit or the up/down direction button on the remote to skip
channels, or use number buttons to input a channel directly . For an initial use, you need to
scan channels via Channel Menu. Please read the “Channel Menu” section.
4. Press VOL+/- on the main unit or the left/right direction button on the remote to adjust the
volume.
Setup Menu
More advanced functions and internal settings are perfomed with the system setup menu,
please read this section carefully.
Press MENU to display system setup menu.
While working with menu,
Use direction buttons and the ENTER button to adjust settings. Press MENU to exit/back up
menus.
9
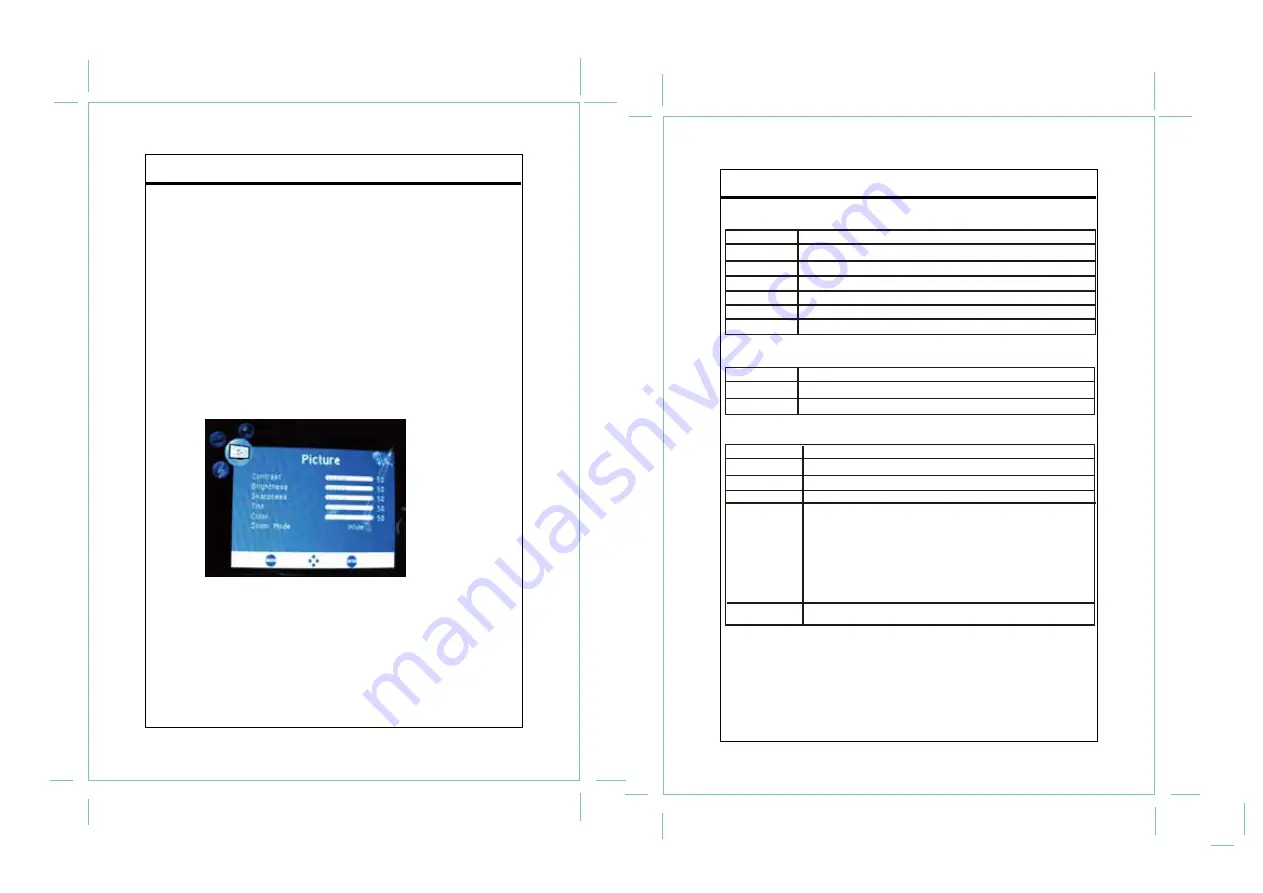
Picture Menu
Audio Menu
Setup Menu
10
TV Function
TV Function
ITEM
DESCRIPTION
Adjust the display contrast
Adjust the display brightness
Adjust image sharpness
Adjust the display tint
Adjust the display color
Set the zoom effect as Wide/Normal
Contrast
Brightness
Sharpness
Tint
Color
Zoom Mode
ITEM
DESCRIPTION
Audio Language Set the audio language .
Balance Adjust sound balance
Audio Language
Balance
ITEM
DESCRIPTION
Set the OSD language.
Set the OSD transparent effect
Set OSD display time
Set the closed caption mode. Press the right button to enter
the option menu.
CC Mode - Set the CC mode as CC On/CC Off
Basic Selection- Set the basic CC type.
Advance Selection - Set the advanced CC type.
Option- Press the right direction buton to enter “Option”. In Option
menu, set “Mode” as “Custom” to edit CC to your own preference
Restore Default Reset the unit to the factory default.
Menu Language
Transparent
OSD Time Out
Closed Caption
Restore Default


