18
Owner's Manual
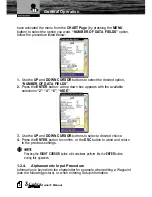
4. Move the Pointer off the location to accept.
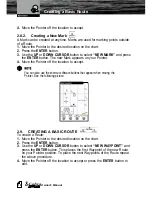
2.8.2.
Creating a New Mark
A Mark can be created at anytime. Marks are used for marking points outside
of a Route.
1. Move the Pointer to the desired location on the chart.
2. Press the ENTER button.
3. Use the UP or DOWN CURSOR button to select “NEW MARK” and press
the ENTER button. The new Mark appears on your Pointer
.
4. Move the Pointer off the location to accept.
You can also use the shortcut software buttons that appear when moving the
Pointer. See the following picture:
2.9.
CREATING A BASIC ROUTE
To create a Route:
1. Move the Pointer to the desired location on the chart.
2. Press the ENTER button.
3. Use the UP or DOWN CURSOR button to select “NEW WAYPOINT” and
press the ENTER button. This places the first Waypoint of the new Route
on your Pointer position. To place the next Waypoints of the Route repeat
the above procedure.
4. Move the Pointer off the location to accept or press the ENTER button to
edit.
Creating a Basic Route

