CM Tech CA-H70MT User Manual Download Page 17

3. Now, 

YES NO EXIT

 is displayed in LCD with the file you want to delete.  Using the '▶▶' or '◀◀' 

button, select 'YES' if you want to delete the file or select 'NO' if you don

t.  If you want to change the 

mode, select 'EXIT' and press the 'M' button. 


◎ Bookmark Function

 (BOOKMARK) 


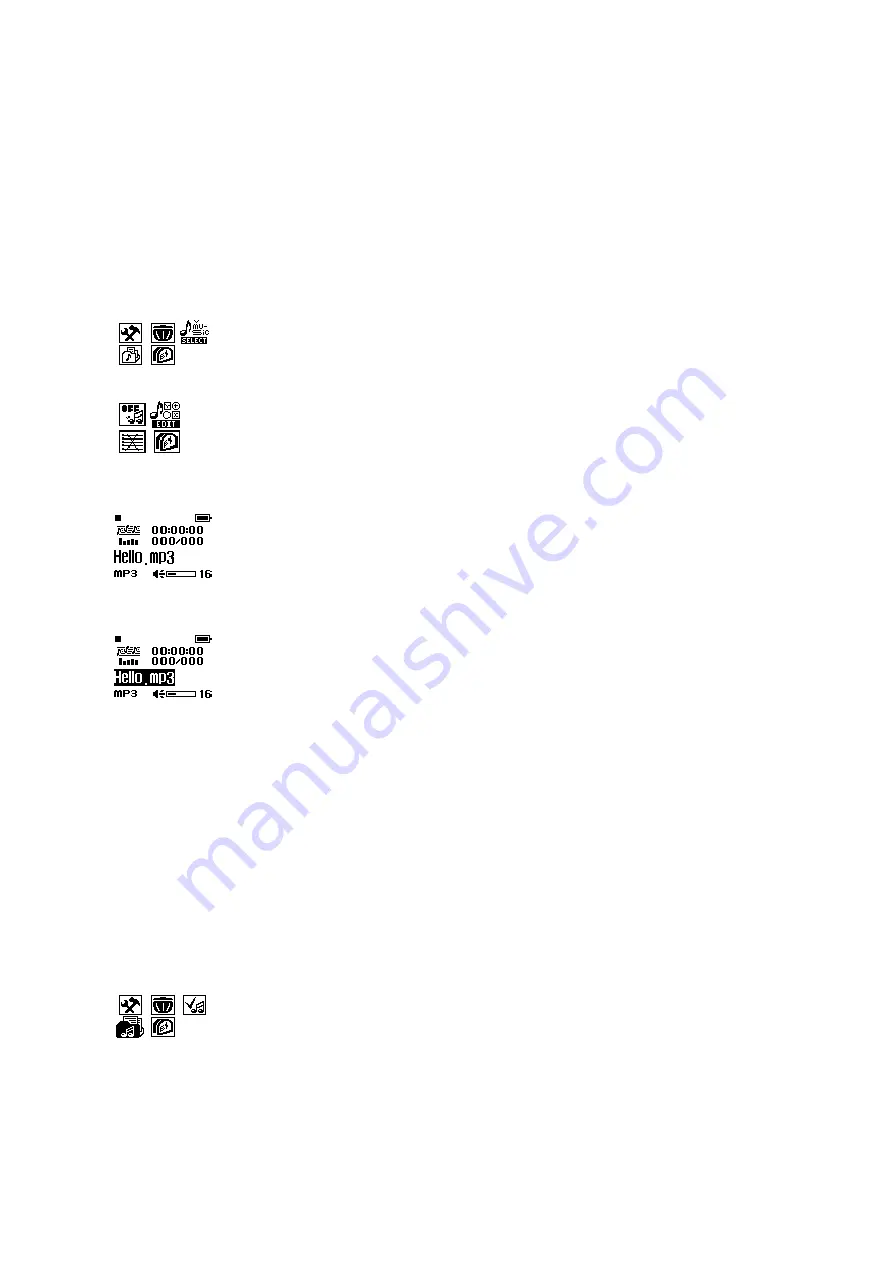
1. If you want to make a playback file list, press the '▶▶' button in the menu mode to move to 

'BOOKMARK' mode and press the 'M' button. 


2. In this status, press the '▶▶' button to move to 'EDIT' and press the 'M' button. 


3. If you have chosen a folder, only the songs in that folder will appear.  If you haven

t, all the songs in 

the current removable disc will appear. [fig-e35] 


4. Move to a song you want to choose by pressing the '▶▶' or '◀◀' button and press the 'M' button to 

select it. [fig-e36] 


5. After selection, press the '▶/■' button to play the songs you have chosen. 


< Note > 

· If you select 

Delete/Add File

 or 

Folder

 with 

Bookmark

 displayed, all the chosen songs will be 

deleted and the file list be initialized. 


◎ Folder List

 (FOLDER) 


1. In order to use 

Folder List

, you should make a new folder by clicking the right button of the mouse on 

Removable Disc

2. If you want to listen to the songs in a fold you choose, press the '▶▶' button in the menu mode to 

move to 'FOLDER' mode and press the 'M' button. 


3. In this status, press the '▶▶' button to move to the folder you want and press the 'M' button to play 

the music in that folder. 

4. If you want to choose another folder while you are listening to one, go to 

FOLDER

 mode again and 

press the 

M

 button shortly.  You can choose only one folder at a time. 

5. '☆' mark will be displayed by the selected folder.  Move to a folder you want to choose by pressing 

Summary of Contents for CA-H70MT

Page 1: ...USER S MANUAL CA H70MT CM Tech Co Ltd...

Page 2: ...talled and used in accordance with the instructions may cause harmful interference to radio communications However there is no guarantee that interference will not occur in a particular installation I...

Page 3: ...icrophone Necklace Holder Battery Cover USB Jack Hold Switch Direction of USB Cable Connection fig 03 Accessories User s Manual Installation CD USB Cable Small sized USB Adaptor Earphone FM Antenna Em...

Page 4: ...ROM drive of your PC The dialog box shown below should appear If the installation program does not start automatically double click Install exe of the CD fig e05 2 Click the Install button on the pic...

Page 5: ...he program deletion procedure and put the CD ROM in for installation Note If you want to delete the TTS program execute Controller Add or Remove Programs Then search the list for TTSPad 2 0 and click...

Page 6: ...r installing the program 1 Update the firmware of the product 2 With the battery removed from the product connect the product to the USB port of your PC and press the button for more than 10 seconds 3...

Page 7: ...program disconnect the USB cable from the product wait 10 seconds and then reconnect the USB cable to the product When the READY message appears on LCD start Live Music_K Explorer on your PC If you do...

Page 8: ...ne of the interface 5 Drag and drop those music files you want to download from the middle pane onto the designated folder in the right window fig e24 6 While the files are being downloaded the WRITIN...

Page 9: ...iles input by users into MP3 format voice files 4 languages Korean English Japanese and Simplified Traditional Chinese Voice files stored in the device are portable and can be heard anywhere anytime P...

Page 10: ...n in the LiveMusic_K window after clicking the Start button Dictionary Use 1 In Dictionary reading and defining words are possible Words are stored by languages Korean English and Japanese and the sto...

Page 11: ...ion Mode Main Menu Sub Menu 2nd Sub Menu Contents MUSIC Music File Playing Play MP3 or WMA files DVR Voice Playing Play recorded voice files FM FM Radio Listen to FM radio and set broadcasting frequen...

Page 12: ...u to one you want 3 Select EXIT at the end of the menu and press the M button to come out of the menu mode 4 The menu mode is automatically released if there is no button entry for 5 seconds Note How...

Page 13: ...Press the M button again to stop recording 3 When you want to play the recorded contents move the button to DVR mode in the menu mode and press the M button 4 To play the recorded voice press the but...

Page 14: ...to the menu mode 5 When you want to search for a frequency to listen to switch to SET FM MODE SCAN in menu mode and return to the menu 6 In this state press the or button to search for a frequency you...

Page 15: ...press in the menu mode to move to REPEAT mode and press the M button 2 In this status you can change the mode RPT 1 RPT ALL RAND 1 RAND ALL NORMAL by pressing the button Select a mode you want and pr...

Page 16: ...ect a mode you want and press the M button to return to the menu mode Automatic Power Off AI OFF 1 If you want to change the backlight time on LCD press the button in the menu mode to move to SET mode...

Page 17: ...o select it fig e36 5 After selection press the button to play the songs you have chosen Note If you select Delete Add File or Folder with Bookmark displayed all the chosen songs will be deleted and t...

Page 18: ...the HOLD switch to the original direction The music file is not played Check if the extension is MP3 or WMA This product can play only the MP3 and WMA files Power is not on It stops in an initial sta...

Page 19: ...u cannot use a USB port In this case you have to so set the bios CMOS environment that you can use a USB port Contact the sales agent for a detailed setting method Product Specification Main Function...

Page 20: ...y g Guarantee Product MP3 Player Assurance Period 1 year Sales Date yy mm dd Customer Name Address Telephone Sales Agency Name Address Telephone Customer Support Center If an error occurs please conta...

Reviews: