COLLABORATE Versa Lite CT
7
QSG-0091-001 v1.0 June 2020
Quick-Start Guide
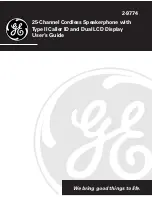
Attach the Plenum Shield to the BMA CTH
1. On the underside of the shield, remove the liner from the adhe-
sive in four places.
2. Thread cables through cut slots before you attach to ceiling.
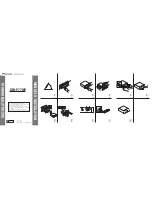
Install the BMA CTH with Seismic Cables
You can mount the BMA CTH in a suspended ceiling, held in
place by the standard T-BAR grid, with an additional 1/8” diameter
seismic cables (not included).
For stability, ClearOne recommends attachment at the four points
shown. If installing with the plenum shield, feed cables thru slots
cut in earlier step
COLLABORATE Versa USB
You can mount the Versa USB in the following ways:
• a rack shelf • under the table
• on the wall • above the ceiling
Mounting hardware is not included.
Drywall saw for
cutting hole in
ceiling or wall for
cable passage
for above ceiling
mounting
#1 Phillips
screwdriver
Level used to level
the expander
Drill bits
appropriate to
fastener type
Electric or
portable drill
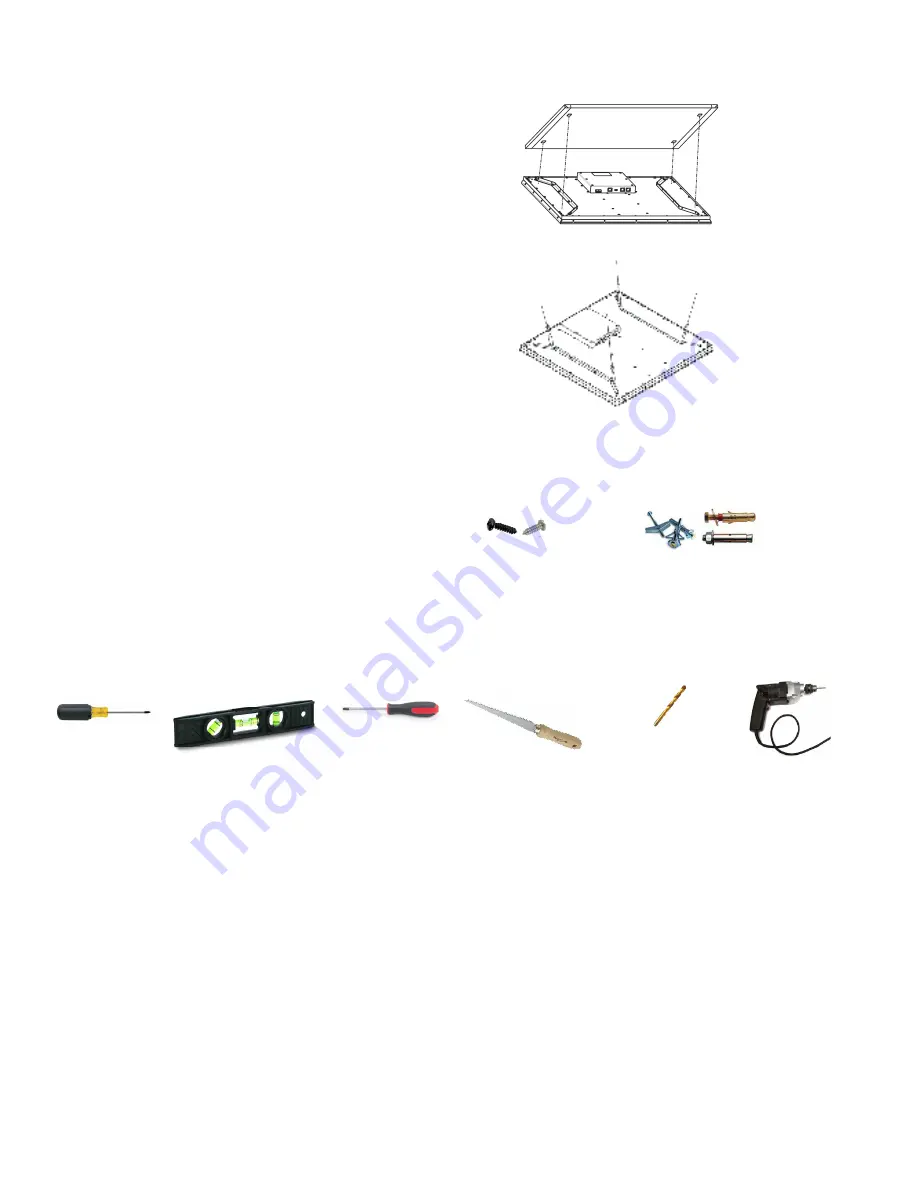
4 Qty
#6 or M3.5
screws
4 Qty
Wall fasteners appropriate to
the wall/ceiling material
T15 Torx
screwdriver
Tools Required
The following tools are required to install the Versa USB:
The following parts are not included with the Versa USB: