background image

ChaPter 6 Nord PiaNo 2 refereNCe 

|  15

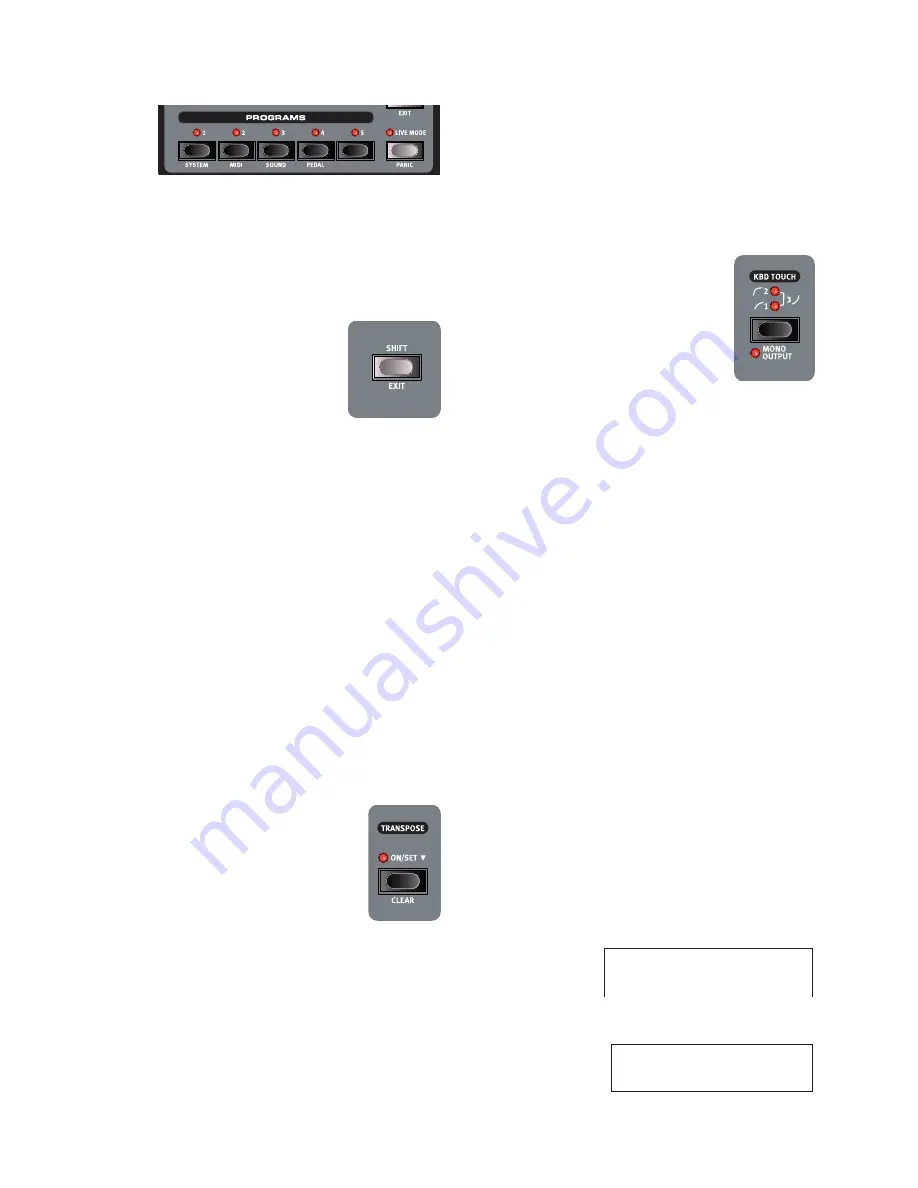
Programs 1 - 5 

Use the Program buttons to select the individual programs in a bank or 
in the Live Mode.

Hold Shift and press program buttons 1 to 4, to enter the menus. Read 
more about the menu settings on page 19.

Shift 

A few buttons on the Nord Piano 2 panel have 
a second function, which is indicated by a 
descriptive text printed below the button. You 
access these additional functions by holding 
Shift while pressing a button.

Live Mode 

If you press the Live Mode


button, all changes to the panel settings you 

make will be continuously saved in the currently active “Live Program”. 
If you switch the power off, or select another program, the settings are 
still stored in the Live memory, so when you power up next time (or 
return to the Live memory) all settings will be exactly as you left them. 
The Live Mode has 5 programs, which are selected with the Program 
buttons.


If the Live memory is selected and you decide you wish to store 
the settings permanently as a program you can do so using the 
standard Store methods (see above). You can also store pro-
grams into the Live memory location, in which case the program 
settings will replace the current Live memory settings.

Panic

If notes gets stuck and sound indefinitely during a MIDI- or live perfor-
mance, you can press Shift together with the Live Mode button in order 
to force every note to stop sounding and to reset any performance 
controllers.

Transpose 

The Transpose functionality makes it possible to al-
ter the pitch of the Nord Piano 2 in semi-tone steps. 
This can be very useful if you want to “play” in one 
key, and have the Nord Piano 2 “sound” in another. 
A setting that you make with this function will be 
stored within a program.

Press and hold the Transpose button.

Set the desired transposition by pressing the Up or Down buttons.

The display will indicate the transposition value. The Active LED 
will be lit.

Press the Transpose button again to turn it off. The transposition 
setting will be retained even when the function is turned off.


M

In the System Menu, there is a global transpose that will affect all 
programs and all sounds in the Nord Piano 2, but not the MIDI 
output. Read more about this on page 19.


E

The piano and sampled sounds have a finite range. It is therefore 
possible to set the Transpose and/or the Global Transpose to 
values that will make keys at the top of the Nord Piano 2 keyboard 
silent.

Transpose Clear

Hold Shift and press the Transpose button to clear a transpose setting.

Kbd Touch 

By activating the Kbd Touch feature, you can 
select different response curves. These makes the 
Nord Piano 2 react differently to the velocity you 
use on the keyboard .

When all LEDs are off, the default response curve 
is active. A Kbd Touch setting of 1 makes it a bit 
easier to reach the maximum, a setting of 2 is 
even easier. The third setting is the opposite, try 
this if your playing style is harder or when you need more control when 
playing with softer velocities.

Mono Output

If you press Shift + Kbd Touch, the stereo sound will be played back in 
mono instead. Connect the L or the R output on the Nord Piano 2 to 
an input on the sound system you wish to use.


M

This is a global setting and will affect the entire Nord Piano 2. The 

Mono functionality will be reset if the Nord Piano 2 is turned off.

Kbd Split

The keyboard on the Nord Piano 2 can be split in two areas; this is 
done by pressing the Kbd Split button.

Synt/Pno

This indicates a split keyboard, with the synth to the left of the split and 
the piano to the right.

Pno/Synt

This indicates a split keyboard, with the synth to the right of the split 
and the piano to the left. 


For a layered performance, just activate both instruments with the 
respective On/Off buttons.

Set Split

Hold Shift and the Kbd Split button to see the current split and press a 
key on the keyboard to set a new split point. 

The key you press will be the first key of the upper area. 

Use keyboard        
Split point:    

   C3

Keyboard Split
Position:                    C4

Summary of Contents for Nord Piano 2 HA88

Page 1: ...User Manual Nord Piano 2 HA88 Nord Piano 2 HP OS Version 1 1x Part No 50373 Copyright Clavia DMI AB Print Edition D...

Page 2: ...flash with the arrowhead symbol within an equilateral triangle is intended to alert the user to the presence of uninsulated voltage within the products en closure that may be of sufficient magnitude t...

Page 3: ...nspose 15 Transpose Clear 15 Kbd Touch 15 Mono Output 15 Kbd Split 15 Synt Pno 15 Pno Synt 15 Set Split 15 Sustped Off 16 Piano 16 Level 16 Acoustics 16 String Resonance 16 Long Release 16 Pedal Noise...

Page 4: ...anized in 2 banks A B each with 24 pages with 5 programs in each page There are also five Live buffer memories which will continuously store any changes as they are made All of the 240 programs in the...

Page 5: ...ross an 88 note keyboard Every key has its own samples String Resonance String Resonance is the acoustic phenomenon that occurs inside an acoustic piano or grand when strings or parts of strings reson...

Page 6: ...the strings which creates a different muted type of sound Since the Nord Triple Pedal is dynamic you can experiment with various forces in pressing and also in releasing the pedal If you just slip yo...

Page 7: ...utton Shift is also used together with the Up Down buttons when you want to change a setting in the System MIDI or Sound menus If you press and hold Shift while turning a knob the parameter value will...

Page 8: ...M Signals connected to this input will not be processed with the Piano 2 s effects or appear at the Piano s left and right output jacks MIDI Connections MIDI In MIDI connection used to receive MIDI d...

Page 9: ...edal If you operate this all the notes that you play will sustain until the pedal is released again The Triple Pedal can also introduce the dynamic pedal noise functionality and it can be used with ha...

Page 10: ...bank A Page 01 Program 1 for this exercise The display looks something like this The controls for the Piano instrument are located immediately to the right of the Program Display area on the panel No...

Page 11: ...the Nord Piano 2 This prevents you from overwriting a program that you want to keep 5 Press the Store button a second time to confirm your intention The edited program has now replaced the previous on...

Page 12: ...ersion Flang 2 is a more pronounced effect and when both Flang 1 and Flang 2 LEDs are lit you have selected the most dramatic flanger effect If you double tap on the Source button the instrument that...

Page 13: ...pright piano Kbd Touch settings The Nord Piano 2 is equipped with three additional Kbd Touch settings Some of the piano instruments in the Nord Piano 2 have very wide dynamic ranges by nature and we w...

Page 14: ...lso display values and settings when you change any of the functions on the panel Press and hold Shift while turning a knob to display the value without changing it Store The red Store button is used...

Page 15: ...will be lit 3 Press the Transpose button again to turn it off The transposition setting will be retained even when the function is turned off M M In the System Menu there is a global transpose that w...

Page 16: ...ivating this you will recreate the mechanical noise that happens when you operate the sustain pedal on an acoustic or electric piano This feature can only be heard if the Nord Triple Pedal is attached...

Page 17: ...may not be silenced at once The actual sound can be made to be gradually faded out with the Release function on the Nord Piano 2 Increasing the release time by turning the Release knob clockwise make...

Page 18: ...lliseconds The delay effect is stereo in stereo out Dry Wet The Dry Wel knob sets the balance between the dry unprocessed signal and the wet processed signal Feedback The Feedback is the number of rep...

Page 19: ...Off M M Local defaults back to Local On every time the Nord Piano 2 is powered on Control Change CC Mode This setting specifies how the front panel s knobs and buttons are han dled in the MIDI commun...

Page 20: ...shown in the display if you operate the pedal This can help you match the performance of a pedal that isn t directly available in this menu Type Roland EV5 default Roland EV7 Yamaha FC7 Korg Fatar SL...

Page 21: ...hods to download the sounds to the unit and a function to backup and restore the entire Nord Piano 2 content The Nord Sound Manager and the user manual for the application can be found on the DVD that...

Page 22: ...in each bank transmit and respond to MIDI Program Change values 0 119 The Live Mode programs use MIDI Program Change 120 124 MIDI Sysex System Exclusive Individual or all Programs can be transmitted a...

Page 23: ...he MIDI Out on the transmitting device to the MIDI IN on the Nord Piano 2 2 Initiate the transmission on the transmitting device If the dump contained all Programs All it will replace all programs cur...

Page 24: ...ey s Touch Channel X X X X Pitch Bender X X Control Change O O Program Change True O 0 127 O 0 127 System Exclusive O O System Song Pos Common Song Sel Tune X X X X X X System Clock Realtime Commands...

Page 25: ...I Channel 19 MIDI Controller list 23 MIDI In 8 MIDI Indicator 14 MIDI Menu 19 MIDI Out 8 Model 16 Monitor In 8 Mono 15 Music Stand 9 P Pedal Menu 20 Pedal Noise 16 Phaser 18 Piano 16 Piano Type 16 Pre...

Page 26: ...the source of interference to radio or television reception which can be determined by turning the equipment off and on the user is encouraged to try to correct the interference by one or more of the...

Page 27: ......

Reviews: