9
English
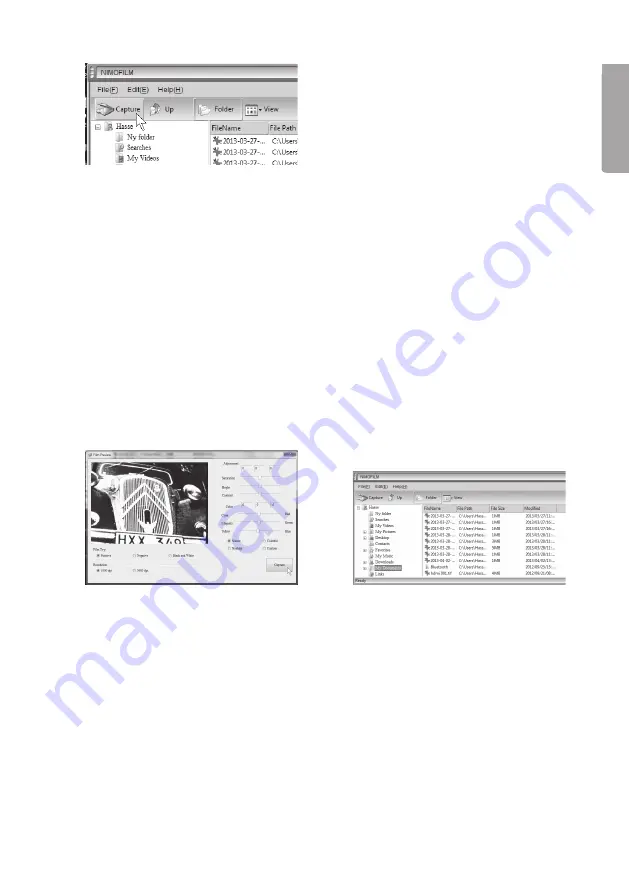
8. Click on
Capture
in the upper left of the screen when the NIMOFILM software has
started.
9. The image will appear in preview mode. Adjust the position of the image if it is not
all visible, by moving the film holder carefully.
10. The image can be modified before it is scanned. There are settings for:
-
Saturation
-
Brightness
-
Contrast
-
Colour balance
-
Cyan – Red
-
Magenta – Green
-
Yellow – Blue
-
Natural – Vivid – Nostalgic – Manual
-
Film type: Positive – Negative – Black and white
-
Resolution 1800–3600 dpi (interpolated). The created file will have a size of
1–5 MB depending on the setting and the information in the image.
11. Then click on
Capture
to scan
the image with the current settings.
12. The images will automatically be
saved on your computer under
“My Documents” *. The file name
will be: the date and time plus
a serial number.
* The file can also be saved in another folder as follows:
1. Create a new folder in a place of your choice in
Explorer
.
2. Start the software by double clicking on the
NimoFilm
icon.
3. Highlight the newly created folder. Click on
Capture
.
4. The images will be saved in the highlighted folder.


