7. Turn the jug clockwise until the locked symbol
is aligned with the
▲
symbol on the motor unit.
Note:
The blender will not start unless all the parts are assembled correctly.
8. Plug the mains lead into a wall socket.
9. Switch the blender on by turning the mode selector to
2
.
10. Drop the pieces of fruit through the hole in the centre of the lid and insert the food pusher (5) into the hole.
Push the food down gently using the food pusher if necessary.
11. Turn the mode selector to the
0
position once you have finished.
12. Unscrew the jug with the attached blade assembly from the motor unit and pour the contents into another
container.
Using the jug without the juice filter
Note:
Never remove the lid of the jug while the blender is switched on.
1. Make sure that the mains lead is unplugged.
2. Screw the cross-blade assembly (7) onto the jug (making sure that the blade assembly gasket is in place).
Tighten properly, but do not overtighten.
3. Put the food to be blended into the jug. Make sure not to fill the jug over the MAX mark.
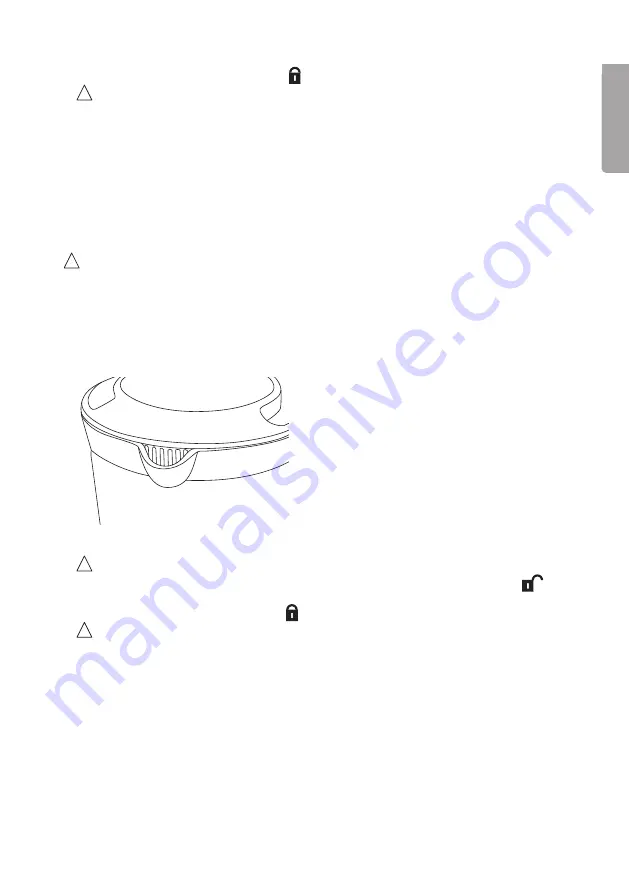
4. Place the lid (2) onto the jug and turn it clockwise until it locks into place. Make sure that the pour openings
in the lid are in line with the spout of the jug.
5. Insert the lid cap (1) into the jug lid and turn it anticlockwise until it locks into place.
Note:
Do not insert the lid cap (1) into the jug lid if you are planning to blend hot ingredients.
6. Place the jug with the attached blade assembly onto the motor unit and align the unlocked symbol
on
the blade assembly with the
▲
symbol on the motor unit.
7. Turn the jug clockwise until the locked symbol
is aligned with the
▲
symbol on the motor unit.
Note:
The blender will not start unless all the parts are assembled correctly.
8. Plug the mains lead into a wall socket.
9. Switch the blender on by turning the mode selector to
2
or
1
. Do not operate the blender for longer than 2
minutes at a time. Let the motor cool down for a minute or so before using it again.
10. If you want to add more food, remove the lid cap (1) and add the food through the hole in the jug lid.
11. Turn the mode selector to the
0
position once you have finished.
12. Unscrew the jug with the attached blade assembly from the motor unit and pour the contents into another
container.
7
English
Summary of Contents for 18-4814
Page 1: ...Multi BLENDER Multiblender Tehosekoitin Multimixer Art no 18 4814 44 4215 Ver 20200708...
Page 37: ......
Page 38: ......
Page 39: ......


