background image


5.


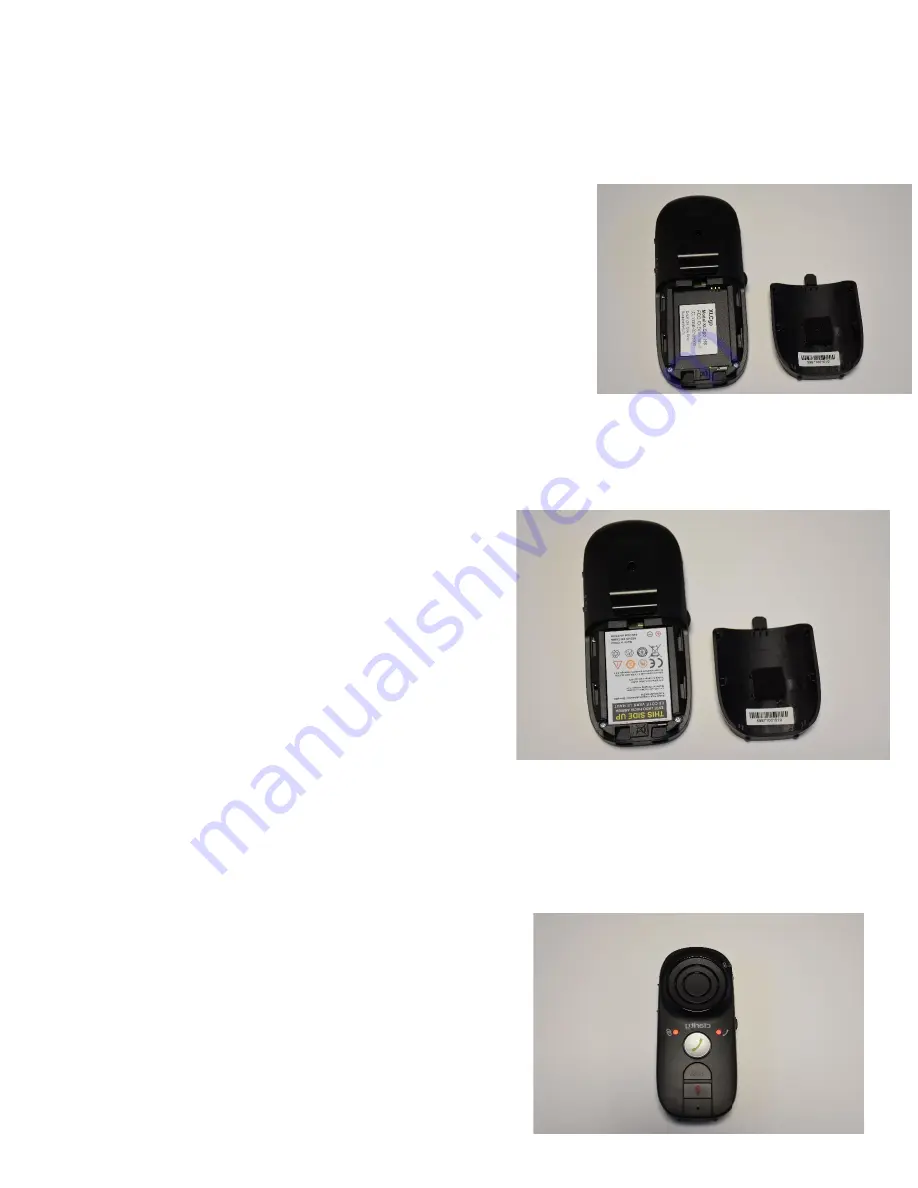
 Take the (a.) Phone and remove the backing of it.  


6.


Next, take the (b.) Battery and place it 

into the back of the phone. *You should be able to read the 

label that says, “This Side Up”. 


7.


Replace the backing on the 

phone. There should now be two glowing red lights on the 

front of the phone. This means 

that it is now on. 


Summary of Contents for XLC

Page 1: ...ity XLC go Set Up Instructions 1 Open the box and lay out all the items 2 Remove the plastic coverings of the items 3 There should be 7 items total a Main Unit Phone b Battery c Charging Cradle d USB Cable ...

Page 2: ...e Air Vent Holder f Lanyard g User Guide 4 Take the c Charging Cradle and plug it into an outlet ...

Page 3: ...xt take the b Battery and place it into the back of the phone You should be able to read the label that says This Side Up 7 Replace the backing on the phone There should now be two glowing red lights on the front of the phone This means that it is now on ...

Page 4: ...e on top of the c Charging Port to start charging it A green light will flash on the left side of the Phone This means it is now charging 9 Once it is fully charged the green light will stay on Now you can use the XLC go ...

Page 5: ...se this to answer and hang up 2 Boost button Use this to add extra volume 3 Mute ringer off button Use this to silence the ringer 4 Pairing button Use this to connect to Bluetooth 5 Tone button 6 Volume Wheel Use this to adjust volume up and down ...

Page 6: ... up to turn on and push it down to turn off 8 Audio Mode Switch Use this to change audio modes 9 Charging socket Plug in the USB cable to charge the phone without the charging cradle 10 Headphone Jack Plug your headphones into here ...

Page 7: ...oth 1 Press and hold the Pair button on the side of the phone 2 Wait until the light starts flashing 3 Go onto your device 4 Go into settings 5 Click on Bluetooth 6 Select Clarity and it will connect Clarity Clarity Connected ...

Reviews: