VX387AU 41
English
English
Owner’s Manual
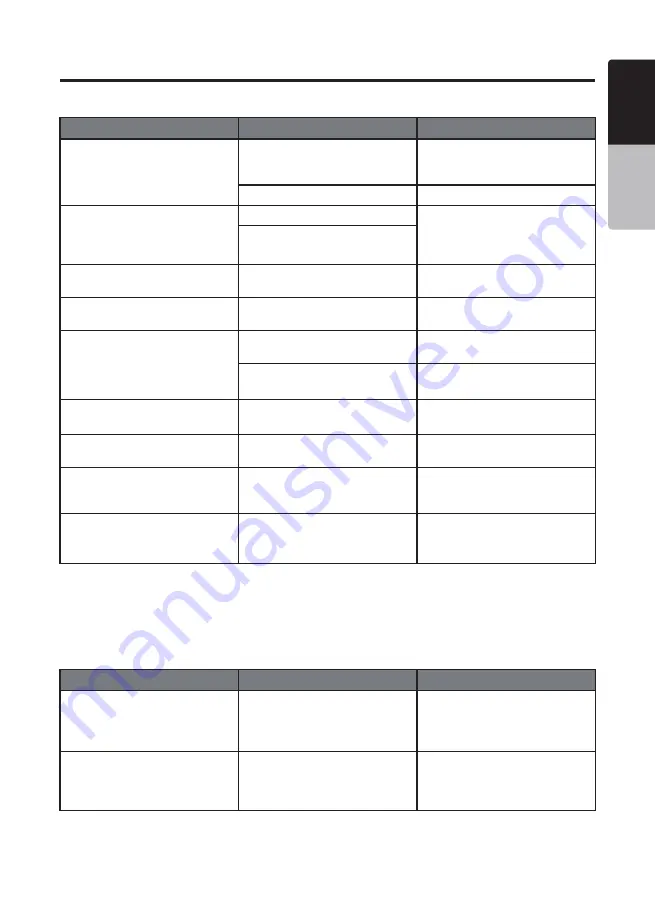
Problem
Cause
Measure
USB device cannot be inserted.
The USB device has been
inserted with wrong direction.
Reversing the connection
direction of the USB device, try
it again.
The USB connector is broken.
Replace with a new USB device.
USB device is not recognized.
The USB device is damaged.
Disconnect the USB device and
reconnect. If the device is still not
recognized, try replacing with a
different USB device.
Connectors are loose.
No sound heard with the display
“NO FILE” shown.
No MP3/WMA file is stored in the
USB device.
Store these files properly in the
USB device.
Sound skips or is noisy.
MP3/WMA files are not encoded
properly.
Use MP3/WMA files encoded
properly.
Video images are not displayed.
The parking brake is not
engaged.
Check that the parking brake is
engaged.
Video codec is not supported.
Use a file with supported video
codec.
Video is played without audio.
Audio codec is not supported.
Use a video file with supported
audio codec.
Music is muted and skips to the
next file.
Music file format is not
supported.
Use a supported file format.
Picture/video returns to directory
after “CURRENT FILE NOT
SUPPORTED” display.
Picture/video file format is not
supported.
Use a supported file format.
Audio is muted and Fast Forward
temporarily.
The file is corrupted.
The head unit will automatically
Fast Forward through the
corrupted portion of the file.
USB Device
Bluetooth Audio
Problem
Cause
Measure
Cannot perform remote control
for audio streaming.
AVRCP is not connected.
Disconnect and connect the
device again.
Pair the device again if
necessary.
Audio streaming is choppy when
using the connected phone.
This is due to excessive
Bluetooth activity on a low
bandwidth link. Some mobile
phones will face this problem.
It is advisable not to use the
mobile phone while the audio is
streaming.
Troubleshooting