background image


Clarinet Systems, Inc. 

//www.clarinetsys.com 


Page 9

APPENDIX A – QUICK START GUIDE 

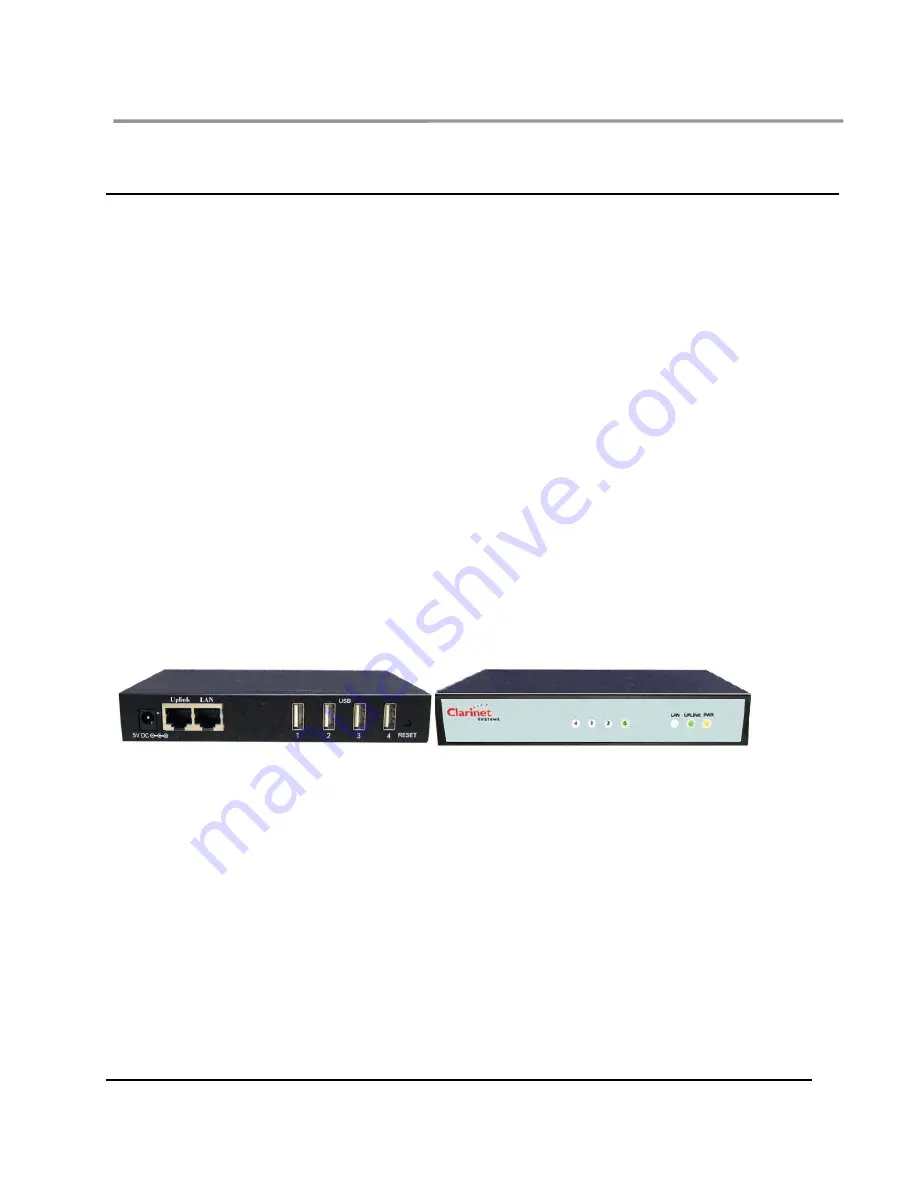
This guide shows you how to quickly connect the ESB5001/5004 to your network and to PDA devices with IR 
port. 
 
Included in this box are: 


ES5001 or ES5004 EthIR Switch 


EB5000DT or EB5000WM EthIR Beam 

 Power 

Adapter 


Ethernet cable and USB cable 

 
Before you start ensure that: 

1.  You have at least one computer and a network  
2.  You have TCP/IP networking properly configured on your computer (please refer to Windows help for 

more information) 

3.  You have an Ethernet network and a spare port available on your Ethernet switch 
4.  You have a PDA device with IR port  


Once you have all of this in place move to Step 1 below. 


1. Connections 


Connect the Ethernet cable into the 10/100 uplink port on the rear of the ES5001/5004.  Connect the Ethernet 
cable into your switch or hub.  Connect EB5000 to ES5001/5004. Connect the power to the back of the unit 
and plug the power cord into the wall socket. The power LED should blink slowly on the front of the unit - 
there is no on/off switch.  The Network LED should now light on the front of the unit if the link is established.  


In a DHCP environment, ES5001/5004 (default at DHCP mode) will obtain one IP address from the DHCP 
server after power-on. In a non-DHCP environment, the system administrator has to set up an enclosed 
DHCP network to access ES5001/5004 configuration via an administration tool as described  later in this 
guide.    The power-on process takes about 20 seconds.   The ES5001/5004 can be reset to factory settings 
by pushing and holding the Reset Button for eight seconds or longer. 


2. PDA connections 

 
Now align IR port of your PDA devices to the lense of EB5000.   
 

Summary of Contents for EthIR LAN ESB5001

Page 1: ...EthIR LAN User Guide ESB5001 and ESB5004 Infrared Ethernet Access Point for mobile device V 1 7 Clarinet Systems Inc...

Page 2: ...retrieval system or translated into any language or computer language in any form or by any means mechanical electronic optical chemical manual or otherwise without the prior written permission of Cl...

Page 3: ...TIONS AND PROVISIONS 7 4 1 DIMENSIONS 7 4 2 ENVIRONMENT SPECIFICATIONS 7 4 3 AC ADAPTER SPECIFICATIONS 7 4 4 SAFETY AND EMI CERTIFICATE 7 5 FUNCTIONS AND COMPATIBILITY 8 5 1 PROTOCOLS 8 5 1 1 Communic...

Page 4: ...connected mobile device can perform server synchronization Internet browsing and file transfer The EthIR LAN provides an alternative network connection with high security and reliability standards Th...

Page 5: ...Ethernet cable and four USB cables 3 5VDC 3A power adapter 2 1x5 5mm plug center positive polarity 4 A paper slip that indicates the website from which to download ESB5004 Users Manual this manual Qu...

Page 6: ...lf test and boot up sequence within 20 seconds once the Power LED is solid in color on the front panel the unit is ready If the unit has a problem the power LED will flash quickly If the network conne...

Page 7: ...Clarinet Systems Inc www clarinetsys com Page 4 ESB5004 system configuration...

Page 8: ...LAN Allow user to change password Allow user to review reports of critical changes Allow user to update firmware 3 3 Access AdminTool and change ES5001 5004 initial values DHCP is the default setting...

Page 9: ...et Systems Inc www clarinetsys com Page 6 Device Name Serial Number Domain Name IP Mode DHCP IP Group 193 168 10 0 User ID Admin Password Password Please refer to EtherUSB AdminTool User Manual for de...

Page 10: ...114 2 8 x 1 1 x 4 6 0 8kg 3 oz exclude 4 USB cable 4 2 Environment Specifications Operating temperature 0 35 Humidity 10 90 RH Non condensing Storage temperature 20 90 4 3 AC Adapter Specifications I...

Page 11: ...Applicable Standards IEEE802 3 10BASE T IEEE802 3u 100BASE TX 5 1 4 PDA connection side IP Address WM5 0 uses assigned IP PPC2003 and earlier uses NAT Data transmission speed Max 12M USB1 1 is curren...

Page 12: ...10 100 uplink port on the rear of the ES5001 5004 Connect the Ethernet cable into your switch or hub Connect EB5000 to ES5001 5004 Connect the power to the back of the unit and plug the power cord in...

Page 13: ...owsing and file transfer 3 Clarinet Systems DevFinder optional Download Clarinet Systems DevFinder from http www clarinetsys com and launch the DevFinder application to locate the ES5001 5004 device a...

Page 14: ...tp device name 9876 For example http EA4000100 9876 http ES5001 5004_IPaddress 9876 For example http 192 168 101 91 9876 User ID admin Password password You will be presented with a Login Screen The d...

Page 15: ...e connection Align PDA with EB5000 beam Method a Start Settings Connections Connections Manage existing connections Click and hold name xxxx connect OK Method b Pull down icon on the screen select xxx...

Page 16: ...2 Make connection Align PDA with EB5000 beam Method a Start Settings Connections Connections Manage existing connections Click and hold name xxxx connect OK Method b n a 2 Disconnect Method a disconne...

Page 17: ...Clarinet Systems Inc www clarinetsys com Page 14 APPENDIX C CONFIGURING PALM C 1 Palm PDA Please refer to your user manual on how to setup network connection base on IR...

Reviews: