46
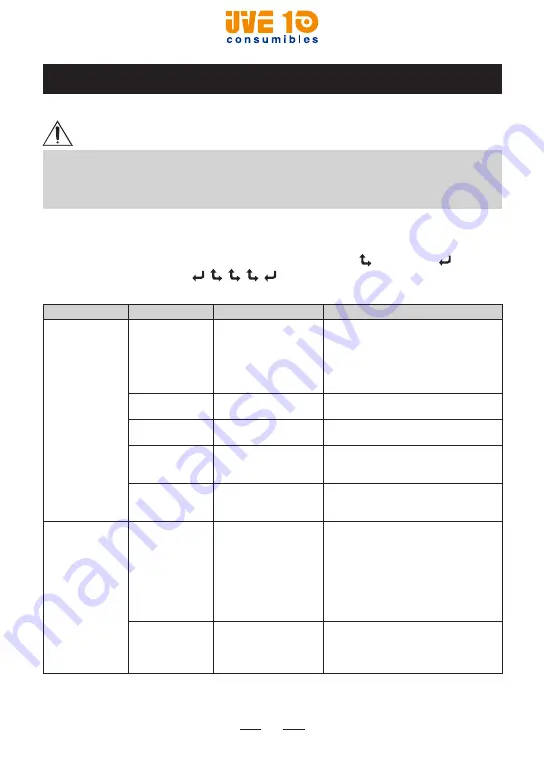
3.2 Menu Setting Table
This section describes the details on how to set each item.
NOTE
• The previous screen appears when Exit is selected on each menu.
• Settings marked with an asterisk (*) show that they are default or factory
settings.
SETUP menu
When the password input screen appears, press the Up ( ) and Enter ( ) buttons
in the following sequence: , , , , . If a password is entered correctly, the
SETUP screen will appear. (Refer to 3.1.2 for “Menu operation examples”.)
Sub Menu
Menu items
Options
Description
Media
Print Power
Standard*
High Power
Low Power
Set stock type here. Standard mode
supports tag, label, or receipt and
High Power mode supports liner-
less and synthetic. If ink is blurred
when you select Standard, select Low
Power instead.
Print Darkness
Contrast
–4 to 4 (0 is default.)
The print contrast can be adjusted.
Tear/Peel Position Supply Position
–80 to 80 (0 is default.)
This Menu sets how much paper is to
be fed during printing.
Up/Down Image
Shift
Print Position
0 to 28 (0 is default.)
This Menu will allow adjustment to
the printing position from the current
position by using Up/Down.
Left/Right Image
Shift
Margin Adjust
–80 to 80 (0 is default.)
This Menu will allow adjustment to
the printing position from the current
position by using Left/Right.
Sensors
Sensor Select
Label Gap*
Black Mark Lower
Black Mark Upper
Continuous (Off)
This Menu sets the sensor according
to presently loaded paper stock (Gap,
Black Mark).
For details, refer to Setting the Sensor
Mode on page 54.
Note:
Our supplies usually have a
black mark on the back (non-printing
side), so select Black Mark Upper.
Sensor Calibrate Label Gap*
Black Mark Lower
Black Mark Upper
Peeler
This Menu sets sensor leve value for
each sensor (Gap, Black Mark).
Note:
For details, refer to Setting the
Stock Sensor on page 56.
V10 CONSUMIBLES S.L.
Calle Llanos de Jerez 18 Nave 9 Coslada https://v10consumibles.com Tel: 910 269 309


