background image

 
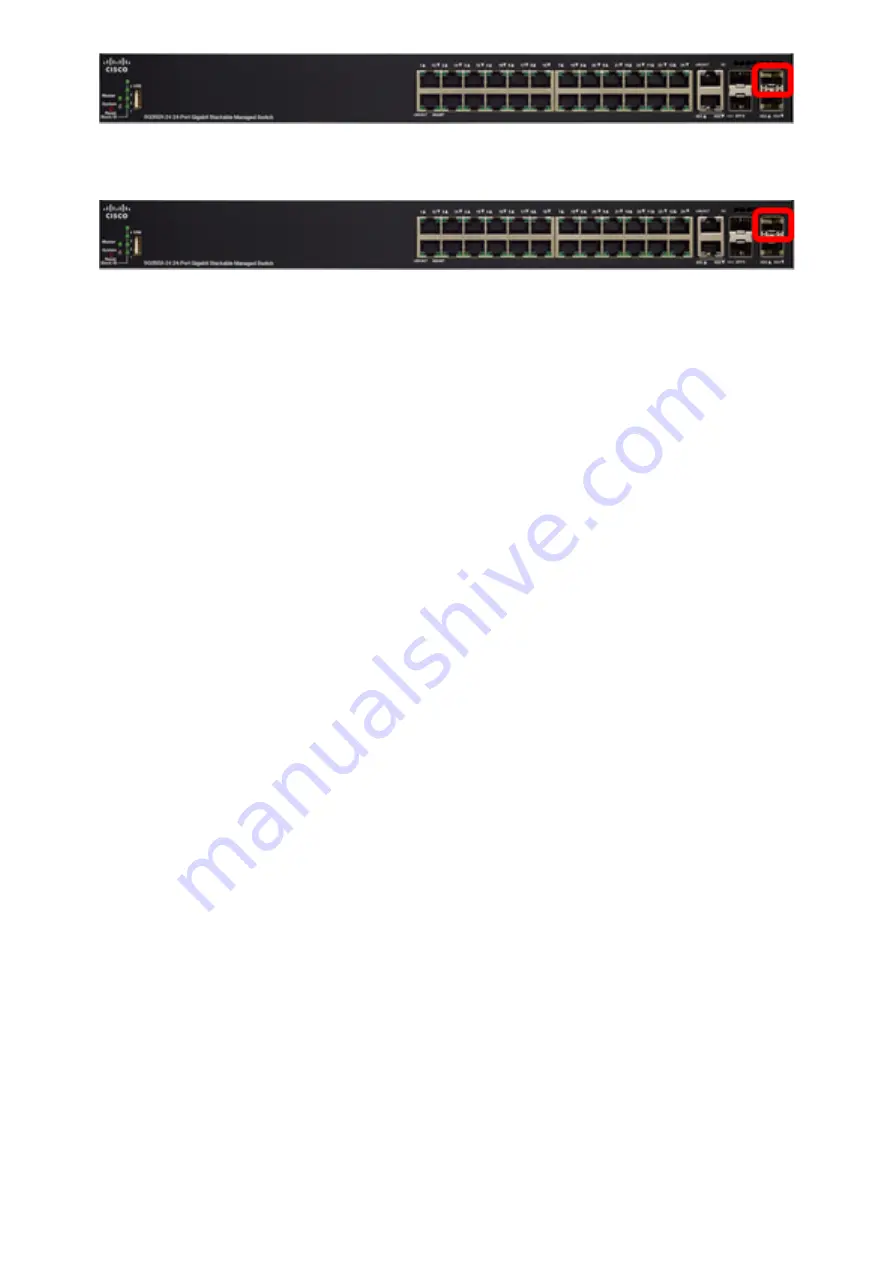
Step 3. Connect the other end of the SFP+ cable into the SFP+, XG3 or XG4 port of your
switch.


Note: In this example, the cable is connected to XG3 port of the switch.
 
Step 4. Repeat Steps 2 to 3 to the remaining switches.
 
You should now have connected your switches according to your desired topology.


Configure Stack Settings on the Master Switch
 

Master Selection Process
 
The master unit is selected from the master-enabled units (1 or 2). The factors in selecting
the master unit are taken into account in the following priority:
 

System Up Time — The master-enabled units exchange up-time, which is measured in
segments of 10 minutes. The unit with the higher number of segments is selected. If both units
have the same number of time segments, and the unit ID of one of the units was set manually
while the unit ID of the other was set automatically, the unit with the manually-defined unit ID
is selected; otherwise the unit with the lowest unit ID is selected. If both units IDs are the
same, the unit with the lowest MAC address is chosen.
 

Note: The up time of the backup unit is retained when it is selected as master in the switch
failover process.
 

Unit ID — If both units have the same number of time segments, the unit with the lowest unit
ID is selected.
MAC Address — If both units IDs are the same, the unit with the lowest MAC address is
chosen.
 

Note: For a stack to operate, it must have a master unit. A master unit is defined as the
active unit that assumes the master role. The stack must contain a Unit 1 and/or Unit 2 after
the master selection process. Otherwise, the stack and all its units are partially shut down,
not as a complete power-off, but with traffic-passing capabilities halted.
 
Follow these steps to configure stack settings on the Master switch:
 
Step 1. Log in to the web-based utility of your switch then choose Administration > Stack
Management
.
 

Summary of Contents for SG350X Series

Page 1: ...Gs increasing the bandwidth of the stack interfaces For further details on stacking click here to view the article What is Stacking Applicable Devices SG350X Series Software Version 2 2 5 68 Configure Stack Settings on a Switch Connect the Switches Step 1 Determine the stack that you would like to configure The options are Chain Each unit is connected to the neighboring unit but there is no cable ...

Page 2: ... Ring Each unit is connected to the neighboring unit The last unit is connected to the first unit The image below shows a ring topology of a four unit stack ...

Page 3: ...te In this example the cable is connected to XG3 port of the switch It is also possible to stack switches using conventional Ethernet cables on the XG1 and XG2 ports Performance offered is similar at short ranges however for cable runs longer than 100 meters SFP provides less latency and greater reliability ...

Page 4: ...et automatically the unit with the manually defined unit ID is selected otherwise the unit with the lowest unit ID is selected If both units IDs are the same the unit with the lowest MAC address is chosen Note The up time of the backup unit is retained when it is selected as master in the switch failover process Unit ID If both units have the same number of time segments the unit with the lowest u...

Page 5: ...ick an option for the Stack Mode The options are Native Stacking The switch is part of a stack in which all of the units are of the same type Hybrid Stacking The switch is part of a stack that can consist of either mixed types of Sx350 devices or mixed types of Sx550 devices but not a mix of Sx350 and Sx550 devices ...

Page 6: ... being configured Unit 1 is the master of the stack Step 3 Click at least two ports to configure as stacking ports Include the port that is connected to the other switch Note In this example XG3 and XG4 are chosen Step 4 Choose a unit ID from the drop down list or choose Auto to have the unit ID be assigned by the system Note In this example 1 is chosen The Unit x Stack Connection Speed displays t...

Page 7: ... to the running configuration file and the stack is rebooted Step 7 Log in to the web based utility of your switch Note You will be required to configure new password for better protection of your network Step 8 Enter the user password of the switch in the Old Password field ...

Page 8: ...rcement check box to bypass the password strength requirements Note To learn how to configure the Password Strength security feature of the switch click here for instructions Step 11 Click Apply to apply the configuration Step 12 Choose Administration Stack Management The switch should display the configured settings on the Master switch ...

Page 9: ...r unit Configure Stack Settings on the Backup or Slave Switch Step 1 Log in to the web based utility of your switch then choose Administration Stack Management Note Alternatively you can click the Manage Stack option under Initial Setup in the Getting Started page ...

Page 10: ...ither mixed types of Sx350 devices or mixed types of Sx550 devices but not a mix of Sx350 and Sx550 devices Note In this example Hybrid Stacking is chosen The Stack Topology displays whether the topology of the stack is chain or ring The Stack Master displays the unit ID of the master unit of the stack Step 3 Click at least two ports to configure as stacking ports Include the port that is connecte...

Page 11: ... the drop down list or choose Auto to have the unit ID be assigned by the system Note In this example Auto is chosen The Unit x Stack Connection Speed displays the speed of the stack connection Step 5 Click Apply and Reboot Step 6 Once prompted by the popup message click OK ...

Page 12: ...of your Master switch then choose Administration Stack Management The Stack Management page of the Master switch should display the configured switch Step 8 Click the Backup switch to check the configured settings The configured ports should display the Stacking port and Active stack connection icons ...

Page 13: ...ep 9 Repeat Steps 1 to 8 to configure the slave units You should now have configured the stack settings on your switches View a video related to this article Click here to view other Tech Talks from Cisco ...

Reviews: