


Installation
1
Make sure that all the devices that you are working with are powered
A.
down, including your computer(s) and the Gateway. If you have a
modem connected to your network, disconnect it. The Gateway
replaces your modem.
B.
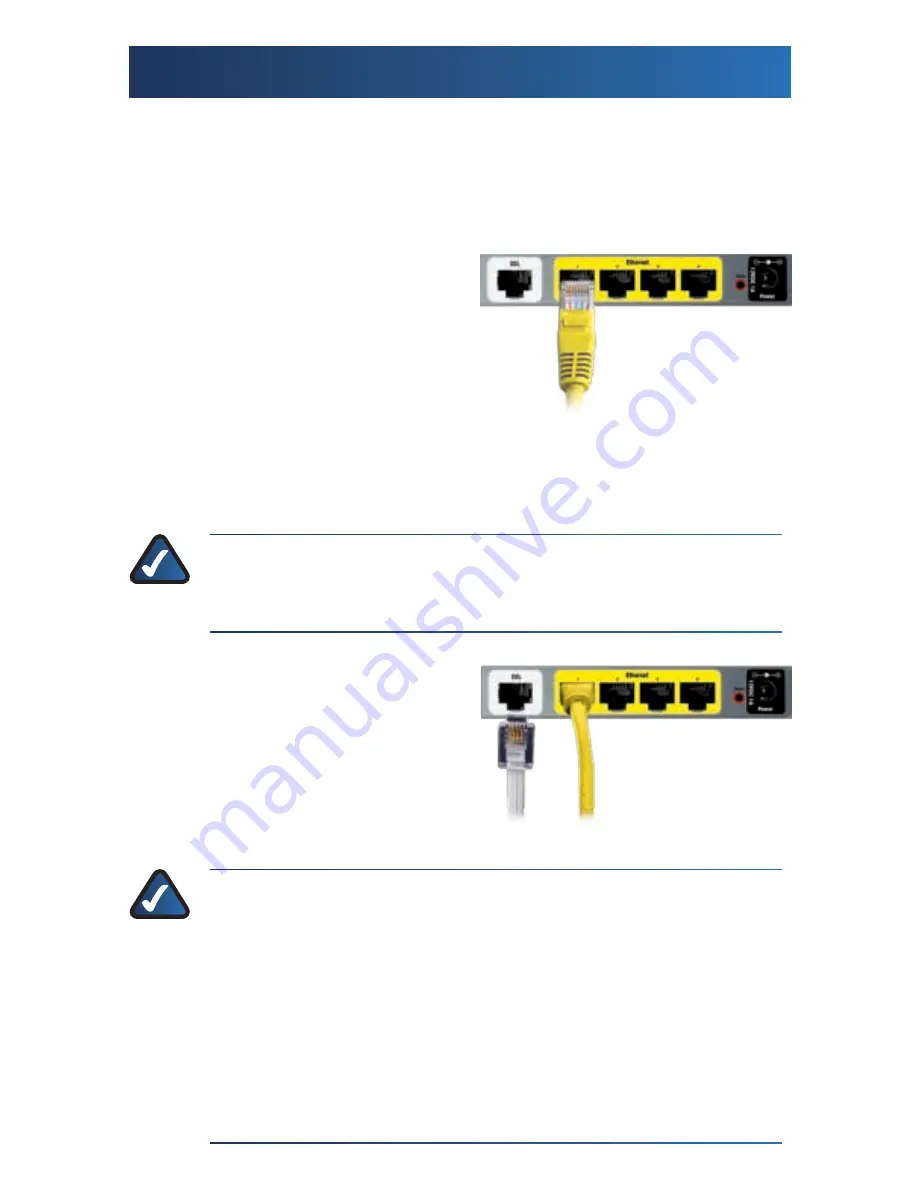
Connect one end of the
provided Ethernet cable to your
computer’s Ethernet adapter.
Connect the other end of the
Ethernet cable to one of the
Ethernet ports on the back of
the Gateway.
Repeat step B for every computer or device that you want to connect to
C.
the Gateway via Ethernet. If you connect more than four computers to
the Gateway, then you also need to connect a switch to the Gateway.
NOTE:
If your computer’s Ethernet adapter is not set up,
refer to the Ethernet adapter’s documentation for more
information.
D.
Connect one end of the phone
cable to the DSL port on the
back of the Gateway.
Connect the other end of the
E.
phone cable to the wall jack
with ADSL service or microfilter.
NOTE:
To avoid interference, you may need to place a
microfilter or splitter between the phone cable and wall
jack. Contact your ISP to determine if one is required. (UK
residents need to connect the microfilter to the wall phone
jack with ADSL service, and then connect one end of the
provided phone cable to the DSL port on it.) If you have more
than one phone and you experience static on the line after
installing the Gateway, then you need to install an additional
microfilter for each phone or fax that you use. If you use
ISDN, then you do not need a microfilter.
Connect the Computer
Connect the DSL